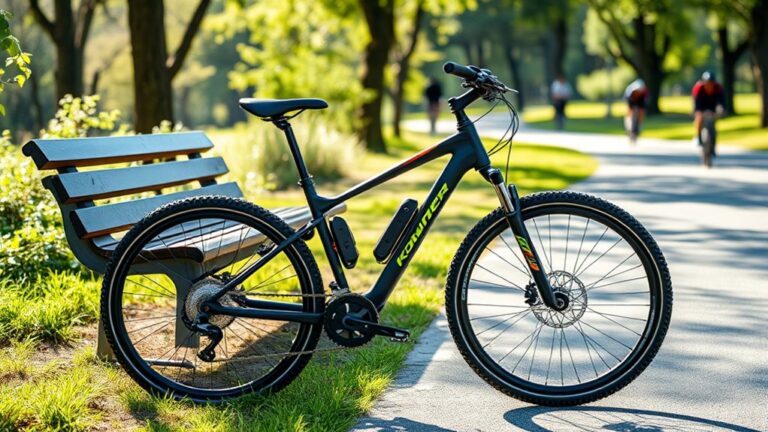
Replace Rear Derailleur on Mountain Bike in 8 Easy Steps
If you’ve ever tried to replace your mountain bike’s rear derailleur, you know it can seem daunting at first. Many riders struggle with the process, feeling unsure about the steps or worried about messing something up.
But don’t worry—you’re not alone, and with a little guidance, it’s easier than you think.
To replace your mountain bike’s rear derailleur in 8 simple steps, start by gathering tools and removing the rear wheel for easier access.
Choose a derailleur compatible with your drivetrain, then carefully remove the old one, paying attention to hardware.
Install the new derailleur, ensuring proper alignment and secure mounting.
Adjust the cable tension and limit screws for smooth shifting.
Test and fine-tune the setup.
If you keep going, you’ll uncover detailed tips to make the process even easier.
Key Takeaways
- Gather all the tools you’ll need and start by removing the rear wheel. This makes it much easier to access the derailleur.
- Next, pick a derailleur that matches your bike’s drivetrain specs. It’s important to get one that’s compatible.
- Carefully detach the old derailleur. Take note of how the hardware is positioned so you can install the new one correctly.
- Once the old one is off, install the new derailleur. Make sure it’s aligned properly and securely mounted.
- After that, adjust the cable tension and limit screws. This will help your gears shift smoothly and accurately.
Gather Your Tools and Prepare Your Bike
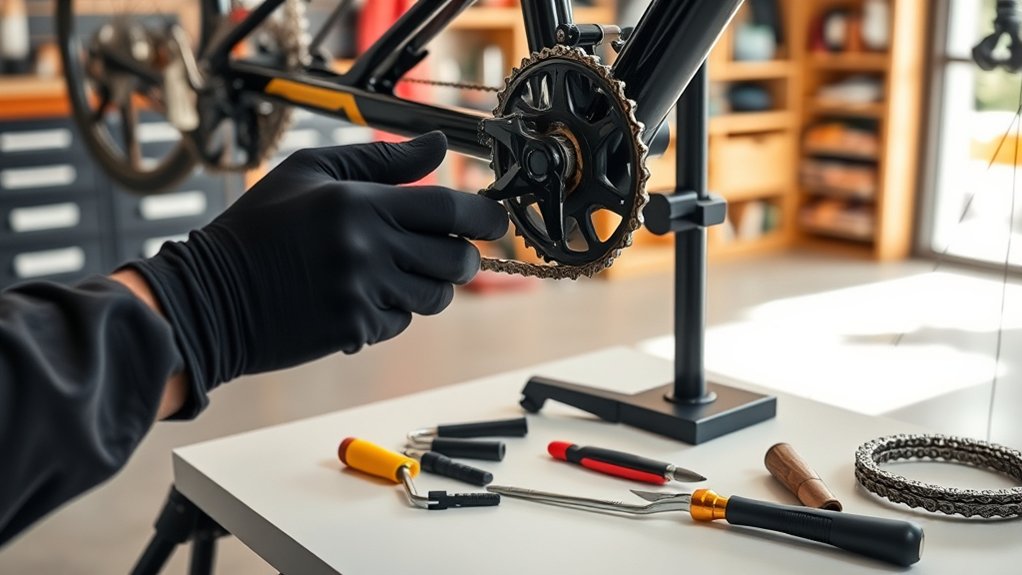
Before you start, collect all the tools you’ll need, like a new rear derailleur, a chain tool, a screwdriver, Allen wrenches, and maybe a bike stand. Having everything ready saves time and stops you from getting interrupted.
Inspect your bike and remove the rear wheel if needed for easier access. Use the chain tool to break the chain if necessary, and keep the chain somewhere safe. Set your bike on a stand or flip it upside down to keep it stable.
Keep your workspace clean so you don’t lose small parts. Check that your tools are in good shape, especially the Allen wrenches and screwdriver. Preparing everything beforehand makes the replacement process smoother and helps prevent damage to your bike.
Once you’re all set, you’re ready to start removing the old derailleur.
How to Choose the Right Mountain Bike Rear Derailleur
To choose the right rear derailleur, you need to make sure it’s compatible with your drivetrain.
Pay attention to the gear range and size to match your bike’s gearing system.
Picking the correct combination will keep your shifting smooth and reliable.
Compatibility With Drivetrain
Choosing the right mountain bike rear derailleur depends largely on your drivetrain’s specifications. You need to match the derailleur’s compatibility with your shifter and cassette.
Check the number of gears on your cassette; derailers are designed for specific gear ranges. For example, a 12-speed derailleur won’t work with a 10-speed shifter.
Also, verify the derailleur’s mounting type—mount or direct mount—that fits your frame. The derailleur’s capacity should match your chainring and cassette sizes to prevent issues like chain slack or poor shifting.
Pay attention to the derailleur’s compatibility with your chain width as well. Matching these components guarantees smooth operation, reliable shifting, and avoids damaging your drivetrain.
Proper compatibility is key to maintaining peak performance and longevity of your bike’s gears.
Gear Range and Size
Selecting the right rear derailleur means understanding its gear range and size to match your riding style and drivetrain setup. The gear range determines how many gears you’ll have, affecting your ability to tackle steep climbs or sprint on flat terrain.
A wider range offers more versatility but can be heavier and more complex. Size-wise, pick a derailleur compatible with your cassette’s number of speeds and the width of your bike’s drivetrain.
Check the total teeth capacity to make sure it can handle your largest and smallest sprockets without issues. Also, think about the derailleur’s cage length—long cages are great for bikes with wide gear ranges and mountain terrain, while short cages are lighter and better for cross-country riding.
Matching your gear range and size helps optimize shifting performance and drivetrain efficiency.
Removing the Old Derailleur Safely and Properly
Start by shifting your bike’s chain onto the smallest sprocket in the rear to slacken the derailleur and make removal easier. This reduces tension, making it safer to disconnect.
Before removing the derailleur, shift to the highest gear to loosen the cable and release any tension. Next, loosen the derailleur’s mounting bolt using an Allen wrench or screwdriver, depending on your bike’s setup.
Carefully slide the derailleur away from the hanger, ensuring you keep track of any hardware or spacers. Check for any damaged or rusted bolts, replacing them if needed.
Keep the derailleur aligned to avoid damaging the hanger during removal. Collect all hardware for easy reassembly or replacement.
Installing the New Rear Derailleur Correctly
Begin by placing the new derailleur onto the hanger, making sure it lines up properly with the hanger. Check that the derailleur cage is facing the right direction.
Slide it onto the hanger, ensuring the mounting bolt goes through the derailleur’s hole. Tighten the bolt securely, but don’t overtighten to avoid damage.
Make sure the derailleur cage hangs parallel to the rear wheel and that it feels stable on the hanger. Next, connect the derailleur to the cable if it’s not already attached.
Ensure the cable is seated properly in the derailleur’s clamp. Confirm the derailleur is mounted firmly and aligned correctly before moving on to adjustments.
Adjusting Your Derailleur for Smooth Shifting
To guarantee your bike shifts smoothly, you need to fine-tune the derailleur’s alignment and tension. Start by checking the limit screws to confirm the derailleur moves within the gear range.
Then, adjust the cable tension using the barrel adjuster, making small turns until shifting feels precise and responsive. Finally, verify the derailleur is parallel to the cassette; misalignment causes poor shifting.
Focus on these key points: fine-tune the barrel adjuster for accurate gear changes, use the limit screws to prevent chain overshoot or undershoot, and confirm derailleur alignment to avoid mis-shifts and chain drops.
Taking these steps helps guarantee smooth, reliable shifting and improves your riding experience.
Test Your Shifting and Fine-Tune Settings
Once you’ve made your adjustments, it’s important to test your shifting to make sure everything works smoothly. Shift through all the gears, starting from the smallest to the largest sprocket, to see if each shift is clean and quick without hesitation or slipping.
Pay attention to how smoothly the chain moves between gears. If you notice any hesitations, it means further fine-tuning might be needed. Use the barrel adjuster to make small tweaks—turn it clockwise to tighten the cable or counterclockwise to loosen it.
Be patient and test repeatedly until shifting feels seamless across all gears. This step helps ensure your derailleur is properly aligned and tuned, which can prevent issues during your rides.
Proper testing guarantees a reliable, smooth shifting experience on your mountain bike.
Troubleshooting Common Shifting Issues
Even after fine-tuning your derailleur, shifting issues can still pop up. Common problems include poor gear changes, chain slipping, or noisy shifts. To troubleshoot, start by checking the derailleur hanger alignment; a bent hanger causes mis-shifts.
Next, inspect the cable tension. If it’s too loose or tight, shifting becomes erratic. Finally, examine the chain and cassette for wear or dirt, which can hinder smooth operation.
Check and adjust cable tension, then clean and inspect chain and cassette for optimal shifting performance.
Verify the derailleur hanger is straight and securely fastened. Adjust cable tension to match manufacturer specifications. Clean and lubricate the chain and cassette regularly.
Addressing these issues systematically helps restore smooth shifting. If problems persist, consider replacing worn components or seeking professional help. Proper troubleshooting keeps your bike shifting flawlessly.
Tips for Maintaining Your Rear Derailleur
To keep your rear derailleur working smoothly, you should regularly clean its parts to remove dirt and grime.
Make sure to check and adjust the cable tension so shifting stays precise. Lubricate the moving parts to prevent rust and reduce friction.
With proper maintenance, your derailleur will last longer and your riding experience will be much better.
Regularly Clean Derailleur Components
Regularly cleaning your derailleur components is key for smooth shifting and making sure your gear system lasts longer. Dirt, grime, and debris can slow things down and wear parts out faster.
To keep everything working well, remove the derailleur and wipe down the cage, pulleys, and jockey wheels with a clean cloth. Use a soft brush or toothbrush to get rid of stubborn dirt from tricky spots.
Applying a degreaser helps break down grease buildup, but be sure to rinse thoroughly afterward. Keep moving parts free of debris to prevent unnecessary wear.
Use the right degreasers to dissolve grime effectively, and regularly check for any signs of damage or rust. Consistent cleaning helps your derailleur run smoothly and stay in good shape longer.
Check and Adjust Cable Tension
Checking and adjusting your cable tension is essential for precise shifting and ideal derailleur performance. If your shifts feel sluggish or skip gears, the cable tension might need fine-tuning.
To check, shift to the smallest sprocket and then inspect the derailleur. If it’s not aligned or the chain doesn’t move smoothly, loosen the cable bolt slightly and pull the cable tighter.
You should feel some resistance when pulling the cable, but it shouldn’t be too tight. Once adjusted, tighten the bolt securely.
Test shift through all gears, ensuring smooth and accurate changes. If needed, repeat the process until shifting feels crisp and reliable.
Proper cable tension keeps your derailleur responsive and extends its lifespan by reducing unnecessary strain.
Lubricate Moving Parts Properly
Proper lubrication of your rear derailleur’s moving parts keeps everything running smoothly and prevents premature wear. Regularly applying lubricant guarantees smooth shifting and extends the derailleur’s lifespan.
Start by cleaning off dirt and old grease with a rag. Then, apply a few drops of bike-specific lubricant to the pivot points, jockey wheels, and the derailleur hanger. Be careful not to over-lubricate, as excess can attract dirt.
To maintain peak performance, consider these tips: Use a lightweight, bike-specific oil for precise lubrication. Wipe off any excess to avoid dirt buildup. Regularly inspect for signs of wear or rust, and re-lubricate as needed.
Consistent lubrication keeps your derailleur responsive and minimizes gear slipping, making your ride smoother.
Frequently Asked Questions
How Often Should I Replace My Mountain Bike’s Rear Derailleur?
You should consider replacing your mountain bike’s rear derailleur if it’s bent, damaged, or not shifting smoothly despite adjustments.
Typically, a derailleur lasts several years with proper maintenance, but if you notice excessive wear, rust, or recurring issues, it’s time for a replacement.
Regular inspections during tune-ups help catch problems early, ensuring your bike shifts reliably and performs well on the trail.
Can I Upgrade to a Higher-Quality Derailleur for Better Performance?
Yes, you can upgrade to a higher-quality derailleur for better performance. Think of it as upgrading your bike’s engine—smooth shifts and increased durability are on the way.
Just make sure it’s compatible with your current gear setup and frame. You might also need a new shifter or chain to go with it.
Investing in a top-tier derailleur can turn your ride into a seamless, responsive adventure. Every pedal stroke will feel like gliding on air.
What Are Signs That My Derailleur Needs Replacement?
You’ll know your derailleur needs replacing if your bike shifts gears poorly or skips frequently, especially under load.
If you notice excessive noise, the derailleur hangs crooked, or it’s physically damaged or bent, it’s time for a replacement.
Also, if your chain keeps slipping or you experience delayed shifting, these are clear signs that your derailleur isn’t working properly.
Addressing these issues promptly guarantees smooth, safe riding.
Is It Necessary to Replace the Derailleur Hanger When Changing Derailleurs?
Imagine your bike’s rear end as a delicate dance between moving parts. When changing derailleurs, you don’t always need to replace the hanger unless it’s bent or damaged.
Think of the hanger as a sturdy bridge. If it’s straight and intact, it’ll support your new derailleur just fine. But if it’s bent or cracked, replacing it can help ensure smooth shifting.
Replacing the hanger when needed helps prevent future issues and keeps everything running smoothly.
How Does Derailleur Choice Affect Overall Bike Performance?
Choosing the right derailleur really affects how your bike performs. A high-quality derailleur shifts smoothly, reduces chain slack, and handles rough terrains better.
If you pick a derailleur that matches your gear system and riding style, you’ll get more precise shifts and better efficiency. On the flip side, an incompatible or low-quality derailleur can cause chain drops, sluggish shifting, and faster wear on parts.
Make a smart choice to improve your overall riding experience.
Conclusion
Replacing your rear derailleur might seem tricky, but with the right steps, it becomes straightforward. Think of it as giving your bike a fresh start—like tuning a guitar, a small adjustment can make all the difference.
While the process requires patience, the smooth shifts and responsive handling you’ll enjoy afterward are worth the effort.
Remember, a well-maintained derailleur keeps your ride reliable. Fixing something simple like the rear derailleur can really boost your cycling experience.