How to Choose the Right PSI for Mountain Bike Tires
Feeling confident on your mountain bike rides is all about having the right tire pressure, but many riders struggle with figuring out what that actually is. You’re not alone—finding the perfect PSI can feel overwhelming with so many factors at play like tire width, trail conditions, and riding style.
Choosing the right PSI for your mountain bike tires means balancing grip, control, and protection based on your tire width, riding style, and trail conditions.
Start by checking your tire’s sidewall for the recommended PSI range and measuring pressure when cold with a reliable gauge. Adjust your PSI lower for better traction on rough or wet trails and higher for speed on smoother paths.
With the right pressure, you’ll boost comfort and performance—explore adjustments to perfect your ride.
Key Takeaways
- Check the tire sidewall for the recommended PSI range and look at the manufacturer’s specs for accurate pressure guidelines.
- Adjust the PSI based on your tire width. Use lower pressure (20-30 PSI) for wider tires, moderate (30-40 PSI) for medium-width tires, and higher (40+ PSI) for narrow tires.
- Lower PSI helps improve grip and shock absorption, especially on tricky or wet trails. On the other hand, higher PSI reduces rolling resistance, making your ride smoother on flat, smooth terrain.
- Always use a reliable pressure gauge to measure your tire pressure when the tires are cold. Adjust the pressure before your ride for consistent performance and better control.
- Keep an eye on your PSI regularly. Make changes based on your riding style, the terrain, temperature, and altitude. This way, you can maximize traction and avoid flats.
Why Mountain Bike Tire PSI Matters for Traction and Control
Although it might seem minor, your mountain bike tire PSI directly affects how well you grip the trail and handle your bike. When your tires have the right pressure, they adapt better to uneven surfaces, offering better traction.
Too much pressure makes your tires hard, reducing their contact with the ground and causing you to slip on loose or rocky trails. On the other hand, too little pressure can make your tires feel squishy, increasing the risk of pinch flats and making steering sluggish.
By maintaining the proper PSI, you ensure your tires deform just enough to absorb shocks and keep a firm grip. This gives you more control and confidence when maneuvering through technical sections or sharp turns.
Your bike responds better, making every ride safer and more enjoyable.
How to Find Your Mountain Bike Tire’s Recommended PSI
To find your mountain bike tire’s recommended PSI, start by checking the information printed on the tire sidewall. If you don’t see clear guidelines there, look up the manufacturer’s specifications online or in the product manual.
Following these recommendations helps you maintain ideal tire performance and safety. It’s always a good idea to double-check before heading out on your ride.
Locate Tire Sidewall Information
Finding your mountain bike tire’s recommended PSI starts with checking the sidewall. This is where manufacturers print important info about your tire, including the ideal pressure range.
To find this info:
- Flip your bike or lift the wheel so you can see the sidewall clearly.
- Look carefully for small text printed along the rubber, usually near the bead or rim.
- Find the PSI range, often shown as “Min–Max PSI” or something similar.
This range tells you the lowest and highest pressure safe for your tire. Staying within these limits helps you get the best grip, comfort, and performance.
If the text is worn or hard to read, try gently cleaning the sidewall to make the numbers clearer.
Check Manufacturer’s Specifications
When you want to guarantee your mountain bike tires perform at their best, checking the manufacturer’s specifications is essential. These specs give you the recommended PSI range based on your tire’s design, materials, and intended use.
You can find this information in the tire manual, on the manufacturer’s website, or sometimes directly on the tire sidewall. Stick within the suggested PSI limits to avoid issues like poor traction, premature wear, or pinch flats.
If you ride varied terrain, use the manufacturer’s range as a guideline and adjust PSI for comfort and grip. Remember, these specs are based on safety and performance testing, so following them helps you stay in control and protect your tires on all your rides.
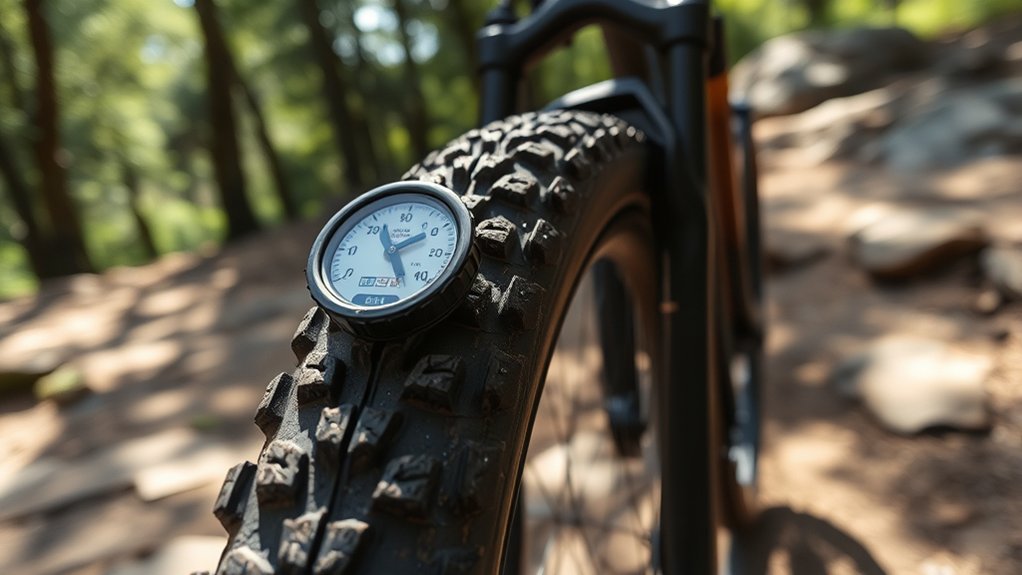
Using a Pressure Gauge to Measure Mountain Bike Tire PSI
To get the right PSI, you need an accurate pressure gauge that fits your mountain bike tires. Not all gauges measure pressure the same way, so choosing one that’s reliable is key.
Let’s look at how to pick the best gauge and use it correctly.
Accurate PSI Measurement
Because tire pressure directly affects your ride’s performance and safety, it’s important to measure your mountain bike’s PSI accurately. Here’s how to do it right:
- Check when cold. Measure your tire pressure before riding since heat from friction can inflate the tire and give false readings.
- Use a reliable gauge. Attach your pressure gauge firmly to the valve so you don’t lose air during measurement.
- Take multiple readings. Measure PSI two or three times to make sure the number is consistent and accurate.
Choosing The Right Gauge
How do you make sure your tire pressure readings are accurate and easy to get? Picking the right pressure gauge is the key. You want one that’s precise, simple to read, and tough enough for rough trails.
Analog gauges are straightforward and durable but can be harder to read quickly. Digital gauges give quick, clear readings and often have extra features like backlighting or pressure memory, making them great for all conditions.
Whatever you choose, ensure it matches your valve type—Presta or Schrader—to prevent leaks during measurement. Also, look for a gauge with a flexible hose or swivel head for better access to tight valve stems.
With the right gauge, you can confidently keep your tires at the ideal PSI, boosting your ride’s performance and safety.
How Tire Width and Volume Affect Your PSI Choices
Although tire width and volume might seem like minor details, they play a key role in determining the ideal PSI for your mountain bike tires. Wider tires hold more air volume, letting you run lower PSI for better traction and comfort without risking pinch flats.
Tire width and volume are crucial for setting the right PSI, balancing traction, comfort, and protection.
On the other hand, narrower tires need higher PSI to prevent squirming and rim damage. The right pressure depends on your tire dimensions and riding style.
Here’s how width and volume influence your PSI choices:
- Wider tires (2.4” or more): Lower PSI (20-30) improves grip and shock absorption.
- Medium-width tires (2.1” to 2.3”): Moderate PSI (30-40) balances efficiency and comfort.
- Narrow tires (below 2.1”): Higher PSI (40+) ensures responsiveness and helps prevent rim strikes.
Adjust your PSI based on your tire size to get the best performance and protection.
Adjusting Tire PSI for Your Riding Style
When you adjust your tire PSI to match your riding style, you’ll notice better control and comfort on every trail. If speed is your priority, higher PSI reduces rolling resistance.
Lower PSI, on the other hand, boosts traction for technical riding. For aggressive riders, a softer tire absorbs shocks more effectively, giving you better grip.
| Riding Style | Recommended PSI | Benefit |
|---|---|---|
| Speed-focused | 30-40 PSI | Less rolling resistance |
| Trail technical | 20-30 PSI | Increased traction |
| Aggressive | 18-25 PSI | Better shock absorption |
Adjust your PSI within these ranges based on your preferences and the terrain you’re riding. Experiment to find the perfect balance of comfort and performance for your style.
Tuning PSI for Different Trail Conditions
Since trail conditions can change quickly, adjusting your tire PSI helps you stay safe and perform your best. You should tweak your tire pressure based on the terrain to keep good grip and control without risking damage.
Here’s a quick guide:
- Wet and muddy trails: Lower your PSI to get better traction and avoid slipping. Aim for about 15-20% less than your usual pressure.
- Rocky or technical terrain: A slightly higher PSI can help prevent pinch flats and make rolling easier. Just don’t go too high—finding the right balance is key.
- Hard-packed or smooth trails: Increasing PSI reduces rolling resistance and boosts speed. Just keep it within a safe range to stay comfortable.
What Happens If Your PSI Is Too High or Too Low?
If you set your tire PSI too high, your ride will feel harsh, and you’ll have less traction. This makes it harder to control your bike on uneven terrain. High pressure causes the tires to bounce off obstacles instead of absorbing them, increasing the risk of losing grip or being thrown off balance.
On the flip side, running your tires too low can lead to pinch flats. That’s when the rim hits the ground and damages the tube. Low PSI also makes your bike feel sluggish and less responsive because the tires deform too much under load.
Finding the right PSI balance is key for peak grip, comfort, and durability. Keep an eye on how your bike feels and consider the terrain to avoid issues caused by pressures that are too high or too low.
Common Mountain Bike Tire PSI Mistakes and How to Avoid Them
Balancing your tire pressure is more than just avoiding extremes. It’s about steering clear of common mistakes that can undermine your ride. To get it right, watch out for these pitfalls:
- Overinflation for Speed: Pumping tires too hard, thinking it’ll make you faster, often reduces traction and control.
- Underinflation to Soften Ride: Going too low might feel comfy but risks pinch flats and faster tire wear.
- Ignoring Terrain Changes: Failing to adjust PSI when switching from smooth trails to rocky paths can lead to poor performance or damage.
Avoid these by checking your tire pressure regularly and adjusting based on conditions. A reliable pressure gauge is your best friend, helping you maintain the perfect balance for safety and fun.
Fine-Tuning Tire PSI for Comfort and Speed on Every Ride
Finding the ideal tire PSI lets you customize your ride for both comfort and speed, no matter the trail. Start by adjusting your PSI based on trail conditions—lower it slightly on rough, rocky terrain to absorb shocks and improve grip.
Adjust tire PSI for every trail—lower for rough terrain to boost grip and comfort, raise for smoother rides.
For smoother trails, increase PSI to reduce rolling resistance and boost speed. Remember, your weight affects the ideal PSI, so heavier riders might need higher pressure to prevent pinch flats.
Don’t hesitate to make small changes; dropping or adding 2-3 PSI can make a noticeable difference. Check your tires before each ride since temperature and altitude can influence pressure.
With practice, you’ll quickly find the right balance that suits your style, giving you smoother, faster rides every time.
Frequently Asked Questions
How Often Should I Check My Mountain Bike Tire PSI?
You should check your mountain bike tire PSI before every ride to guarantee peak performance and safety. Tires naturally lose air over time, so even if you haven’t ridden recently, it’s a good habit to inspect them regularly.
If you’re riding frequently or on rough terrain, check more often. Keeping your tires properly inflated boosts traction, prevents flats, and improves your overall riding experience.
Don’t skip this simple step!
Can Tire PSI Affect Tubeless Tire Sealant Performance?
Yes, tire PSI can affect tubeless tire sealant performance. If your pressure’s too low, the sealant might struggle to fill bigger punctures quickly because the tire flexes more.
Too high, and small punctures might not open up enough for sealant to flow in. You’ll want to keep your PSI balanced so the sealant can move freely and seal punctures effectively without excessive tire squirm or stiffness.
Does Altitude Impact Mountain Bike Tire PSI?
Just like how a hot air balloon rises higher with thinner air, altitude does impact your mountain bike tire PSI.
As you climb to higher elevations, the air pressure outside drops, so your tires might feel softer than usual at the same PSI.
You’ll want to adjust your tire pressure slightly higher to compensate for the lower atmospheric pressure, ensuring you maintain proper grip and avoid pinch flats on those thrilling uphill rides.
How Does Temperature Change Influence Tire PSI?
Temperature changes directly affect your tire PSI because air expands when it heats up and contracts when it cools down. If you inflate your tires on a warm day, expect the PSI to drop when temperatures fall, making your tires feel softer.
Conversely, cold mornings can cause your tires to be under-inflated if you set the PSI the day before. So, it’s a good idea to check and adjust your tire pressure based on the temperature for the best ride.
Are There Different PSI Recommendations for Front and Rear Tires?
Think of your bike like a dancer. Each tire plays a unique role. Yes, you usually want a lower PSI in the front tire for better grip and shock absorption, while the rear tire needs more pressure for support and efficiency.
This balance helps you stay in control and ride smoother. Don’t be afraid to experiment slightly; your perfect PSI combo depends on your weight, terrain, and riding style.
Conclusion
Choosing the right PSI for your mountain bike tires can boost your control and comfort on the trail. Did you know that riders who adjust their tire pressure based on trail conditions can improve traction by up to 30%?
By checking your recommended PSI, using a pressure gauge, and fine-tuning for your style and terrain, you’ll avoid common mistakes. This way, you’ll enjoy smoother, faster rides.
Don’t underestimate how a simple PSI tweak can transform your mountain biking experience!