How to Center the Back Wheel on a Trek Mountain Bike 4800 in 7 Steps
If you’re into mountain biking, you know how frustrating it can be when your back wheel isn’t perfectly centered. It can lead to uneven wear, poor handling, and a less enjoyable ride.
Many riders struggle with this, especially when trying to do repairs or adjustments at home.
To center the back wheel on your Trek Mountain Bike 4800, first flip your bike or use a stand and loosen the quick release or axle nuts just enough for movement.
Then shift the wheel side to side in the dropouts to achieve equal spacing between the tire and frame, ensuring it’s not rubbing the brakes.
Tighten the axle securely, spin the wheel to check alignment, and take a test ride to confirm smooth handling.
Keep going to uncover helpful tips for perfect gear shifting and overall bike performance.
Key Takeaways
- Flip the bike upside down or use a stand so you can easily see the rear wheel, frame, and brake pads.
- Loosen the quick release or axle nuts just enough so the wheel can move side to side. You don’t want it too loose, just enough to adjust.
- Move the wheel until the spacing between the tire and both chainstays looks even. Make sure it runs parallel to the seat stays for proper alignment.
- Before tightening anything, make sure the axle is fully seated in the dropouts. Once it’s in place, tighten the quick release or axle nuts evenly on both sides.
- Spin the wheel to check if it’s centered. Look for any wobbling or rubbing against the frame or brake pads.
- If everything looks good, give the nuts a final tighten and do a quick spin test again. This way, you’ll know the wheel is properly centered before riding.
How to Check Rear Wheel Alignment on Your Trek 4800

Before you start adjusting, you need to check if your rear wheel is properly aligned. Flip your Trek 4800 upside down or set it on a bike stand for easy access.
Spin the rear wheel and watch the gap between the tire and the chainstays on both sides. The wheel should sit centered, with equal spacing on each side.
Spin the rear wheel and ensure equal spacing between the tire and chainstays on both sides.
Next, look straight down from above the bike to see if the wheel lines up with the frame and seat stays. If the tire rubs against the frame or brake pads, that’s a sign it’s off-center.
Also, check if the wheel wobbles side to side as it spins. This helps you spot any misalignment before you make any adjustments.
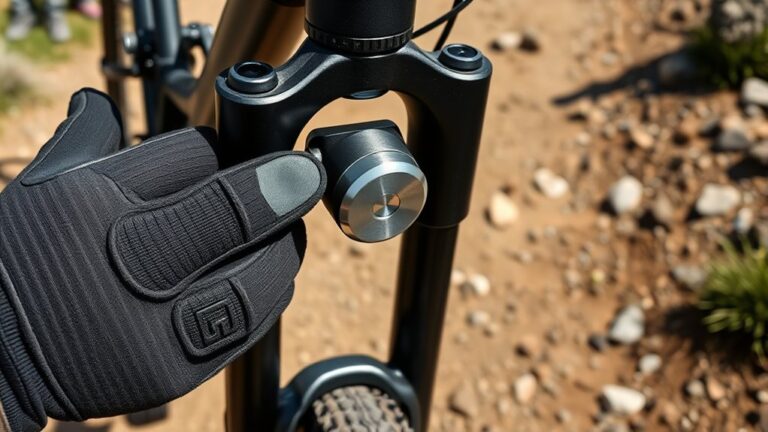
Loosen the Rear Wheel Quick Release or Axle Nuts
First, find the quick release lever or axle nuts on your Trek 4800’s rear wheel. Grab the right tools—usually a wrench for axle nuts or your hands for the quick release—and loosen them just enough.
Make sure the wheel stays steady while you’re making the adjustment. Keep everything stable so you don’t accidentally shift the wheel out of place.
Identify Quick Release Mechanism
The quick release mechanism on your Trek Mountain Bike 4800 makes it easy to loosen the rear wheel without needing tools. To identify it, look for a lever on the rear wheel’s axle.
This lever flips open and closed, locking the wheel in place. When closed, it clamps the wheel firmly; when open, it releases tension so the wheel can move freely.
Inside the lever, you’ll often find a cam mechanism that tightens or loosens the axle as you flip it. If your bike doesn’t have a quick release lever, it uses axle nuts that require a wrench to loosen.
Knowing which system your bike has helps you prepare for wheel adjustments and ensures you handle the rear wheel properly during maintenance or repairs.
Use Proper Tools
Once you’ve found the quick release lever or identified the axle nuts, gather the right tools to loosen the rear wheel. If your Trek 4800 has a quick release, you won’t need any tools—just flip the lever outward and then loosen it slightly to free the wheel.
For axle nuts, grab a wrench that fits properly, usually 15mm. Turn it counterclockwise to loosen. Make sure you have a steady grip to avoid slipping, which could damage the nuts or your bike frame.
Loosening these parts carefully is key for adjusting the wheel’s position. Take your time and don’t force anything—over-tightening or stripping parts can cause problems later.
Once the wheel is loosened, you’re ready for the next step in your adjustment.
Ensure Wheel Stability
Loosen the rear wheel quick release or axle nuts just enough to allow slight movement without letting the wheel slip completely out of the dropouts. This small adjustment gives you the flexibility to center the wheel accurately.
Be cautious not to loosen them too much, or the wheel might shift unexpectedly, causing misalignment or damage. Once loosened, hold the wheel firmly to prevent wobbling or tilting as you make adjustments.
Maintaining stability during this step guarantees the wheel stays aligned with the frame and chainline. When you’re happy with the wheel’s position, gently tighten the quick release or nuts, ensuring they’re secure but not overtightened.
This balance keeps your wheel stable and your ride smooth.
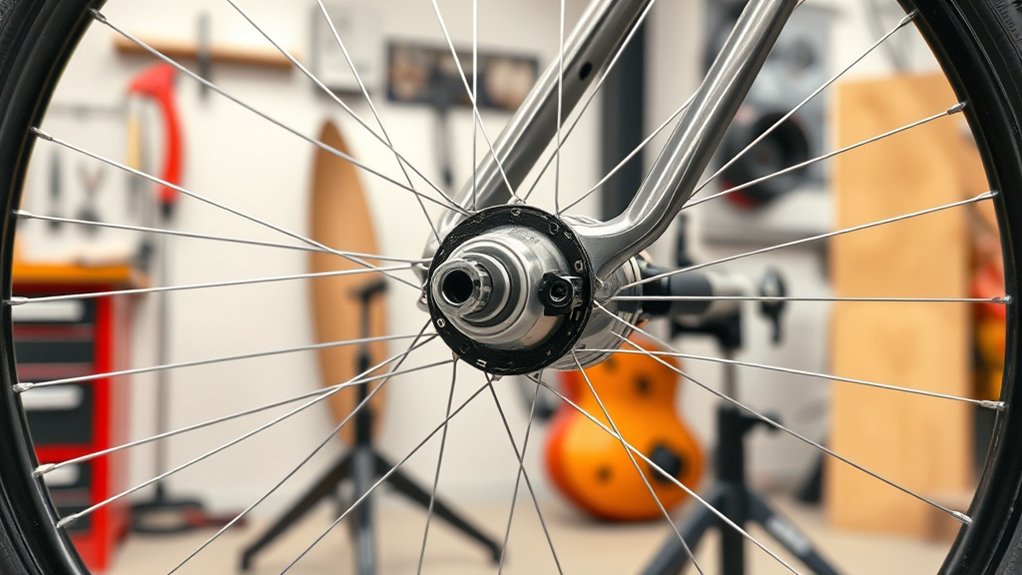
How to Center Your Back Wheel Using the Dropouts
Start by checking how your back wheel lines up within the dropouts, which are the slots where the axle sits. Make sure the axle is fully seated in both dropouts.
If the wheel isn’t centered, gently lift it and shift it side to side until it looks even between the chainstays. Look closely to see if the rim runs parallel to the frame’s seat stays on both sides.
If it doesn’t, try repositioning the wheel by moving it slightly left or right within the dropouts. Keep adjusting until the spacing on each side looks equal.
This step ensures your wheel won’t rub against the frame or brake pads and will spin smoothly. Take your time—getting it centered right is key for a balanced ride.
Securely Tighten the Quick Release or Axle Nuts
After you’ve centered the back wheel properly in the dropouts, the next step is to secure it firmly. If your Trek 4800 uses a quick release, close the lever with enough tension so it leaves an imprint on your palm when you squeeze it. This guarantees it’s tight enough without being overly forced.
For axle nuts, tighten them evenly on both sides using a wrench. Alternate sides to keep the wheel centered as you go. Always make sure the wheel stays aligned while tightening.
Avoid overtightening, which can damage components or make future adjustments difficult. Once tightened, check that the wheel doesn’t shift side to side. Securing the wheel properly is essential for safe riding and maintaining the bike’s performance.
Spin the Wheel to Check for Even Clearance
Give the back wheel a gentle spin to see how it rotates and check for any side-to-side wobble. This step makes sure the wheel sits evenly in the frame and doesn’t rub against the brake pads or chainstays.
Watch closely as the wheel turns, and make sure there’s consistent space on both sides. If the wheel wobbles or drags, you’ll need to adjust its position.
While spinning the wheel, focus on these key points:
- Check for equal space between the rim and brake pads.
- Notice if there’s any side-to-side movement or wobbling.
- Make sure the tire doesn’t touch the chainstay or seatstay.
- Listen for rubbing sounds that might mean misalignment.
Doing this quick check helps confirm your wheel is properly centered before tightening everything up.
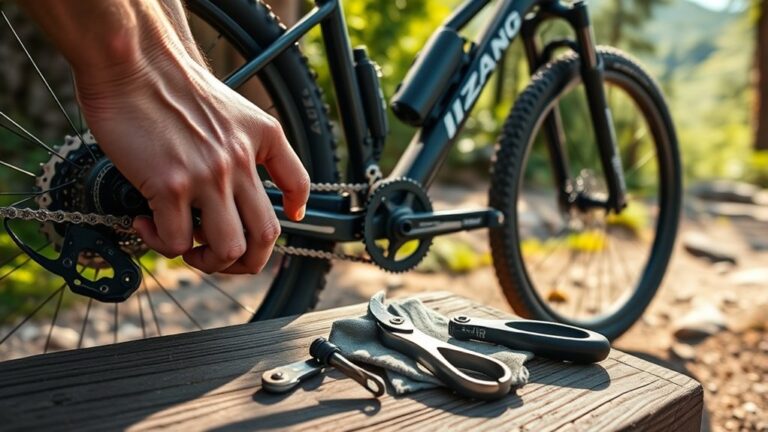
Troubleshoot Gear Shifting After Wheel Alignment
Even if your back wheel is perfectly centered, you might notice your gears aren’t shifting smoothly right away. This often happens because wheel alignment can slightly affect derailleur positioning.
First, check the derailleur hanger for any bends; a misaligned hanger can cause poor shifting. Next, inspect the derailleur adjustment screws and cable tension.
You might need to fine-tune the barrel adjuster by turning it clockwise or counterclockwise to improve shifting precision. Also, verify the chain is properly seated on the cassette and free of debris.
If shifting remains rough, lubricate the chain and derailleur pivot points. Finally, double-check that the wheel’s quick release or axle nuts are securely tightened, as any slight movement can impact gear performance.
These steps should get your shifting back on track.
Take a Test Ride to Confirm Proper Wheel Centering
Now that your wheel is aligned, take your bike for a test ride to see how well the wheel is centered.
Pay close attention to the bike’s stability and how it handles turns and uneven terrain. If anything feels off, you might need to make a few more adjustments before hitting the trail.
Assess Wheel Alignment
Taking a short test ride is essential to see if the back wheel on your Trek Mountain Bike 4800 is properly centered. As you ride, pay close attention to how the bike feels and responds.
Notice if the bike pulls to one side, which could mean it’s misaligned. Listen for any unusual rubbing or sounds coming from the wheel area. Also, check if the wheel spins smoothly without wobbling or resistance.
Feel for consistent handling when turning or braking. If you notice any of these issues, the wheel might need some adjustments. Making sure everything’s aligned properly helps ensure safer rides and better performance.
Always fix any misalignment before hitting rough trails or heading out on long rides.
Check Ride Stability
After checking the wheel alignment and making any needed adjustments, it’s important to test ride your Trek Mountain Bike 4800 to ensure it handles smoothly. Head to a flat, open area and ride at different speeds to get a good feel for how it performs.
Watch for wobbling or pulling to one side, which could mean the wheel is still off-center. If everything feels stable, you’ve successfully centered the wheel and your bike should ride nicely.
| Test Aspect | What to Look For |
|---|---|
| Straight Riding | The bike tracks straight without pulling or drifting |
| Cornering | Smooth, balanced turns without wobbling |
| Braking | Even braking with no vibrations |
Take your time to evaluate each aspect carefully. This will help you confirm your bike rides safely and comfortably.
Frequently Asked Questions
What Tools Do I Need to Center the Back Wheel on a Trek 4800?
You’ll need a few basic tools to center your back wheel: a set of Allen wrenches, usually 5mm or 6mm, a bike stand or something to hold your bike steady, and optionally a tire lever if you need to adjust the tire position.
A wrench or adjustable spanner might be necessary if your bike uses axle nuts that need to be loosened. Having a rag handy helps to clean the area, making adjustments easier.
A torque wrench is also a good idea to ensure you tighten bolts properly and avoid over-tightening. With these tools, you’ll be all set to center your Trek 4800’s back wheel easily.
How Often Should I Check the Rear Wheel Alignment on My Trek 4800?
You should check your rear wheel alignment about every month, unless you enjoy the thrill of a wobbly ride. A misaligned wheel can turn your smooth ride into a bit of a circus act.
Frequent checks help keep your Trek 4800 riding smoothly and prevent uneven tire wear. If you’re hitting rough trails or riding daily, check it more often.
Ignore it, and you’ll experience “off-balance” riding faster than you can say “wheel wobble.” Staying on top of alignment keeps your bike performing its best.
Can I Center the Back Wheel Without Removing It From the Bike?
Yes, you can center the back wheel without removing it. Start by loosening the axle nuts or quick-release skewer just enough to allow slight movement.
Then, adjust the wheel side to side while spinning it to check for alignment between the tire and frame. Once centered, tighten the nuts or skewer securely.
Make sure the wheel sits evenly in the dropouts to keep everything aligned. This helps prevent uneven tire wear and handling issues.
Will Centering the Wheel Affect My Bike’s Warranty?
You won’t void your warranty by centering the back wheel, but you should be careful.
Make sure to follow Trek’s guidelines, use proper tools, and avoid causing damage.
If you mess up the adjustment or cause harm, that could affect your warranty.
Keep everything neat, precise, and documented to protect your bike’s coverage.
This way, you can enjoy smooth rides without worries.
How Do I Know if My Rear Wheel Needs Replacing Instead of Centering?
You’ll know your rear wheel needs replacing if it’s seriously bent, cracked, or has broken spokes that can’t be fixed.
If the rim is warped beyond truing or the hub is damaged, it’s better to replace it rather than try to fix it.
Also, if you notice persistent wobbling, uneven wear, or the wheel won’t stay true after adjustments, it’s probably time for a new wheel.
Otherwise, most issues can be fixed by centering the wheel.
Conclusion
Centering your Trek 4800’s back wheel isn’t just about smooth rides. It also directly impacts your bike’s performance.
Did you know that a misaligned rear wheel can reduce your pedaling efficiency by up to 20%?
By following these simple steps, you’ll keep your wheel perfectly aligned. This ensures better control and less wear on your gears.
Take a quick test ride after adjusting, and you’ll feel the difference instantly.
Keeping your Trek 4800’s back wheel centered is key for a better ride and longer-lasting bike.