7 Steps to Remove Speed Limiter on Your Electric Bike
Many electric bike enthusiasts wish they could go faster or remove speed limits to enjoy a more exhilarating ride.
You’re not alone—many people struggle with the same frustration when their bike’s top speed feels restrictive.
To remove the speed limiter on your electric bike, start by gathering your tools and turning off the bike for safety.
Locate the limiter components near the motor and disconnect or reconfigure them carefully.
Adjust control settings or firmware via an app or onboard menu to increase or disable speed limits.
Afterward, test your bike in a safe area to ensure the new top speed.
If you’re curious about each detailed step, continue with the guide to learn more.
Key Takeaways
- Gather the tools you’ll need and make sure to disconnect the bike’s power source. This is just to stay safe while working on the components.
- Next, find the speed limiter parts. These are usually modules or wiring located near the motor.
- Carefully disconnect the limiter wiring or reconfigure it. You might also need to adjust software settings through the control app or the onboard menu.
- Sometimes, updating the firmware or installing custom software can disable or raise the speed limit.
- Finally, test your bike in a safe area. Check that the top speed has increased and make sure everything is working properly.
Get Your Tools Ready and Prepare Your Bike
Before you begin, gather the necessary tools like screwdrivers, pliers, and an Allen wrench set. This makes sure you have everything ready to work smoothly.
Next, turn off your bike and disconnect it from any power source to stay safe. Carefully inspect your bike to identify the components you’ll need to access, such as the battery cover or controller box.
Always turn off your bike and disconnect from power before starting any repairs.
Clear a clean workspace to avoid losing small parts. Remove any accessories or panels blocking your view, using screwdrivers or pliers as needed.
Keep track of all screws and connectors so you can reassemble easily later. Preparing your bike and tools now makes the process more efficient and helps prevent damage or losing pieces during removal.
Understand How the Speed Limiter Works
Understanding how the speed limiter functions on your e-bike is essential before attempting to remove it. The limiter is usually a device or software setting that restricts your bike’s maximum speed to keep things safe and within regulations.
It often works by controlling the power output from the motor or limiting the bike’s throttle signal. Many times, the speed limiter is built into the controller or electronic system, which uses sensors and software algorithms to keep the speed in check.
Knowing how it operates helps you figure out which components or settings you might want to modify. Keep in mind that removing or bypassing the limiter can impact your bike’s performance and might have legal consequences depending on where you are.
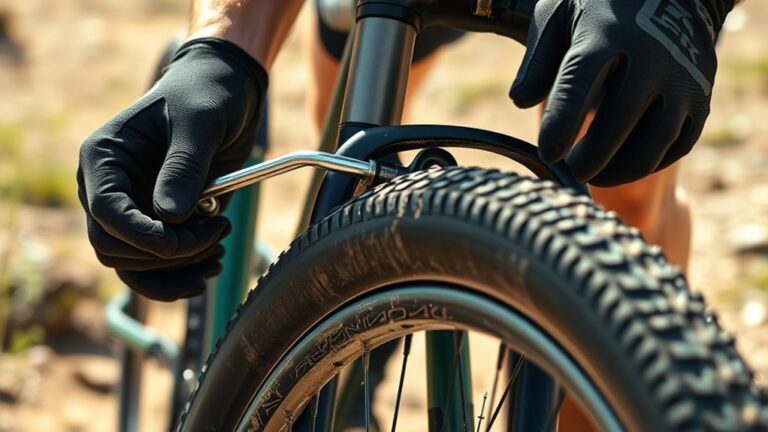
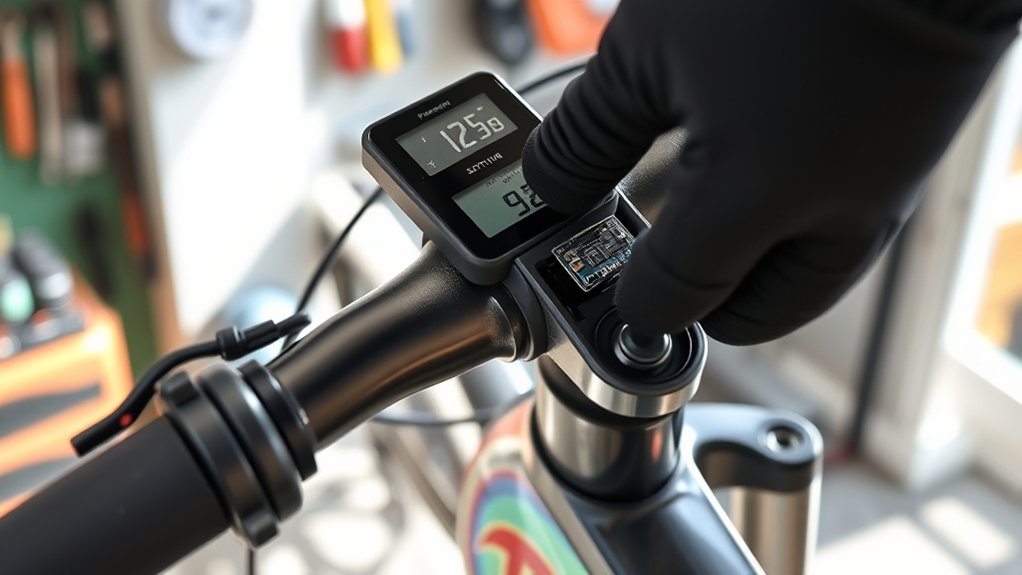
Locate and Identify the Limiter Components
To effectively remove the speed limiter, you need to locate and identify the key components responsible for restricting your e-bike’s speed. Start by inspecting the motor area, where the limiter is often integrated.
Look for a small box or module connected to the wiring harness; this is usually the speed limiter controller. Check the wiring and connections leading to the controller, throttle, and motor.
Some bikes may have a resistor or a specific circuit embedded in the wiring harness or nearby the controller. If available, consult your bike’s manual or schematics to pinpoint the exact parts.
Accurately identifying these components is essential before you proceed to reconfigure or disconnect them safely.
Safely Disconnect or Reconfigure the Limiter
Once you’ve identified the limiter components, the next step is to disconnect or reconfigure them carefully to remove the speed restriction. Start by powering off your bike and disconnecting the battery to prevent any electrical shorts.
Use insulated tools to avoid shocks. Locate the limiter wires or modules and gently disconnect them, making sure to note how they connect for future reference.
Use insulated tools to safely disconnect limiter wires, noting their connections for easy reassembly.
If your bike’s design allows, you might reconfigure the limiter settings through a control module or connector. Avoid forcing any parts or rushing the process; gentle handling minimizes damage.
Always double-check your connections before reassembling. If you’re unsure about any step, consult your bike’s manual or seek professional help. Safety is key when working with electrical components.
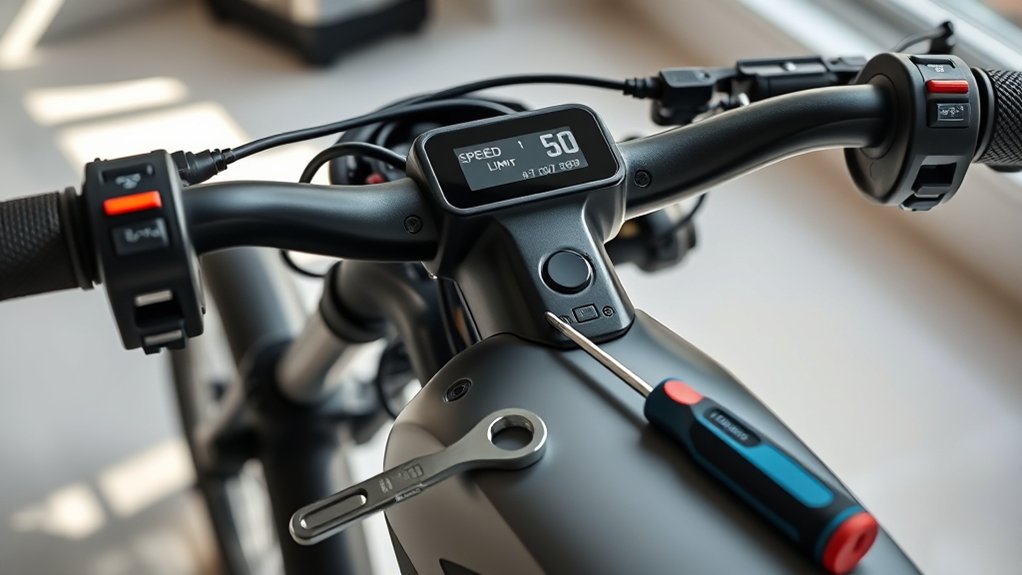
Adjust Settings or Firmware to Remove the Speed Limit
If your electric bike’s firmware or control settings allow, adjusting these parameters is often the easiest way to remove the speed limit. You can access the settings through a dedicated app or the bike’s onboard menu.
Once inside, look for options like “speed limit,” “power settings,” or “firmware parameters.” Increase or disable the maximum speed setting, but be careful to stay within legal limits.
Some bikes may need firmware updates or custom software to unlock higher speeds. Adjusting settings like “speed limit,” “power output,” or updating firmware can help you go faster.
You might also need to recalibrate sensors or modify controller parameters in the settings. Always double-check your adjustments to ensure safe and legal riding.
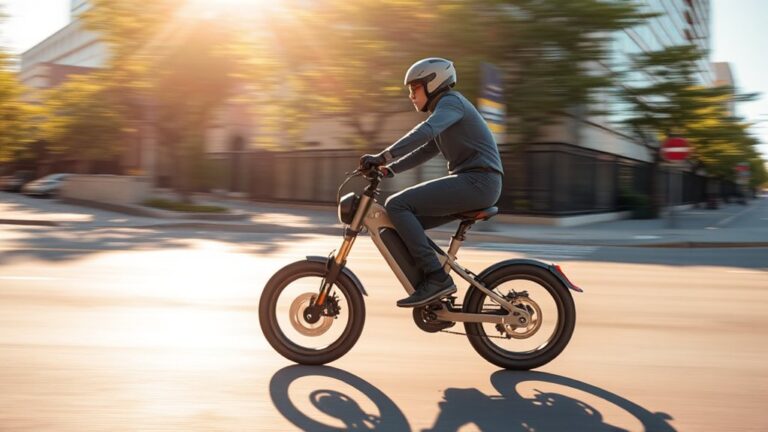
Test Your Bike to Confirm the Speed Limit Is Removed
Now, it’s time to test your bike and see if the speed limit is gone.
You should verify the speed increase, possibly using speed testing apps for accuracy.
Make sure the bike performs smoothly and reaches the desired top speed without issues.
Verify Speed Increase
Have you removed the speed limiter successfully? Now, it’s time to verify your bike’s new top speed.
Find a safe, open, flat area free of obstacles for your test ride. Accelerate gradually to see if your bike hits the higher speed you aimed for.
To be sure of the results, consider recording the speed with a GPS device or app. Keep in mind that factors like rider weight and terrain can influence your speed.
Use the table below to compare your expected and actual speeds:
| Expected Speed | Actual Speed | Difference |
|---|---|---|
| 20 mph | 21 mph | +1 mph |
| 25 mph | 26 mph | +1 mph |
| 30 mph | 30 mph | 0 mph |
Confirming these speeds shows your limiter removal was successful.
Use Speed Testing Apps
Are you ready to confirm your bike’s top speed after removing the limiter? Using speed testing apps makes this easy. Just download a reliable app on your phone that has GPS tracking and speed measurement features.
Find an open, flat area free of obstacles for the most accurate reading. Start the app before you begin riding, then accelerate to your bike’s maximum speed. Keep your phone steady and in a secure holder to avoid errors.
Once you hit your top speed, stop the app and check the data. This gives you a clear, digital record of your bike’s performance. Regular testing helps you see if removing the limiter worked and whether your bike is performing as expected.
Confirm Bike Performance
After using a speed testing app to record your maximum speed, it’s time to verify that your bike truly performs at the new limit. Find a safe, open stretch of road with minimal traffic.
Accelerate to your bike’s top speed and observe how it performs. Keep your phone or device handy to monitor real-time speed. If your bike hits the expected speed, it confirms the limiter removal was successful.
If not, double-check your settings or reapply the modification. Make sure your bike is in good condition, tire pressure is ideal, and battery charge is sufficient.
Performing multiple tests helps guarantee consistent results. Once you’re confident, you can enjoy your bike’s improved performance without the previous speed restriction.
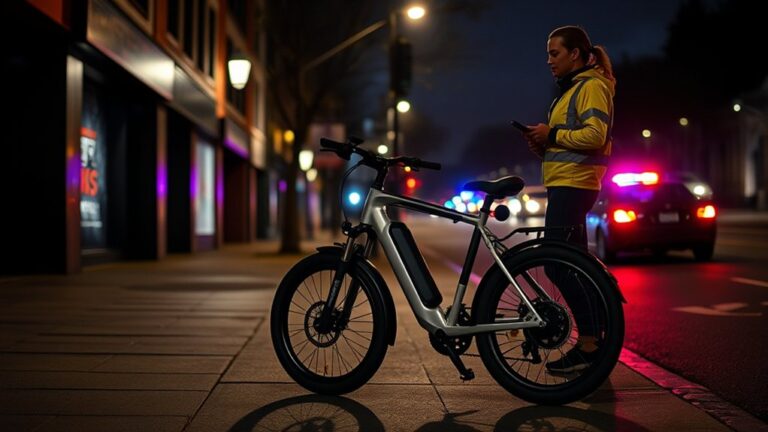
Follow Safety Tips and Legal Guidelines After Bypassing the Limiter
Once you’ve bypassed the speed limiter, it’s crucial to prioritize safety and stay within legal boundaries. Always wear a helmet and protective gear to reduce injury risk.
Respect local laws regarding maximum speed limits for electric bikes, as exceeding them can lead to fines or confiscation. Regularly inspect your bike’s brakes, tires, and lights to guarantee safe operation at higher speeds.
Avoid aggressive riding or sudden maneuvers that could cause accidents. Keep in mind that increasing your bike’s speed may impact its stability and handling.
If you plan to ride faster, consider upgrading components for better safety. Being responsible not only protects you but also prevents legal issues and keeps your riding experience enjoyable and safe.
Frequently Asked Questions
Will Removing the Speed Limiter Void My Electric Bike’s Warranty?
Removing the speed limiter can void your electric bike’s warranty because manufacturers usually specify that any modifications affecting safety features or performance are not covered.
When you change the bike’s settings, there’s a chance you could lose warranty coverage for related components. It’s always a good idea to check your warranty terms first.
If you decide to go ahead, just be aware that you might lose certain protections. This means repairs could become your financial responsibility.
Can Removing the Limiter Damage My Bike’s Motor or Battery?
Removing the limiter is like opening Pandora’s box—there’s a risk it could strain your motor or battery, which might cause damage over time.
Pushing your bike beyond its designed limits means your components work harder, and that can lead to overheating or faster wear.
If you decide to go down this path, make sure to keep a close eye on your bike.
It’s also a good idea to consider upgrades to handle the extra stress so your ride stays smooth and safe.
Is It Legal to Bypass the Speed Limiter in My Area?
It depends on your local laws. In many areas, bypassing the speed limiter on your e-bike can be illegal, especially if it exceeds the legal speed limits for electric bikes.
You might face fines, confiscation, or other penalties if you’re caught. It’s a good idea to check your area’s specific regulations before making any modifications.
Staying within the legal limits not only keeps you compliant but also helps ensure your safety and the longevity of your bike.
How Do I Revert to the Original Settings if Needed?
Reverting your e-bike to its original settings is like hitting the undo button on a mistake. First, go to the bike’s control panel or app where you made the changes.
Follow the manufacturer’s instructions to reset to factory defaults. This is usually a simple menu option or a specific sequence of buttons.
If that doesn’t work, check the user manual or contact customer support. This way, your bike’s settings are restored safely and correctly.
Does Removing the Limiter Affect My Bike’s Safety Features?
Removing the limiter can affect your bike’s safety features, as it may disable or weaken some mechanisms designed to prevent accidents. You might find yourself with less control, especially at higher speeds.
This increases the risk of falls or injuries. Always check your bike’s manual and talk to a professional before removing the limiter.
That way, you’ll understand the safety risks and make sure you’re riding responsibly within your bike’s capabilities.
Conclusion
You’ve just unlocked the secret to turning your electric bike into a speed demon that could rival a rocket blasting into space. With these steps, you’re now the master of speed, breaking barriers and leaving everyone in your dust.
Just remember, with great power comes great responsibility. Ride smart, stay safe, and don’t let your newfound speed turn your joyride into a wild race across the universe!
By removing the speed limiter on your electric bike, you can enjoy faster rides and more thrilling adventures. Just be sure to follow local laws and stay safe on the road.
Enjoy your upgraded ride and embrace the freedom of a faster, more exciting electric bike experience.