Fix a Mountain Bike Chain in 8 Simple Steps
Are you tired of struggling with a stubborn mountain bike chain that just won’t cooperate? You’re not alone—many riders find fixing their bike chains to be a frustrating task. But don’t worry, with a little know-how, you can get your chain running smoothly again.
To fix your mountain bike chain in 8 simple steps, start by evaluating the chain’s condition for wear or damage. Gather necessary tools like a chain tool or quick-link.
Carefully remove the chain, then clean and lubricate it for smooth operation. Reinstall the chain by threading it through the derailleur, connecting it securely.
Test ride your bike to confirm it runs smoothly. Continue with these tips to keep your chain in top shape and prevent future issues.
Key Takeaways
- First, check the chain for any signs of wear, rust, or stiff links. It’s a good idea to do this before you start repairing or replacing anything.
- Grab your essential tools like a chain tool, a quick-link, and some lubricant. Having everything ready makes the process much smoother.
- Carefully remove the chain from the bike, then reinstall it. Make sure the chain has the right tension and is aligned properly.
- Spin the pedals and shift gears to see how the chain moves. If it runs smoothly and feels tight, you’re all set.
- Remember to use good riding techniques and do regular inspections. This helps prevent future chain problems and keeps your bike running smoothly.
How to Decide if Your Mountain Bike Chain Needs Repair or Replacement
Wondering whether your mountain bike chain needs repair or replacement? The first step is to inspect the chain closely.
If it looks visibly worn, with rust, stiff links, or missing rollers, it’s probably time to replace it. You can also check for elongation by using a chain checker tool or measuring with a ruler. If the chain stretches more than 1/16 inch over five links, it’s time for a new one.
Feel the chain while pedaling. If it feels rough or skips under load, that’s a sign it’s worn out. Minor issues like stiff links or dirt can often be fixed with cleaning or lubrication.
But if you notice significant wear or damage, replacing the chain will improve shifting performance and protect your drivetrain.
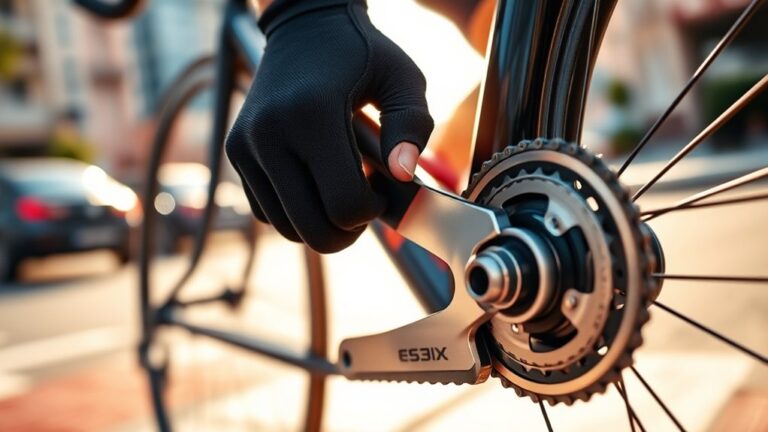
Tools You Need for Mountain Bike Chain Repair
To effectively repair a mountain bike chain, you’ll need a few essential tools that make the job easier and more efficient. First, grab a chain tool or chain breaker, which helps you remove or reconnect chain links.
A quick-link connector can also come in handy if your chain uses master links. You’ll need a pair of needle-nose pliers for handling small components and a rag or brush to clean dirt and grease from the chain.
Lubricant is vital to keep your chain running smoothly after the repair. Finally, having a bike stand or a stable surface makes working on your bike more manageable.
With these tools, you’ll be well-equipped to fix your chain quickly and effectively, ensuring a smoother ride.
Assessing Your Chain’s Condition: Is It Stuck, Damaged, or Worn Out?
Before you start fixing your mountain bike chain, it’s essential to assess its condition thoroughly. Check if the chain is stuck, damaged, or worn out.
If it’s stuck, try gently shifting the gears or applying a bit of lubricant to free it up. Look closely for any bent or broken links, which indicate damage.
Worn-out chains often feel loose or have excessive play when you lift them from the sprockets. You can also measure chain wear with a ruler—if the chain stretches beyond manufacturer specifications, it’s time to replace it.
Inspect for rust, stiff links, or any signs of corrosion. Proper assessment helps you determine whether cleaning, lubrication, or replacement is necessary before proceeding to repair.
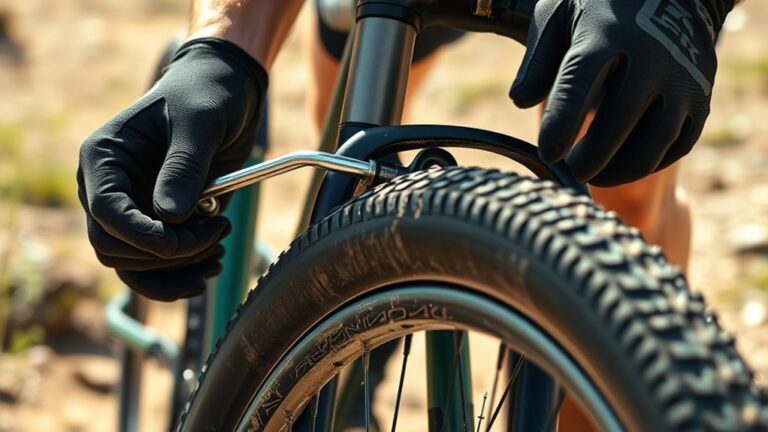
How to Safely Remove Your Mountain Bike Chain
Before removing your bike chain, set up a clean, flat workspace to keep parts organized.
Gather the right tools, like a chain tool or master link pliers, to make the process smoother.
Finally, release the chain tension to prevent snap-back or injury during removal.
Prepare Your Workspace
Setting up a clean, organized workspace is key for safely removing your mountain bike chain. Clear a flat surface with good lighting so you have plenty of room to work.
Remove any clutter or tools that might get in your way or cause accidents. Place a container nearby to hold the chain or small parts, so you don’t lose anything.
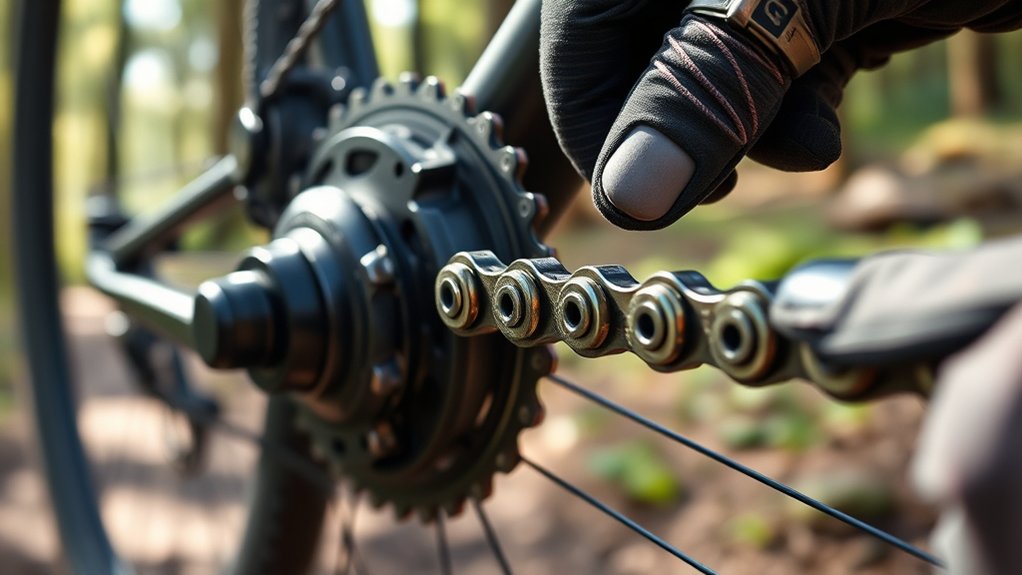
Make sure your bike is stable—use a bike stand or lean it against a secure surface. Wearing gloves can protect your hands from grease and sharp edges.
Keep a rag handy to wipe off dirt or excess lubricant. Taking these steps helps you stay focused and makes the job safer and easier.
Gather Necessary Tools
Gather all the tools you’ll need before starting to remove the chain. You’ll typically need a chain tool or chain breaker to disconnect the links.
A quick-link tool or master link pliers can also help if your chain uses quick links. Keep a rag or cloth handy to wipe off dirt and grease.
If your chain is very dirty, a degreaser or cleaning brush can make the process smoother. Some riders prefer gloves to protect their hands from grease and grime.
Make sure your workspace is well-lit and stable. Having these tools ready guarantees you won’t waste time searching mid-process, keeping the removal quick and safe.
Proper preparation with the right tools makes the chain removal straightforward and helps prevent accidental damage.
Release Chain Tension
To safely remove your mountain bike chain, you need to release the tension that keeps it tight on the gears. This step helps prevent damage to the chain or other bike parts. First, shift to the smallest chainring and smallest rear sprocket to loosen the tension.
Next, lift the rear wheel off the ground to slacken the chain even more. You might also need to use a quick-release lever or axle to loosen the rear wheel. Releasing the derailleur’s tension by shifting to the highest gear can help as well.
Carefully pull the chain away from the gears once it’s slack enough. Check for any chain links or pins that might need removal. Keep your tools handy in case you need to disconnect a master link.
Following these steps will make sure you remove the chain safely and smoothly without damaging your bike.
Cleaning and Lubricating Your Bike Chain for Smooth Riding
Keeping your chain clean and well-lubricated is key to smooth riding.
Use proper cleaning techniques to remove dirt and grime effectively, making sure no debris stays behind.
Then, apply the right type of lubricant to keep your chain moving freely and prevent rust.
Proper Cleaning Techniques
Regularly cleaning your bike chain is essential to keep it running smoothly and extend its lifespan. To do this effectively, start by removing dirt and grime with a degreaser or chain cleaner.
Use a stiff brush or an old toothbrush to scrub the chain thoroughly, paying attention to between the links. Rinse with water and dry completely with a clean cloth to prevent rust.
Proper cleaning removes debris that can cause wear and reduces efficiency. Remember, a well-cleaned chain shifts better and lasts longer.
Here are some tips to guarantee you’re doing it right:
- Use eco-friendly degreasers for safety and the environment
- Avoid high-pressure water that can force debris into bearings
- Focus on all chain parts, including rollers and pins
- Check for damage while cleaning
- Dry thoroughly before lubrication
Effective Lubrication Methods
After thoroughly cleaning your bike chain, applying the right lubricant is essential for smooth gear shifts and preventing rust. Use a lubricant designed specifically for bike chains and apply it sparingly. Spin the pedals backward to spread the oil evenly across all links.
Wipe off any excess to prevent dirt buildup. Proper lubrication reduces friction and helps your chain last longer.
| Lubricant Type | Application Method | Benefits |
|---|---|---|
| Wet lube | Apply generously, wipe off | Ideal for wet conditions |
| Dry lube | Light application, wipe off | Best for dry, dusty environments |
| Wax-based | Apply a thin layer, let dry | Keeps chain cleaner |
Choose your lubricant based on riding conditions for peak performance.
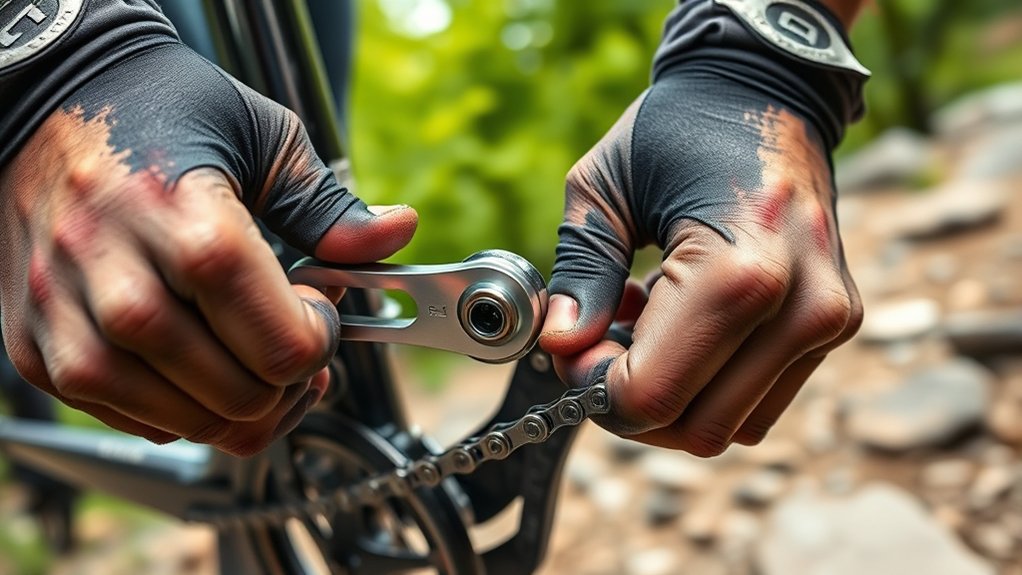
Step-by-Step Guide to Reinstalling and Connecting Your Chain
To reinstall and connect your mountain bike chain smoothly, start by placing the chain back onto the smallest chainring at the front and the smallest sprocket at the rear. Next, thread the chain through the derailleur, making sure it runs properly over the pulleys.
Connect the chain using a master link or chain pin, depending on your setup. Use pliers or a chain tool to secure the link firmly. Keep these tips in mind:
Secure the chain with a master link or chain pin using pliers or a chain tool for a reliable connection.
- Align the chain links properly before connecting
- Use a chain tool for precise pin installation
- Make sure the master link clicks into place securely
- Check for smooth movement through the derailleur
- Adjust chain tension if necessary after installation
Following these steps guarantees a secure, functional connection, ready for your next ride.
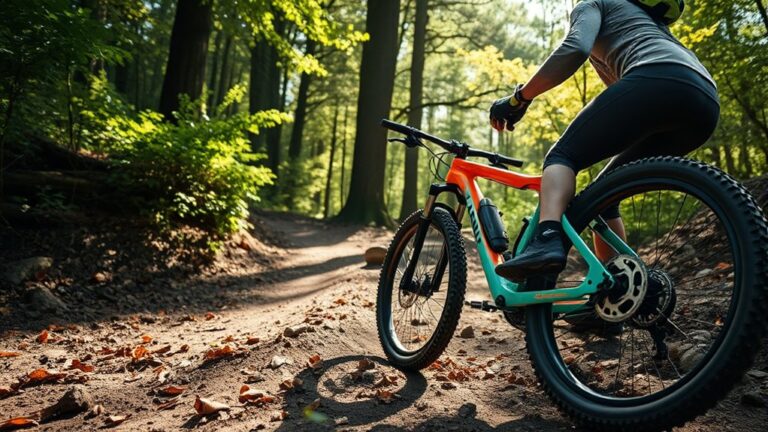
Test Your Bike to Make Sure the Chain Runs Smoothly
Start by spinning the pedals slowly and watching how the chain moves through the drivetrain. Look for any sticking, slipping, or uneven movement.
Shift through different gears to see if the chain shifts smoothly without hesitation or noise. If it skips or jumps, it might need more adjustment or lubrication.
Listen for squeaking or grinding sounds that could mean friction or misalignment. Feel if the pedals turn smoothly without resistance or wobbling.
Check that the chain stays tight and doesn’t derail off the gears. Make sure it moves freely over the cassette and chainrings.
If everything runs smoothly and quietly, your chain is installed correctly and working well. If not, double-check your adjustments before riding again.
Tips to Prevent Future Chain Breaks and Keep Your Bike Running Well
Regular maintenance and mindful riding habits can greatly extend the life of your bike’s chain. To prevent future breaks and keep your ride smooth, make sure to keep your chain clean and well-lubricated regularly.
Check for wear and replace the chain before it becomes too stretched. Avoid jumping gears under load, as this puts extra stress on the chain and drivetrain. Use proper gear shifting techniques to reduce strain and keep everything running smoothly.
Maintain correct tire pressure to minimize unnecessary stress on the drivetrain. Finally, inspect your bike often for loose or worn components that could cause chain issues.
- Clean your chain after muddy or wet rides
- Lubricate the chain regularly with appropriate oil
- Replace the chain when it shows signs of wear
- Shift gears smoothly to avoid unnecessary stress
- Keep your drivetrain components tight and in good condition
Frequently Asked Questions
How Often Should I Check My Mountain Bike Chain for Wear?
You should check your mountain bike chain for wear every 100 to 200 miles, or more often if you ride a lot on rough terrain.
Regular inspections help you catch stretched or damaged chains early, which can prevent gear slipping or damage to other drivetrain parts.
Look for signs like elongation, stiff links, or dirt buildup.
Keeping an eye on your chain means smoother rides and a longer lifespan, which saves you money in the long run.
Can I Fix a Chain Without Removing It From the Bike?
Yes, you can fix a chain without removing it from the bike. First, shift to the smallest chainring and sprocket to loosen tension.
Then, use a chain tool to disconnect the chain link or master link. Make your repairs—like tightening, replacing a damaged section, or lubricating—and reconnect the chain.
Always check the chain’s tension and make sure it moves smoothly before riding again.
What Are the Signs of a Seriously Damaged Mountain Bike Chain?
You’ll notice a seriously damaged mountain bike chain if it’s skipping gears, making creaking noises, or showing visible rust and stiff links.
If the chain looks elongated or has broken links, that’s a clear sign of damage. You might also feel roughness or slack when pedaling, especially when under load.
Ignoring these signs can lead to more damage, so it’s best to fix the issue quickly. This will help keep your ride smooth and safe.
How Do I Properly Dispose of an Old or Broken Chain?
You should recycle your old or broken mountain bike chain at a local metal recycling facility or scrap yard. Many bike shops also accept used chains for proper disposal.
Make sure the chain is clean and free of contaminants before dropping it off. Don’t throw it in the regular trash because metal recycling helps conserve resources.
This way, you contribute to environmental sustainability and ensure hazardous materials are disposed of safely.
Is It Necessary to Use Special Lubricant for Mountain Bike Chains?
Think of your bike chain as a delicate dancer; it needs the right lubricant to glide smoothly.
Yes, using a special mountain bike chain lubricant is essential because it’s designed to withstand dirt, mud, and water.
Regular oil might seem easier, but it can attract grime and cause more wear.
With the right lubricant, your chain stays resilient, making rides effortless and helping your bike last longer.
Conclusion
Now that you’ve navigated the winding trail of chain repair, your mountain bike is ready to conquer new peaks with renewed energy. Think of your chain as the heartbeat of your ride—keeping it in tune guarantees your adventure never hits a dead end.
With your toolkit in hand and confidence in your steps, you’re set to keep the rhythm of the trail flowing smoothly. This way, every ride turns into a seamless symphony of motion and mastery.
Remember, a well-maintained mountain bike chain is key to a great ride. Regular care ensures you’re always ready for the next big adventure.