How to Clean Your Road Bike in 7 Easy Steps
Many road bike enthusiasts know the struggle of keeping their bikes spotless and well-maintained. It’s easy to feel overwhelmed by the process or unsure where to start.
If you’re looking for an easy, step-by-step way to clean your road bike, you’re not alone—many riders want a simple routine to keep their bike in top shape.
To clean your road bike in 7 easy steps, start by gathering your tools and setting up a tidy workspace. Rinse the bike gently to remove loose dirt, then apply a bike-specific cleaner and let it sit for a few minutes.
Scrub the frame, components, and chain with soft brushes, then rinse thoroughly. Dry the bike completely and finish by lubricating the moving parts.
If you keep going, you’ll uncover all the tips for a thorough, safe cleaning process.
Key Takeaways
- Gather your cleaning tools and set up your workspace before you start.
- Rinse the bike gently with water to wash away loose dirt and debris.
- Next, apply a bike-specific cleaner and scrub all surfaces. Focus especially on the drivetrain components.
- Rinse everything thoroughly to remove soap and grime, then dry the bike completely.
- Finally, lubricate moving parts like the chain and derailleurs. This keeps everything running smoothly.
Why Regular Bike Cleaning Matters for Performance
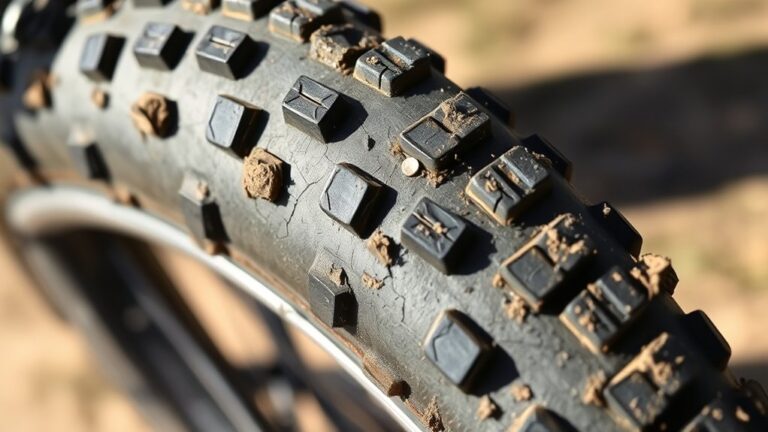
Regular bike cleaning is essential because dirt and grime can greatly hinder your bike’s performance. When you neglect cleaning, debris builds up on the chain, gears, and brake components, causing friction and reducing efficiency.
This buildup can lead to faster wear and tear, forcing you to replace parts sooner. Mud and dirt also compromise your brakes’ ability to stop effectively, risking safety.
Grime can cause rust and corrosion over time, damaging the bike’s frame and components. By regularly cleaning your bike, you maintain smooth shifting, responsive braking, and overall better handling.
Regular cleaning prevents rust, ensuring smooth shifting, better braking, and improved bike handling over time.
It also allows you to spot potential issues early, preventing costly repairs. In short, consistent cleaning keeps your bike running smoothly and extends its lifespan, making every ride safer and more enjoyable.
Gather Your Tools and Prepare Your Workspace
Gather all your essential tools like brushes, rags, and cleaning solutions before you start cleaning. Having everything ready will make the process go more smoothly.
Make sure your workspace is organized and free of clutter so you can work efficiently. A tidy area helps you avoid missing any steps.
Being prepared with everything at hand makes cleaning easier and less stressful. It’s worth taking a few moments to get everything in place first.
Essential Cleaning Tools
Gathering your cleaning tools and setting up a dedicated workspace is the first step to making the bike cleaning process efficient and effective. You’ll need a few essential tools to get the job done right.
| Tool | Purpose |
|---|---|
| Bike-specific cleaner | Break down dirt and grime |
| Soft brushes | Gently scrub delicate parts |
| Microfiber cloths | Wipe down surfaces without scratching |
Having these tools ready guarantees you can clean thoroughly without interruption. A well-organized workspace helps you work efficiently and keeps your tools within reach.
Remember, using the right tools prevents damage and makes cleaning faster. Keep everything in one place, and prepare to give your bike a proper refresh.
Proper tools and setup lay the foundation for a successful, hassle-free cleaning session.
Organize Your Space
Setting up your workspace is key for an efficient bike cleaning process. Gather all your cleaning tools—brushes, rags, degreaser, bike-specific cleaner, and lubricants—so everything is within reach.
Choose a well-lit, flat area with enough space to move around your bike comfortably. Clear clutter to avoid accidents and speed up the process.
Lay down a towel or mat to protect your surfaces and catch drips. Organize your tools in a logical order so you can easily grab what you need as you go.
Preparing your workspace beforehand prevents interruptions and keeps you focused. This way, you’ll save time and make the cleaning smoother, leaving your bike spotless and ready for the road.
Rinse Your Bike to Remove Loose Dirt
Start by rinsing your bike with a gentle stream of water to wash away loose dirt and debris. Use a hose or spray bottle set to low pressure so you don’t force dirt into bearings or delicate parts.
Focus on the frame, fork, wheels, and drivetrain to remove surface grime. Keep the nozzle a few inches away from the bike to prevent water from penetrating sensitive areas.
Move steadily and cover all surfaces without holding the water in one spot for too long. This step loosens dirt and prepares the bike for a deeper clean.
Avoid using high-pressure water, which can damage components or push dirt into places harder to clean later. Rinsing thoroughly now makes the next steps more effective.
Apply Bike Cleaner and Let It Break Down Dirt
Apply a bike-specific cleaner to the entire frame, focusing on areas with stubborn grime or grease. Spray it generously, making sure to cover all surfaces, including under the frame and around components.
Let the cleaner sit for a few minutes so it can break down dirt and grease effectively. During this time, avoid scrubbing; just let the chemical do its work.
This step helps loosen tough mud, oil, and grime, making the next cleaning steps easier. Be sure to follow the instructions on your cleaner for proper dwell time.
Using a dedicated bike cleaner ensures you don’t damage your paint or components. Once the cleaner has had time to work, you’ll be ready for scrubbing and rinsing.
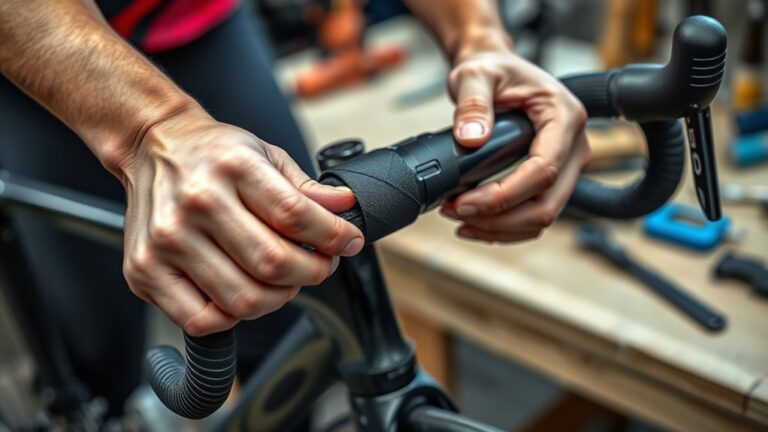
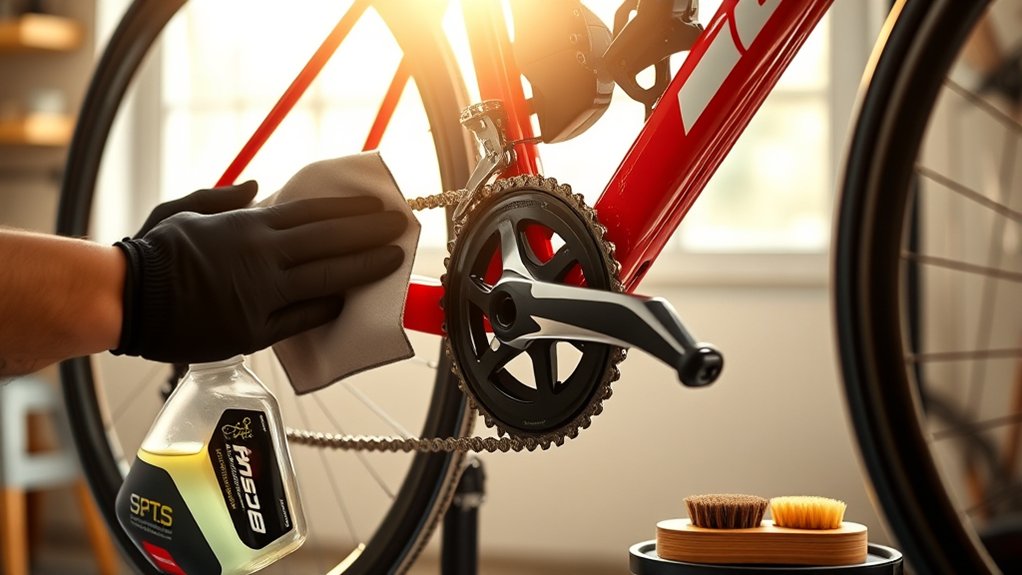
Scrub the Frame, Components, and Chain
Grab a soft-bristled brush or sponge and start scrubbing the frame, components, and chain to loosen dirt and grime. Focus on areas like the bottom bracket, derailleurs, and cassette where dirt tends to build up.
Use gentle, circular motions to lift stubborn grime without scratching the paint or delicate parts. Keep a cloth handy to wipe away excess dirt as you go.
Don’t forget to thoroughly clean the chain, paying extra attention to the links. For tight spots, a small brush or toothbrush works well. Be patient and methodical to make sure every part gets cleaned.
This step helps prepare your bike for rinsing, making it easier to remove dirt and grease during the next phase of cleaning.
Rinse Off the Cleaner and Remaining Dirt
Once you’ve scrubbed away the dirt and grime, it’s time to rinse your bike thoroughly. Use a gentle stream of water to wash away soap, dirt, and debris without forcing water into bearings or sensitive parts. Keep the nozzle at a distance to prevent any damage. Focus on areas where grime tends to hide, like under the chainstays and around the derailleur.
To guarantee a complete clean, remember to:
- Rinse the entire frame, paying attention to hard-to-reach spots
- Remove any soap residue to prevent streaks or spots
- Check that no dirt or cleaner remains in crevices or joints
A thorough rinse leaves your bike spotless and ready for the next step.
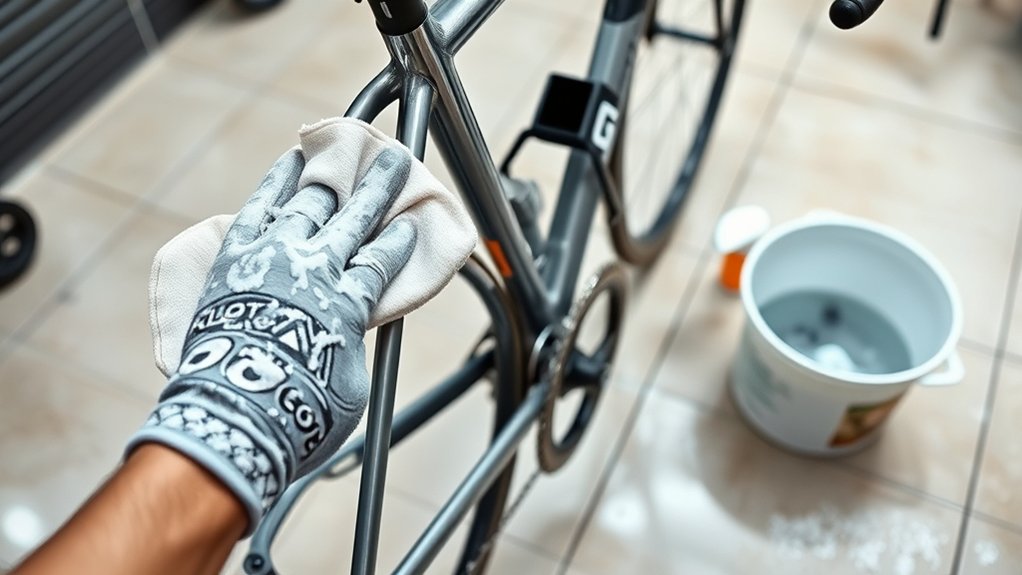
Dry Your Bike and Lubricate Moving Parts
After rinsing your bike, make sure to dry it completely to prevent rust and water spots. Use a clean microfiber cloth or soft towel to wipe down all surfaces, especially around frame joints and areas where water tends to collect.
Once it’s dry, move on to lubricating your bike’s moving parts. Apply bike-specific lubricant to the chain, derailleurs, and pivot points. Turn the pedals and shift gears to spread the lubricant evenly.
Wipe off any excess lubricant to keep dirt from sticking. Proper drying and lubrication help your bike run smoothly and last longer.
Doing this regular maintenance keeps your ride in top shape and ready for your next adventure.
Frequently Asked Questions
How Often Should I Clean My Road Bike?
You should clean your road bike after every few rides, especially if you ride in muddy or wet conditions. Regular cleaning helps prevent dirt and grime buildup, which can cause rust and damage components.
If you mostly ride on dry roads, cleaning once every couple of weeks is enough. Always take a moment to inspect your bike for any issues during cleaning.
Pay special attention to the chain and drivetrain to keep everything running smoothly.
Can I Use Household Cleaning Products on My Bike?
Using household cleaning products on your bike is like pouring soda on a delicate painting—you risk damaging its finish and components. Stick to bike-specific cleaners and degreasers, as they’re designed to remove grime without harming your bike.
These products gently lift dirt while protecting your paint and lubricants. By choosing the right cleaning supplies, you keep your bike shining and working smoothly.
This helps you avoid costly repairs or replacements down the line. So, always opt for products made for bikes to keep everything in top shape.
What’s the Best Way to Clean Hard-To-Reach Areas?
To clean hard-to-reach areas, use a soft brush or an old toothbrush to gently scrub tight spots like derailleurs, chainrings, and brake calipers. It’s a good way to get into those tricky spots without damaging anything.
For stubborn dirt, spray a bike-specific degreaser and let it sit for a few minutes. Then, give it a good scrub to loosen the grime. This helps keep your bike in top shape.
Use a cloth or compressed air to remove the loosened grime. Regular attention to these spots keeps your bike running smoothly and extends its lifespan.
How Do I Prevent Rust After Cleaning?
To keep rust at bay after cleaning, give your bike a gentle, thorough dry to remove any lingering moisture—think of it as giving it a warm hug.
Follow up with a light coat of bike-specific lubricant on the chain and moving parts to build a protective barrier.
Store your bike in a dry, covered area, and regularly check for signs of moisture or corrosion. This way, your bike stays looking great and performs its best.
Should I Remove the Bike Chain for Cleaning?
Yes, you should remove the bike chain for thorough cleaning. Taking it off lets you clean every link and get rid of built-up grime more easily.
Use a chain cleaning tool or soak it in a degreaser, then scrub it with a brush. Once it’s clean, dry it well and apply lubricant before putting it back on.
This process helps keep your shifting smooth, prevents rust, and makes your chain last longer.
Conclusion
Think of cleaning your bike like tuning a musical instrument. Regular care keeps everything sounding smooth and performing at its best.
By following these simple steps, you’ll clear away dirt and grime that can slow you down or cause damage.
With a little effort, your bike will shine like a polished gem, ready to hit the road.
Keep up with your cleaning routine, and your ride will sing a song of speed and reliability every time you pedal out, especially when you focus on maintaining your road bike.