Adjust Mountain Bike Gears in 8 Easy Steps
Many mountain bikers find themselves frustrated when shifting gears doesn’t feel smooth or responsive. You’re not alone—gear adjustment can be tricky, especially if you’re new to it. But don’t worry, mastering mountain bike gear adjustment is easier than you think.
To adjust your mountain bike gears in eight easy steps, start by identifying key components like shifters, derailleurs, and cassette, then clean and prepare your bike.
Next, set the limit screws to keep your chain from slipping and adjust cable tension for smooth, responsive shifting.
Fine-tune both front and rear derailleurs, then test your gears on various terrains.
Finally, troubleshoot common issues to guarantee reliable performance. Keep going, and you’ll master gear adjustment for a smoother ride.
Key Takeaways
- Shift to the smallest chainring and rear cog before starting gear adjustments.
- Adjust the derailleur limit screws (“H” and “L”) to prevent the chain from overshooting.
- Use the barrel adjuster to fine-tune cable tension for smooth gear shifts.
- Test your gear shifting on different terrains to see how it performs in real-world riding.
- Make small, incremental adjustments and retest to get the shifting just right.
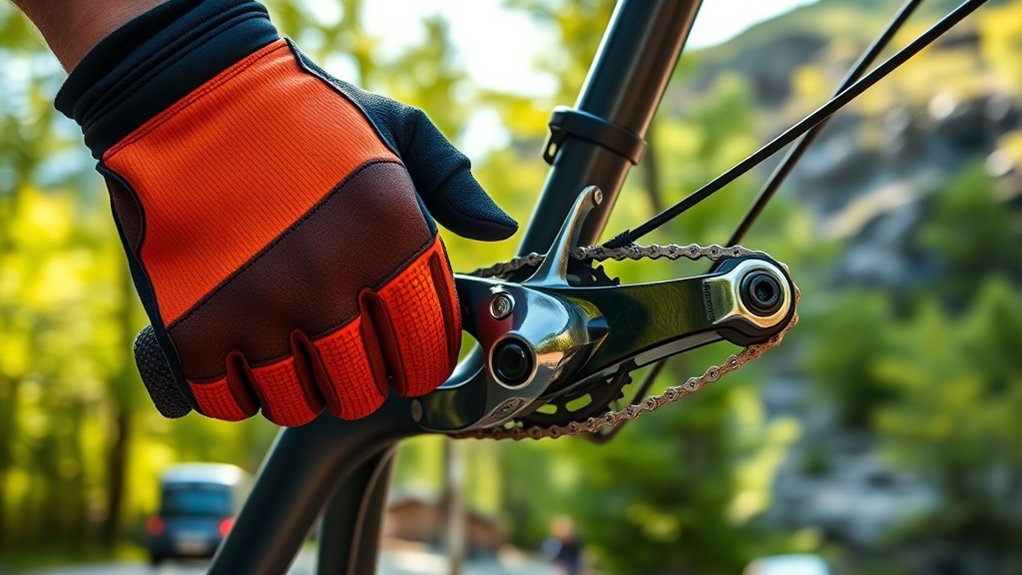
Identify Your Mountain Bike Gear Components and Tools
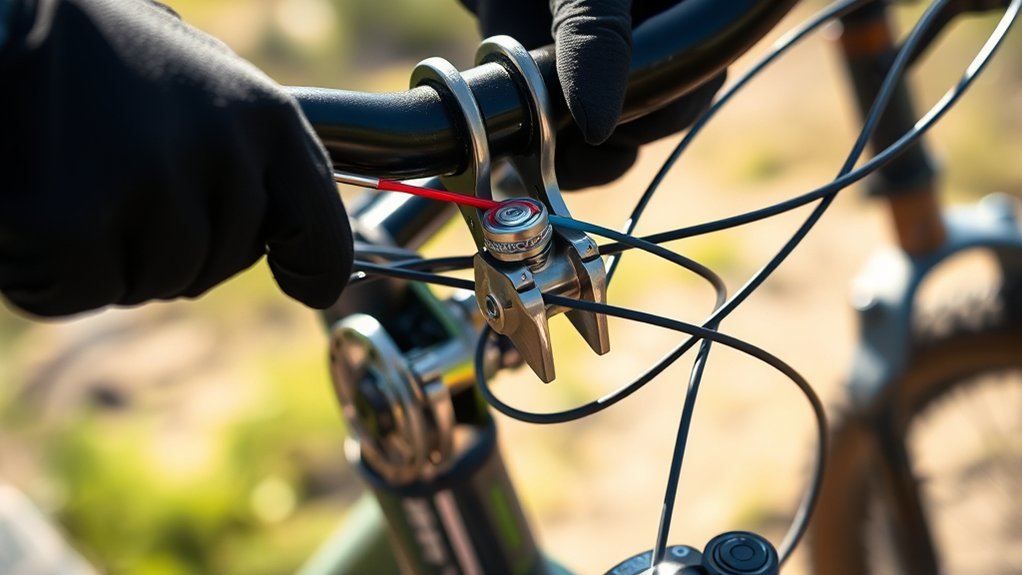
Before you adjust your mountain bike gears, you need to identify the key components involved. Start by locating the shifters on your handlebars; these control gear changes.
Next, find the derailleurs—front and rear—responsible for moving the chain across the chainrings and cassette. The chainrings attach to the crankset, while the cassette sits on the rear wheel hub.
Understanding these parts helps you know where adjustments happen. You’ll also need specific tools: a Phillips screwdriver or a flathead for limit screws, an Allen wrench set for cable tension adjustments, and optionally, a bike stand to keep your bike stable.
Having these tools ready and knowing each gear component’s role guarantees you can make precise gear adjustments without confusion or errors.
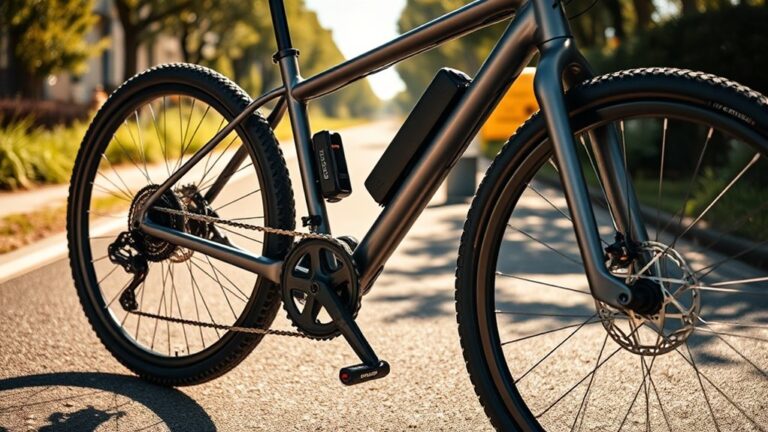
Prepare Your Mountain Bike: Cleaning and Setup
Two essential steps will get your mountain bike ready for gear adjustment: cleaning and setup. First, give your bike a thorough clean to make sure dirt and grime don’t interfere with the gears. Focus on the drivetrain, including the chain, cassette, and derailleurs. Once clean, dry everything before moving on.
Cleaning your drivetrain thoroughly ensures dirt won’t interfere with smooth gear adjustments on your mountain bike.
Next, set up your bike for easy access and accurate adjustments. Follow these steps:
- Shift to the smallest chainring and smallest rear cog.
- Place your bike on a stable stand or flip it upside down.
- Check cables for frays or rust; lubricate if needed.
- Make sure the derailleur hanger is straight to avoid alignment issues.
Once you’ve completed these steps, you’re ready to adjust your gears smoothly.
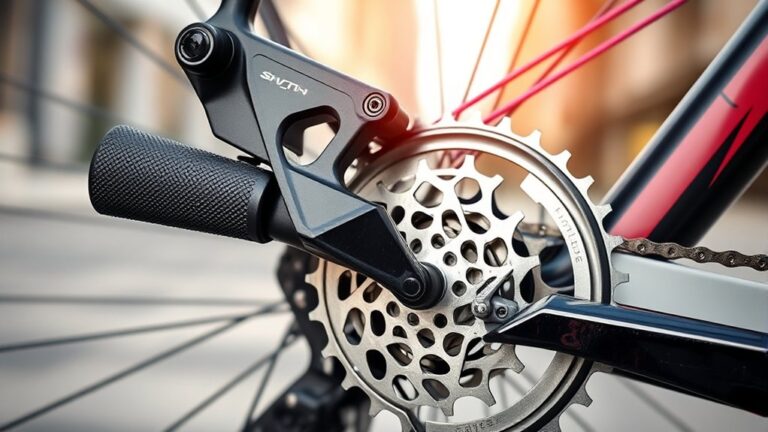
Set Limit Screws to Keep Your Chain in Place
You’ll use the limit screws to control how far your derailleur moves, keeping the chain from slipping off the gears.
Adjusting these screws sets the inner and outer boundaries for your chain’s movement.
Let’s look at how to fine-tune their positions for smooth shifting.
Purpose of Limit Screws
Although it might seem minor, limit screws are essential for keeping your chain on the gears properly. They act as physical stops, preventing your derailleur from moving too far in either direction. Without them set correctly, your chain could slip off and cause problems or frustration during your ride.
Here’s what limit screws do for you:
- They stop the derailleur from shifting the chain beyond the smallest cog.
- They prevent the chain from falling toward the frame on the largest cog.
- They help protect your bike’s drivetrain components from misalignment.
- They ensure smooth, reliable gear changes every time you ride.
Adjusting Screw Positions
Start by finding the limit screws on your derailleur. They are usually marked with an “H” for high gear and an “L” for low gear. These screws keep your chain from shifting off the cassette.
To adjust, turn the “H” screw to prevent the derailleur from moving too far toward the smallest cog. Turn the “L” screw to stop it from going too far toward the largest cog. Make small turns and test after each one.
Here’s a quick reference chart:
| Screw Marking | Direction to Tighten | Effect on Chain Position |
|---|---|---|
| H | Clockwise | Limits outward travel |
| H | Counterclockwise | Allows more outward travel |
| L | Clockwise | Limits inward travel |
| L | Counterclockwise | Allows more inward travel |
Adjust carefully to keep your chain secure and ensure smooth shifting.
Adjust Cable Tension for Smooth Shifting
Fine-tuning your mountain bike’s cable tension ensures smooth, precise gear shifts every time you ride. If your gears skip or hesitate, adjusting the cable tension is often the quickest fix. Here’s how to do it:
Adjusting your mountain bike’s cable tension is the fastest way to stop gear skipping and ensure smooth shifting.
Shift to the smallest rear cog and check the current cable tension.
Use the barrel adjuster near the shifter to increase tension by turning it counterclockwise if shifting is slow to move to larger cogs.
Turn the barrel adjuster clockwise to reduce tension if the chain struggles to shift to smaller cogs.
Test shift through all gears after each adjustment to verify smooth, consistent changes.
This simple dial-in keeps your drivetrain responsive without needing major repairs.
Fine-Tune Your Front Derailleur for Smooth Gears
To get your front derailleur shifting smoothly, you need to adjust its position and limit screws carefully. First, check that the derailleur cage sits about 1-3mm above the largest chainring and aligns parallel to it. Loosen the mounting bolt if needed to reposition.
Next, tighten the low limit screw so the cage doesn’t push the chain off the smallest ring. Shift to the largest ring and adjust the high limit screw to prevent the chain from overshooting. Once limits are set, fine-tune cable tension by turning the barrel adjuster until shifting feels crisp without hesitation.
Test by shifting through all front gears. Properly set limits and tension guarantee smooth, reliable front shifting, preventing chain drops or rubbing. This keeps your ride efficient and hassle-free.
Fine-Tune Your Rear Derailleur for Reliable Gears
Although adjusting the rear derailleur might seem tricky, getting it right guarantees smooth, reliable shifting across all your gears. Start by checking the derailleur hanger for alignment. A bent hanger can cause poor shifting.
Next, adjust the high and low limit screws to prevent the chain from slipping off the cassette. Then, fine-tune the cable tension using the barrel adjuster—turn it clockwise or counterclockwise until shifting feels crisp.
Finally, spin the pedals and shift through each gear. Make small barrel adjuster tweaks as needed to eliminate any skipping or hesitation. By following these steps, you’ll confirm your rear derailleur shifts accurately, giving you confidence on every trail without unexpected gear slips.
Test Your Mountain Bike Gears on Different Terrain
You’ll want to test your mountain bike gears on different terrains to see how they perform under various conditions.
Pay attention to any shifting issues that come up while you’re riding outdoors.
This will help you fine-tune your gears to match the terrain and make your ride smoother.
Assess Gear Performance Variability
When you ride across varied terrain, your mountain bike gears respond differently to challenges like steep climbs, rocky paths, and smooth trails. To accurately assess gear performance variability, focus on how smoothly your gears shift and how well they hold up under different conditions. Here’s what to do:
- Test climbing steep hills to see if your gears give enough low-range torque without slipping.
- Ride on rocky or uneven ground to check if your chain stays engaged and doesn’t drop.
- Accelerate on flat trails to see if your gears shift quickly and smoothly.
- Slow down and shift down to ensure the change feels smooth and predictable.
Identify Shifting Issues Outdoors
Since different terrain presents unique challenges, testing your mountain bike gears outdoors helps identify shifting issues you might miss in a controlled environment. Ride across varied surfaces—climbs, descents, and rough patches—to see how smoothly your gears shift in real conditions.
Pay attention to delays, slipping, or chain drops when changing gears, especially when under load. Notice if your bike hesitates or makes noise during shifts; these signs often point to tension or alignment problems.
Also, try shifting at different speeds and cadences to find any inconsistencies. Riding on diverse terrain gives you valuable feedback that static adjustments can’t provide.
This hands-on approach ensures you find and fix shifting problems, making your rides smoother, safer, and more enjoyable.
Adapt Gears To Terrain
Although practicing your mountain bike’s gears indoors is useful, it’s really important to adapt them to the terrain you ride on for the best performance. Testing outside shows how well your gears handle real conditions.
Try riding different terrains like hills, flat trails, and rocky paths to see how smoothly your gears shift. Shift early on inclines to keep your momentum and avoid putting too much strain on your bike.
Listen for any chain noise that might mean your gears are misaligned or need adjustment. After each ride, make small tension tweaks to fine-tune how responsive your gears feel.
Troubleshoot Common Mountain Bike Gear Shifting Issues
If your mountain bike’s gears aren’t shifting smoothly, you’re probably dealing with common issues like cable tension problems, misaligned derailleurs, or dirty components. Start by checking the cable tension; if it’s too loose or too tight, your gears won’t shift properly. Use the barrel adjuster to fine-tune tension until shifting feels crisp.
Next, inspect the derailleur alignment—misalignment can cause skipping or chain drops. Adjust the derailleur hanger or limit screws to fix this. Don’t forget to clean your drivetrain regularly; dirt and grime build-up can make gear changes less smooth.
Finally, check your shifters and cables. Worn cables or dirty, sticky parts can cause shifting issues. Replacing cables or lubricating moving parts often does the trick. Follow these steps, and your gears will shift effortlessly again.
Frequently Asked Questions
How Often Should I Replace My Mountain Bike Cables?
You should replace your mountain bike cables every 6 to 12 months, depending on how often you ride and the conditions you’re facing.
If you notice sluggish shifting, frayed cables, or rust, it’s a good idea to replace them. Riding in wet or muddy environments can mean more frequent replacements.
Make sure to check your cables regularly for wear. Don’t wait until they snap—fresh cables help keep your bike shifting smoothly and safely.
What Type of Lubricant Is Best for Mountain Bike Gears?
Imagine your gears shifting smoothly, almost like magic. The best lubricant for mountain bike gears is a high-quality wet lube if you ride in wet or muddy conditions. It sticks well and keeps grime out.
For dry, dusty trails, go for a dry lube to avoid attracting dirt. Don’t just grab any oil; the right lube keeps your drivetrain quiet, efficient, and extends its life.
This way, your rides stay smooth every time.
Can I Upgrade My Mountain Bike Gears Myself?
Yes, you can upgrade your mountain bike gears yourself if you have some basic mechanical skills and the right tools.
Start by researching the compatible components for your bike. Take your time removing old parts and carefully install the new ones, making sure to adjust the derailleurs properly.
Watching tutorial videos can help a lot. Just be patient, and don’t hesitate to ask for advice at your local bike shop if you get stuck.
How Do I Know if My Derailleur Hanger Is Bent?
You’ll know your derailleur hanger is bent if your gears skip, shift poorly, or the derailleur looks crooked.
To check, flip your bike upside down and spin the pedals; watch the derailleur and chain. If the derailleur swings too close to the spokes or rubs the cassette, the hanger might be bent.
You can also use a derailleur hanger alignment tool for a precise check or visit a bike shop for help.
What Are the Signs of Worn-Out Gear Components?
Imagine you’re climbing a steep trail and your chain slips under pressure. That’s a clear sign your gear components are worn out. You might notice rough shifting, chain skipping, or strange noises when pedaling.
If your gears don’t stay in position or if the chain keeps dropping, it’s time to check the chain, cassette, and chainrings. Worn teeth or stretched chains can hurt your performance and even damage other parts.
Don’t ignore these signs. Regular maintenance can save you from bigger problems down the road.
Conclusion
Now that you know how to adjust your mountain bike gears in eight easy steps, are you ready to tackle any trail with confidence? Proper gear adjustment keeps your rides smooth and your bike performing at its best.
With clean components, correctly set limit screws, and finely tuned derailleurs, you’ll enjoy seamless shifting every time. So grab your tools, get hands-on, and feel the difference on your next adventure with a well-adjusted mountain bike gear setup!