How to Set Up a Road Bike in 7 Easy Steps
Are you excited to hit the road on your new bike but feeling overwhelmed about how to set it up properly? You’re not alone—many riders struggle with getting their bike just right for a safe and comfortable ride.
Don’t worry, with a little guidance, you’ll have your road bike ready in no time.
To set up your road bike in 7 easy steps, start by inspecting the bike for any damage, like cracks or loose parts.
Adjust your seat height so your leg is nearly straight at the bottom of a pedal stroke, then set your handlebar position for comfort.
Check tire pressure and wheel alignment, and fine-tune your gears and brakes for smooth operation.
Finish with a quick test ride and safety check before cleaning and maintaining your bike regularly.
Keep going for detailed tips on each step.
Key Takeaways
– Assess the bike’s condition, checking for any damage, tire pressure, and drivetrain wear before you start setting it up.
It’s a good idea to give everything a quick look-over to catch any issues early on. Make sure the tires are properly inflated and the chain isn’t too worn out.
– Adjust the seat height so you have a slight bend in your knee when the pedal is at the bottom of the stroke. This will give you the right balance of comfort and efficiency.
Getting this right is key to making your ride smooth and preventing discomfort or injury.
– Set the handlebar height and reach so you can sit in a natural, relaxed position. You want to avoid stretching too far or feeling cramped.
Find a position that feels comfortable for your arms and shoulders, and that allows you to control the bike easily.
– Calibrate the gears and brakes to ensure smooth shifting and responsive stopping. Test them out and make small adjustments as needed.
This step is important for safety and for making your ride more enjoyable overall.
– Finish up with safety checks and routine maintenance. Check tire pressure again, lubricate the chain, and tighten any loose bolts.
A quick review like this helps keep your bike in top shape and ready for your next ride.
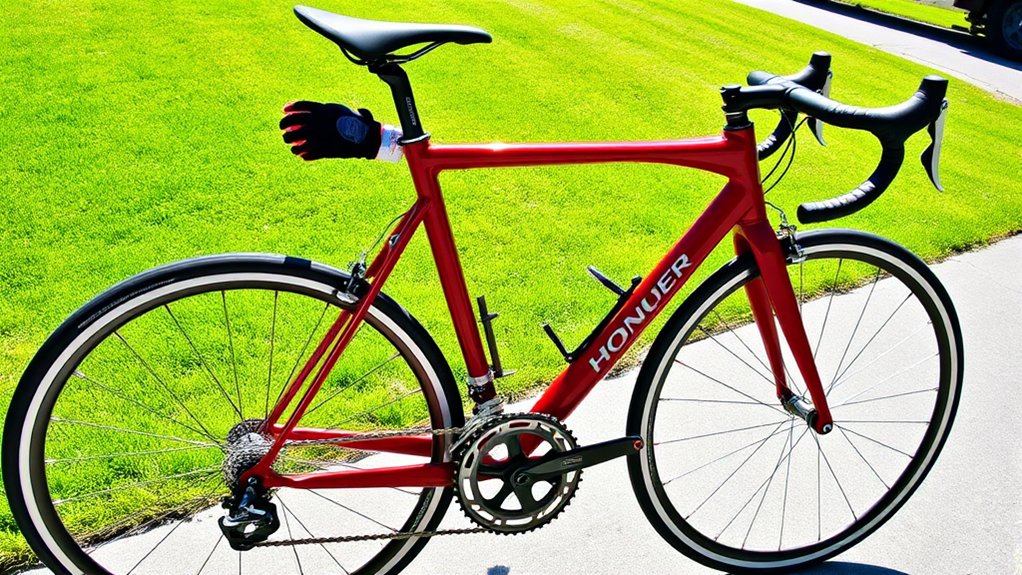
Assess Your Bike’s Condition Before Starting the Setup
Before you start setting up your road bike, it’s important to check its condition first. Look over the frame for cracks, dents, or rust, as these can affect safety.
Next, inspect the wheels for true alignment. If they wobble or the rims are bent, they need fixing. Also, make sure the tires are inflated properly and aren’t cut or filled with debris.
Check wheel alignment and ensure tires are properly inflated, free of cuts and debris for safe riding.
Check the brake and gear cables for fraying or corrosion, and test if they respond well. Look at the chain and drivetrain for rust, dirt, or wear, and clean or lubricate them if needed.
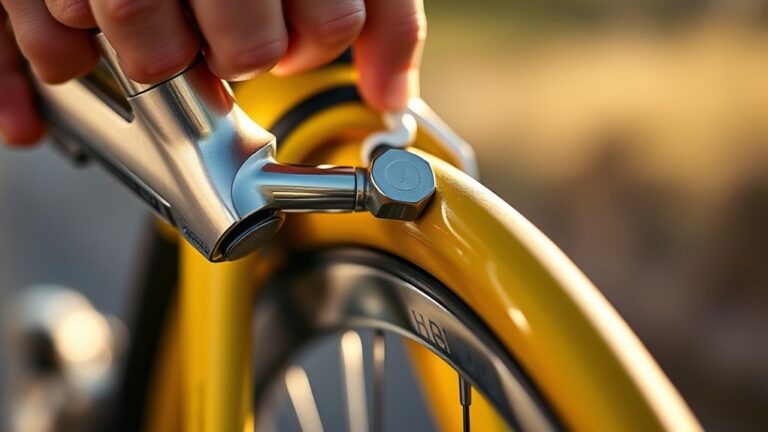
Finally, make sure the saddle and handlebars are securely attached without any looseness or damage. Doing these checks helps spot issues early so your ride will be safe and smooth.
Adjust Your Bike Seat Height for Comfort and Power
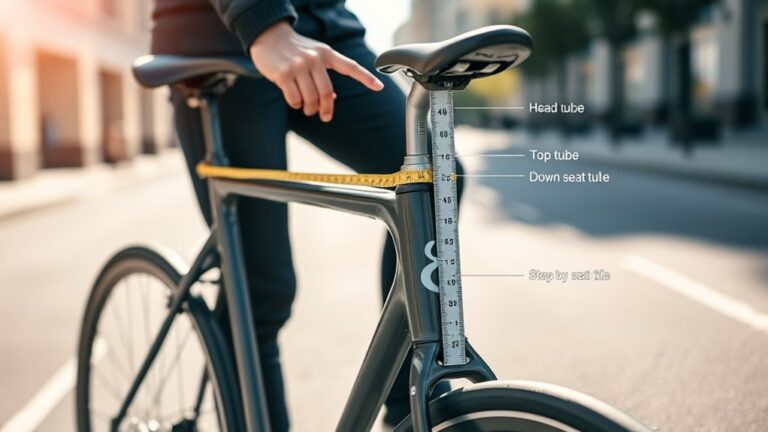
Adjusting your bike seat height is one of the most important steps to guarantee a comfortable and efficient ride. To find the right height, stand next to your bike and set the saddle so it’s roughly level with your hip.
Then, sit on the saddle and place your heel on the pedal; pedal backward. Your leg should be straight at the bottom of the pedal stroke. When riding normally, a slight bend in your knee is ideal.
Adjust the seat up or down as needed, ensuring it’s secure before riding. Correct seat height improves power, reduces fatigue, and prevents injury.
Take time to fine-tune it to your body’s proportions for the best riding experience. Proper saddle height helps you ride longer and more comfortably.
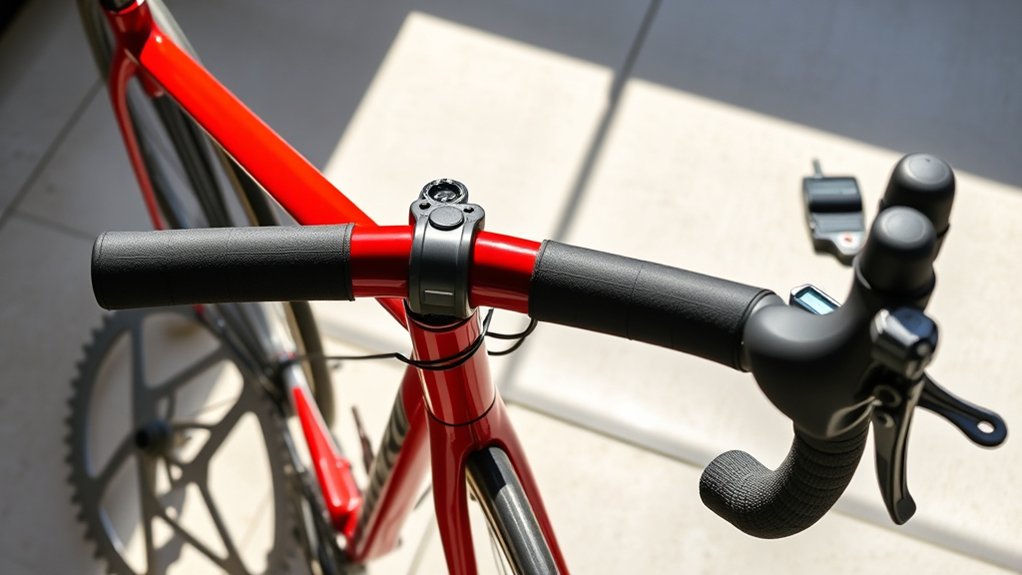
Set Up Handlebars for Better Control and Comfort
To improve your control and comfort, start by adjusting the handlebar height to match your riding position.
Choose a grip style that feels natural and helps reduce fatigue.
Next, fine-tune your reach so you’re not overstretching or feeling cramped.
Making these tweaks will help you ride more comfortably and handle your bike with confidence.
Adjust Handlebar Height
Setting the handlebar height correctly is key to keeping control and staying comfortable while you ride. First, loosen the stem bolts that hold the handlebars in place.
Next, adjust the handlebars upward or downward to your preferred height—usually level with or a little above your saddle. Keep in mind that higher handlebars can help reduce strain on your back and neck, while lower ones boost aerodynamics.
Once you’ve found a comfortable position, tighten the stem bolts securely to lock the handlebars in place. Double-check that they don’t move or rotate when you apply pressure.
Getting the handlebar height right helps you stay in control, reduces fatigue, and makes your ride more enjoyable. Take your time to find what feels best for your riding style.
Choose Comfortable Grip Style
Choosing a comfortable grip style is key to staying in control and avoiding fatigue during your ride. Your grip impacts how you handle the bike, how comfortable you feel, and can even help prevent injuries.
There are three main types: the tops, the hoods, and the drops. Each has its own advantages depending on the terrain and your riding style. For example, gripping the hoods gives you control and quick access to the brakes, while the drops are great for aerodynamic benefits.
Picking the right grip style depends on what feels most natural and the conditions you’re riding in. Use this table to understand the purpose of each:
| Grip Style | Best For | Key Benefit |
|---|---|---|
| Tops | Casual | Comfort, relaxed hold |
| Hoods | General | Control, braking |
| Drops | Speed | Aerodynamics, control |
Choose the grip that feels most comfortable for your ride. It will help you stay in control and enjoy your cycling experience more.
Fine-Tune Reach Position
Adjusting your reach position ensures your handlebars feel comfortable and give you better control over the bike.
Sit on your saddle and hold the handlebars in your natural riding position. If you’re reaching too far forward or feeling cramped, try changing the stem length or angle.
Shortening the stem brings the handlebars closer, while lengthening it extends your reach. Make small adjustments and take a test ride after each change.
Your elbows should be slightly bent, and your wrists relaxed. Proper reach reduces fatigue and improves handling, so take your time with this step.
Look for a position where you feel balanced, supported, and able to maneuver easily without straining your shoulders or back.
Check and Adjust Tire Pressure and Wheel Alignment
Start by checking that your tire pressure matches the recommended levels. This helps with speed and comfort.
Next, verify your wheels are properly aligned to prevent uneven wear and improve handling. Making these adjustments will give you a smoother, safer ride.
Proper Tire Pressure Levels
Maintaining the proper tire pressure is essential for a smooth and safe ride. It all starts with checking the recommended levels for your bike.
Look for the pressure range printed on the tire sidewall, usually in PSI or bar. Use a reliable pressure gauge to measure the current pressure and make sure it matches the recommended range.
Under-inflated tires can make handling sluggish and increase the risk of flats. Over-inflated tires, on the other hand, reduce traction and comfort.
Adjust the pressure by adding or releasing air as needed, using a bike pump with a built-in gauge for accuracy. Regularly checking your tire pressure before rides helps maintain performance, improve efficiency, and extend tire life.
Properly inflated tires are key to a safer, more enjoyable cycling experience.
Ensuring Wheel Alignment
After making sure your tire pressure is correct, it’s a good idea to check your wheel alignment. Misaligned wheels can cause uneven tire wear, reduce efficiency, and make handling tricky.
Look at your bike from the front and rear—your wheels should be straight and parallel. If you see wobbling or that the wheel leans to one side, it’s time to adjust the alignment.
Loosen the axle nuts or quick-release skewer, then gently straighten the wheel by centering it between the frame and fork. Tighten the nuts securely, making sure the wheel stays centered.
Spin the wheel to check if it rotates smoothly and remains aligned. Proper wheel alignment improves your bike’s performance and keeps you safe on every ride.
Calibrate Gears and Brakes for Smooth, Safe Riding
Calibrating your gears and brakes ensures your bike shifts smoothly and stops reliably, which is key for safe riding. Start by shifting to the smallest chainring and the highest gear on your rear cassette.
Next, adjust the derailleur’s limit screws so the chain moves smoothly without overshooting. Use the barrel adjuster to fine-tune shifting; turn it clockwise to tighten and counterclockwise to loosen.
For brakes, squeeze the brake lever and check the distance between the brake pads and the rim—about a finger’s width is ideal. If the pads are too far, tighten the brake cable with the barrel adjuster.
If the pads rub or don’t engage properly, loosen the cable or adjust the brake calipers directly. Proper calibration makes sure your brakes respond well and your gear shifts are seamless.
Test Your Bike Setup and Make Final Tweaks
Once you’ve adjusted your gears and brakes, it’s time to test your bike to make sure everything works smoothly and safely. Take your bike for a short ride, paying attention to how responsive and comfortable it feels.
Focus on how smoothly the gears shift and whether the brakes stop effectively without squealing or feeling spongy. If something feels off, make quick adjustments before heading out for longer rides.
To be fully prepared, check these key areas:
Ensure your ride is safe by checking gear shifts, brake response, and handlebar comfort before heading out.
- Gear Shifting – Make sure it shifts cleanly across all gears without hesitation.
- Brake Response – Ensure brakes engage promptly and stop the bike quickly.
- Handlebar Position – Confirm your riding posture feels comfortable and your control stays firm.
Making these final tweaks will give you confidence and a safer ride.
Post-Ride Maintenance Tips to Keep Your Bike in Top Shape
To keep your bike in top condition, it’s essential to perform simple maintenance tasks after each ride. First, wipe down the frame and components to remove dirt and sweat. Check tire pressure and inflate if needed to prevent flats. Inspect the brakes and gears for smooth operation. Lubricate the chain lightly to reduce wear and rust. Regularly tighten bolts and quick releases to guarantee safety.
Here’s a quick guide:
| Task | Area | Frequency |
|---|---|---|
| Clean and wipe | Frame and components | After every ride |
| Check tire pressure | Tires | Before each ride |
| Lubricate chain | Chain | Every few rides |
| Inspect brakes and gears | Brake pads, drivetrain | Weekly |
Frequently Asked Questions
How Often Should I Perform a Full Bike Setup Check?
You should perform a full bike setup check at least once a month or before long rides. Regular inspections help catch issues early and keep your bike safe and running smoothly.
After each ride, take a quick look at tire pressure, brake function, and chain condition. If something feels off or you hear unusual noises, do a more thorough check right away.
Staying proactive is the best way to keep your rides smooth, safe, and enjoyable.
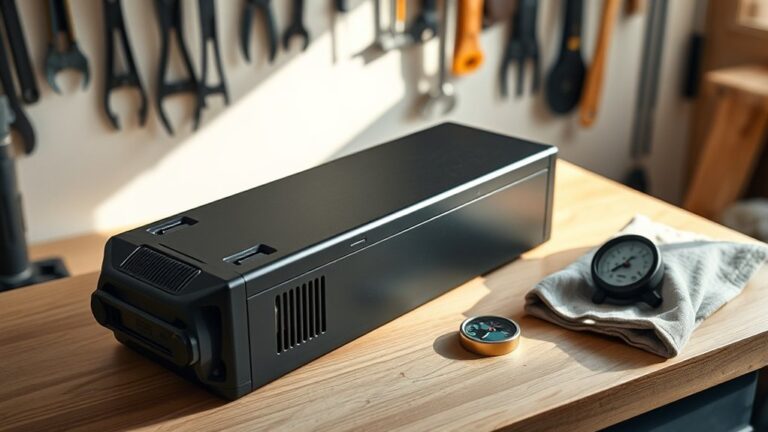
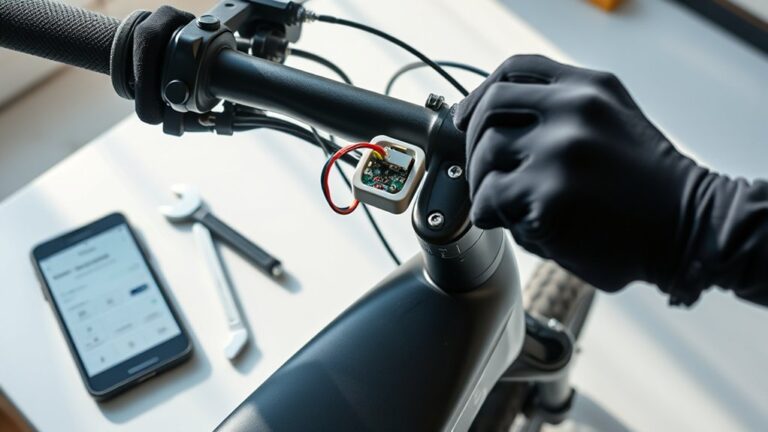
What Tools Are Essential for Bike Setup and Maintenance?
What tools do you need for bike setup and maintenance? You’ll want a set of Allen wrenches, screwdrivers, tire levers, a pump, and a chain tool. These essentials help you fine-tune your brakes, gears, and tires, making sure everything works smoothly.
Do you have a bike stand? It makes adjustments a lot easier. Regular maintenance with these tools keeps your bike safe and efficient, so you can enjoy every ride to the fullest.
How Can I Prevent My Bike From Developing Alignment Issues?
To prevent your bike from developing alignment issues, regularly check and tighten your headset, stem, and axle bolts. Keeping everything snug helps avoid misalignment over time.
Make sure your wheels are properly trued and your tires are inflated to the right pressure. This keeps the bike rolling smoothly and reduces stress on the components.
Try to avoid hitting potholes or rough terrain at high speeds. It can cause your wheels or frame to become misaligned or damaged.
Scheduling routine maintenance with a professional bike shop is a good idea. They can spot potential problems before they turn into bigger issues.
Finally, regularly inspect your frame and components for any signs of damage or wear. Consistent care keeps your bike aligned and riding smoothly.
What Are Signs My Bike Needs Professional Servicing?
Think of your bike as a finely tuned orchestra. If one instrument is out of sync, the whole performance suffers.
Signs your bike needs professional servicing include unusual noises, difficulty shifting gears, or a wobbly ride.
You might also notice uneven tire wear or brake issues. If these symptoms show up, don’t wait.
Taking your bike to a pro keeps it running smoothly and safely on every adventure.
How Do I Choose the Right Bike Accessories for Comfort?
To choose the right bike accessories for comfort, think about your riding style and the routes you usually take.
Pick padded gloves, a cushioned saddle, and ergonomic grips to help reduce strain during your ride.
Invest in a good-quality helmet and sunglasses to stay safe and protect your eyes.
Consider adding an adjustable saddle or handlebar grips so you can customize your fit.
Don’t forget a hydration bottle and a small repair kit to be prepared on the go.
Focus on comfort features that meet your needs and make your riding experience better.
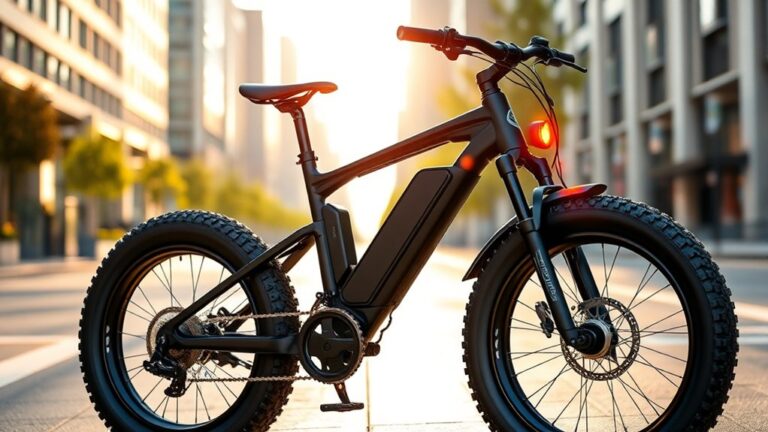
Conclusion
Getting your road bike setup right isn’t just about comfort. It can also boost your riding efficiency by up to 15%. Regular checks and adjustments make sure your bike is safe and smooth to ride every time.
A well-maintained bike lasts longer and helps you perform better. So, take the time to follow these steps, pay attention to your bike’s needs, and ride with confidence and ease. Remember, a properly set-up road bike makes all the difference. Happy cycling!