7 Easy Steps to Replace Brake Pads on Your Mountain Bike
Are you tired of struggling with brake issues on your mountain bike? You’re not alone—many riders find replacing brake pads a bit tricky at first.
But don’t worry, with a few simple steps, you can do it yourself and get back to hitting the trails with confidence.
First, gather your tools and matching brake pads. Remove the wheel and loosen the brake caliper bolts for better access.
Take out the old pads and inspect the rotor for any damage, cleaning it if needed.
Slide in the new pads, align them carefully, then tighten the caliper bolts while squeezing the brake lever.
Reinstall the wheel, test brake performance, and fine-tune the pad alignment.
Gradually break in your new pads for reliable stopping power.
Keep following for more detailed tips and tricks.
Key Takeaways
- Remove the wheel and loosen the brake caliper bolts. This gives you better access to the brake pads.
- Carefully take out the old brake pads. While you’re at it, check the rotor for any damage or excessive wear.
- Use isopropyl alcohol to clean the rotor. This helps ensure a smooth and effective brake performance when you install the new pads.
- Install the new pads, making sure they’re centered over the rotor. Tighten the caliper bolts while gently squeezing the brake lever to keep everything aligned.
- Once everything’s in place, spin the wheel and gradually apply the brakes. This helps break in the new pads and ensures everything is working properly.
Gather Tools and Replacement Brake Pads
Before you start replacing your mountain bike brake pads, make sure you have all the right tools and replacement pads ready. You’ll usually need a set of Allen wrenches, a flathead screwdriver, and maybe some needle-nose pliers.
Check your bike’s brake system to see whether you need disc brake pads or rim brake pads. This way, you won’t end up with the wrong ones. It’s smart to have some rubbing alcohol and a clean cloth nearby for cleaning the rotor or rim later on.
Having everything prepared ahead of time will save you a lot of hassle during the process. Double-check that your new pads match your brake model and thickness specs to ensure a good fit and optimal braking performance.
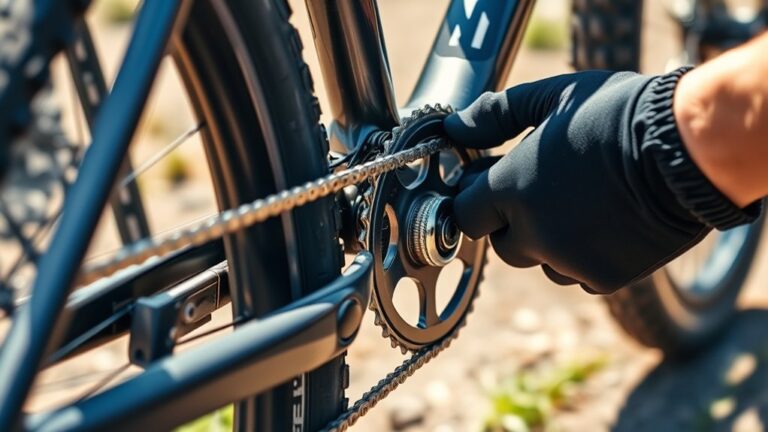
Remove the Wheel and Loosen the Brake Caliper
Once you have your tools and the correct replacement brake pads ready, start by removing the wheel from your mountain bike. This step gives you better access to the brake caliper.
Next, you’ll want to loosen the brake caliper to make room for the new pads. Shift your bike into the smallest chainring and sprocket to reduce tension.
Use the appropriate wrench or Allen key to loosen the bolts holding the caliper. Carefully wiggle the caliper to free it from the rotor without forcing it.
Move the caliper slightly away from the rotor to create enough space to work comfortably. With the wheel removed and caliper loosened, you’re ready for the next step.
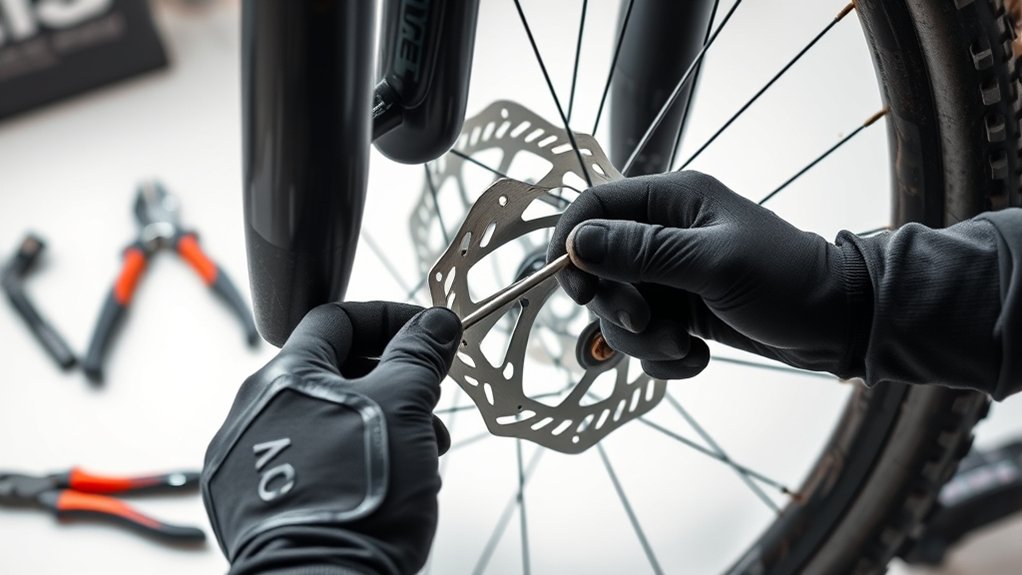
Remove Old Brake Pads and Inspect the Rotor
Now, you’ll want to carefully remove the old brake pads from the caliper. As you do this, take a close look at the rotor for any signs of wear or damage.
Inspecting the rotor guarantees your new pads will work effectively and safely. It’s a good idea to check for cracks, grooves, or warping before moving on.
Removing Old Brake Pads
Start by removing the wheel so you can easily access the brake caliper. Once the wheel is off, you’ll have a clear view of the brake pads inside the caliper.
Here’s how to remove the old brake pads:
- Find the retaining pin or bolt holding the brake pads and carefully take it out.
- Gently pull the brake pads out of the caliper, avoiding contact with the rotor to keep everything clean.
- Check if your caliper has pad spacers and remove them if you see any.
- Take a quick look at the old pads to see how much wear they have, but save a detailed rotor inspection for later.
Removing the old pads carefully helps prevent damage and gets your bike ready for fresh, effective braking components.
Inspecting Rotor Condition
After removing the old brake pads, you should carefully inspect the rotor for any signs of damage or excessive wear. Look closely for deep grooves, warping, or cracks, as these can reduce braking efficiency and safety.
Run your fingers gently along the rotor’s surface to feel for rough spots or unevenness. If the rotor is severely worn or warped, it’s best to replace it.
Light surface rust or dirt can be cleaned off with isopropyl alcohol and a clean cloth. Avoid using oil-based cleaners, as they can contaminate the rotor and pads.
Ensuring your rotor is in good condition helps maintain smooth, reliable braking performance on your mountain bike. Don’t skip this step before installing new brake pads.
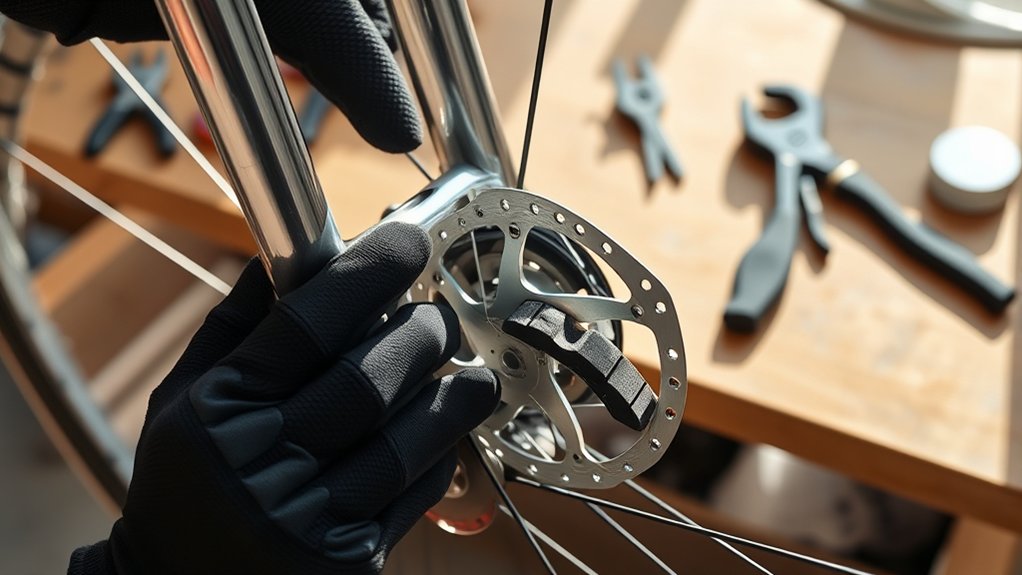
Install New Brake Pads and Align Them With the Rotor
Slide the new brake pads carefully into the caliper, making sure they fit snugly without forcing them. It’s important they align properly with the rotor for effective braking and to prevent rubbing or uneven wear.
Carefully slide new brake pads into the caliper, ensuring a snug fit and proper alignment with the rotor.
Follow these steps to get your pads aligned just right:
- Position the pads so they sit evenly on both sides of the rotor.
- Slightly loosen the caliper mounting bolts to help center the pads over the rotor.
- Squeeze and hold the brake lever firmly to press the pads against the rotor.
- While holding the lever, tighten the caliper bolts to lock the pads in place.
This method helps the pads settle in perfectly, giving you smooth and responsive braking during your rides.
Reassemble the Brake Caliper and Reinstall the Wheel
Carefully reassemble the brake caliper by securing any removed components, making sure everything fits tightly and works smoothly. Double-check that the pistons and springs are properly seated to avoid any misalignment.
Once the caliper is reassembled, put the wheel back onto the fork or frame dropouts. Ensure the rotor fits neatly between the brake pads without rubbing.
Tighten the axle securely to prevent any movement during rides. Follow these steps to keep your brake system safe and ready for your next adventure.
Test and Adjust Your Brake Pads for Best Performance
Now that your brake caliper is reassembled, it’s time to check the brake pad alignment to make sure they contact the rotor evenly.
Squeeze the brake lever to test how it responds and feel for any sponginess or delay.
Finally, adjust the pad contact pressure so your brakes engage smoothly and firmly every time.
Check Brake Pad Alignment
Start by inspecting how your brake pads contact the rim or rotor when you squeeze the brake lever. Proper alignment guarantees effective braking and prevents uneven wear. Here’s how to check and adjust your brake pad alignment:
- Look for full contact between the pad and rim or rotor, with no gaps or overhangs.
- Make sure the pads hit the braking surface squarely, not angled or touching the tire.
- Loosen the pad mounting bolt slightly to reposition the pad.
- Tighten the bolt while holding the pad in the correct position, then test for consistent contact.
Repeat the process on both sides if you have rim brakes or on each pad for disc brakes. Well-aligned pads improve stopping power and extend their lifespan.
Test Brake Lever Response
Once your brake pads sit correctly, it’s time to test the brake lever response to make sure your brakes work well. Squeeze the brake lever firmly and pay attention to how it feels. It should engage smoothly without feeling spongy or requiring too much travel.
If the lever feels too soft or pulls very close to the handlebar, you might need to check for air in the hydraulic lines or adjust the cable tension. Make sure the pads contact the rotor quickly and stop the wheel effectively when you pull the lever.
Spin the wheel and apply the brake to confirm consistent stopping power. Repeat the test a few times to ensure everything is reliable. Good lever response means safer rides and better control on your mountain bike trails.
Adjust Pad Contact Pressure
Fine-tune your brake pads by adjusting their contact pressure to ensure top stopping power and consistent performance. Proper pressure makes sure your pads grip the rotor firmly without rubbing, which helps prevent premature wear or noise.
Here’s how to do it: Squeeze the brake lever and watch how the pads contact the rotor. Loosen the pad mounting bolts slightly to allow movement.
Next, move the pads closer or farther from the rotor until you get even contact. Once done, tighten the bolts securely and test the lever feel again.
Repeat these steps until the lever feels firm and the pads engage smoothly without dragging. Taking the time to adjust pad contact pressure will boost braking reliability on every ride.
Break In Your New Brake Pads
Although new brake pads might feel ready to go, you’ll need to break them in for the best performance. Start by riding your bike at a moderate speed and gently apply the brakes repeatedly.
This process, called bedding in, helps transfer a layer of brake pad material onto the rotor. It ensures better grip and smoother stopping power.
Avoid sudden or hard braking during this time to prevent glazing the pads. After about 15 to 20 gradual stops, you’ll notice your braking response improving.
Frequently Asked Questions
How Often Should I Replace My Mountain Bike Brake Pads?
You should replace your mountain bike brake pads whenever you notice reduced braking power, squealing sounds, or if the pad thickness is under 1-2 millimeters.
Typically, you’ll need to change them every 500 to 1,000 miles, but it really depends on your riding style and terrain.
If you ride in muddy or wet conditions, expect to replace them more often.
Make sure to regularly inspect your pads to stay safe and keep your brakes working at their best.
Can I Use Road Bike Brake Pads on My Mountain Bike?
Think of brake pads like shoes made for different terrains. Road bike pads are sleek sneakers designed for smooth pavement. Mountain bike pads are rugged boots built for rough trails.
You shouldn’t use road bike brake pads on your mountain bike because they won’t grip the gritty, uneven surfaces properly. Your mountain bike needs pads made to handle mud, dust, and steep descents to keep you safe and in control.
What Are the Signs of Worn-Out Brake Rotors?
You’ll notice signs of worn-out brake rotors when you feel reduced braking power or hear squealing noises during braking.
If you see grooves, scoring, or uneven wear on the rotor surface, that’s a clear indicator. Warped rotors cause vibrations or pulsations when you brake.
Also, if your rotor thickness is below the manufacturer’s minimum, it’s time to replace them.
Don’t ignore these signs because they affect your safety and bike performance.
How Do Temperature Changes Affect Brake Pad Performance?
Temperature changes affect your brake pad performance by altering friction levels. When it’s cold, pads can feel less responsive because they haven’t warmed up, which reduces stopping power.
On the other hand, high heat from intense braking can cause pads to fade, making them less effective. Rapid temperature shifts might also lead to uneven wear or even cracking.
Are There Eco-Friendly Brake Pad Options Available?
Yes, you can find eco-friendly brake pad options. Many brands now offer pads made from sustainable materials like organic fibers or recycled components, reducing harmful chemicals and waste.
These pads still deliver solid performance and lower environmental impact. When choosing, look for certifications or labels that highlight eco-conscious manufacturing.
Conclusion
Now that your new brake pads are in place, imagine the crisp bite as you squeeze the lever, the smooth glide of your wheel slowing with confident control.
You’ve given your bike a fresh heartbeat, ready to tackle rugged trails and steep descents.
With each test and adjustment, feel the connection grow stronger. Your mountain bike responds like a trusted companion, ready to carry you safely through every twist and turn ahead.
Replacing your brake pads ensures your mountain bike stays reliable on every adventure.