10 Easy Steps to Change a Pedal on Your Mountain Bike
Are you tired of dealing with stubborn pedals on your mountain bike? You’re not alone—many riders find changing pedals confusing or frustrating. Luckily, replacing a pedal is simpler than it seems, and you can do it yourself with just a few tools.
To change a pedal on your mountain bike, first identify which pedal needs replacing and gather tools like a 15mm wrench and some grease.
Position your bike securely, then loosen the old pedal—remember, the right pedal loosens counterclockwise, and the left pedal loosens clockwise.
Clean and grease the threads on your new pedal before hand-tightening it. Then, securely tighten it with a wrench.
Check that the pedal spins smoothly and is tight enough.
Make sure the pedal is installed in the correct direction. Test it out to confirm everything feels right and the rotation is smooth.
Follow these simple steps, and you’ll keep your pedals in top shape in no time.
Key Takeaways
- Use a 15mm pedal wrench or the right hex key to loosen the pedals. Turn counterclockwise for the right side and clockwise for the left side.
- Before threading the new pedals onto the crank arms, apply bike-specific grease to the threads. This helps prevent seizing and makes future removal easier.
- Tighten the pedals firmly with a wrench. Be careful not to overtighten; if you have a torque wrench, aim for about 35-40 Nm.
- After installing, check the pedal rotation and wobble. Make sure everything spins smoothly and feels stable.
- Regularly clean and lubricate your pedals. This helps prevent rust and keeps them performing at their best.
Find Which Pedal to Replace
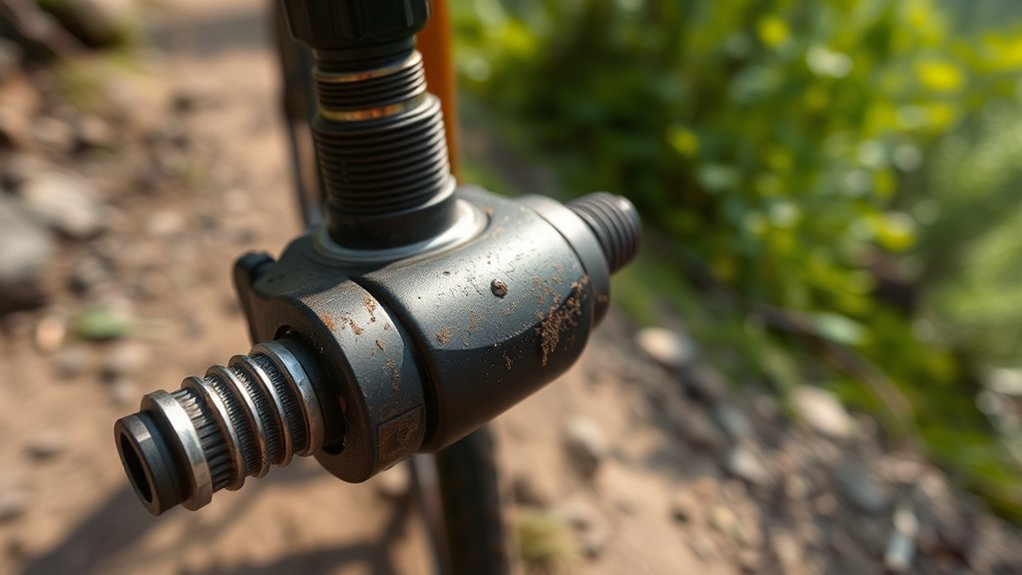
How do you know which pedal needs replacing? Start by checking for visible damage like cracks, bent parts, or worn-out grip.
If one pedal feels loose or wobbly when you spin it, that’s a clear sign it’s time for a replacement. Also, pay attention to how your bike rides—if one side feels uneven or causes discomfort, the pedal on that side might be the culprit.
Sometimes, pedals make creaking or clicking noises while you ride, which often means the bearings inside are failing. Don’t ignore excessive rust or corrosion either, as these can weaken the pedal’s structure.
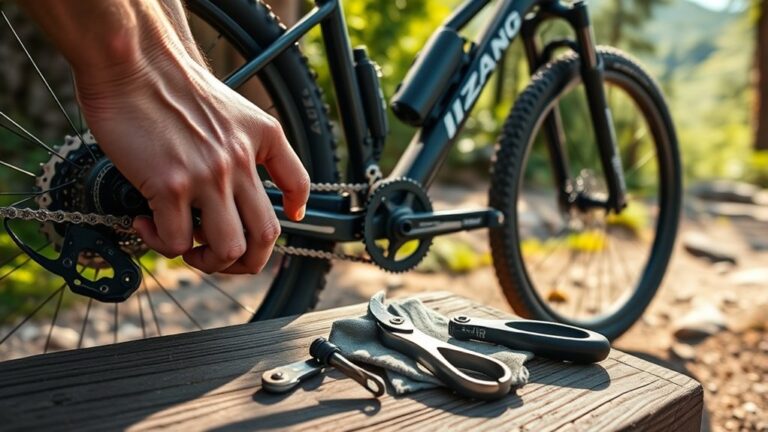
Gather Tools for Removing and Installing Pedals
Before you start, make sure you have the right tools like a pedal wrench or Allen key. It’s a good idea to gather everything beforehand so you’re not scrambling during the process.
Set up your workspace in a clean, well-lit area. Keeping things organized will help make swapping pedals quick and hassle-free.
Essential Tools Overview
A few basic tools will make changing your mountain bike pedals straightforward and efficient. First, you’ll need a pedal wrench or a suitable-sized open-end wrench—usually 15mm—to loosen and tighten the pedals securely. Some pedals require a hex key, typically 6mm or 8mm, so check your pedal’s design before you start.
A grease tube is essential for lubricating the pedal threads to prevent seizing and make future removal easier. Moreover, having a clean rag helps wipe off dirt and grease during the process. Optional but helpful tools include a torque wrench to guarantee you don’t overtighten pedals and damage the crank arms.
With these tools ready, you’ll be well-prepared to remove old pedals and install new ones smoothly.
Preparing Your Workspace
Setting up your workspace with all necessary tools within reach makes changing your mountain bike pedals faster and less frustrating. Start by clearing a flat surface, like a workbench or sturdy table, where you can comfortably position your bike. Lay out your pedal wrench or Allen keys, grease, and a rag for cleanup.
Having a bike stand or a way to prop your bike steady will help keep things stable. Make sure your workspace is well-lit so you can see the pedal threads clearly. Keep a container nearby to hold small parts or bolts you remove so nothing gets lost.
When your tools and workspace are organized, you’ll avoid interruptions and complete the pedal swap smoothly and efficiently.
Position Your Bike for Easy Access
Two key factors make changing your bike pedal much easier: stability and accessibility. First, flip your bike upside down, resting it on the seat and handlebars. This stable position keeps the bike from tipping over while you work.
Alternatively, use a bike stand if you have one. It holds your bike securely at a comfortable height, making the job easier. Make sure the crank arms are positioned so you can easily reach the pedals.
Rotate the pedals to a horizontal position to give yourself better leverage and room to work. Clear the area around the pedals to avoid any obstructions. Positioning your bike this way reduces strain and speeds up the process, helping you work efficiently and safely.
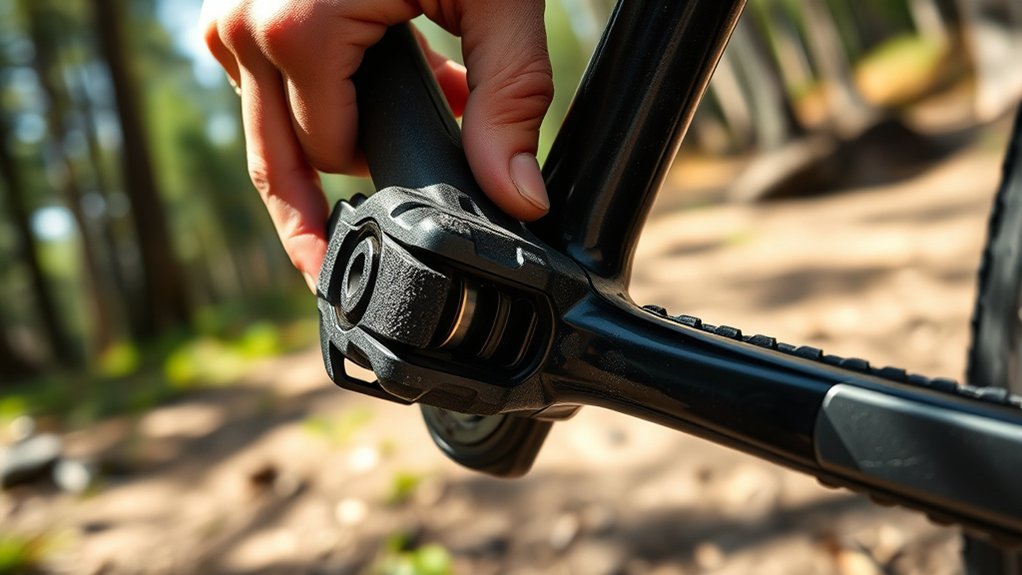
Loosen and Remove the Old Pedal
Grab your pedal wrench or a suitable spanner to start loosening the old pedal. Remember, the right pedal loosens counterclockwise on the right side but clockwise on the left side because of reverse threading.
Position the wrench on the pedal’s axle and apply firm pressure in the correct direction. If it’s stuck, use steady, controlled force to avoid damaging the threads.
You might need to stand on the pedal wrench for extra support, but be careful not to slip. Once loosened, keep turning the pedal by hand until it comes free from the crank arm.
Remove the pedal completely and set it aside. Repeat the process on the opposite side, keeping in mind the opposite threading direction to avoid any confusion.
Lubricate and Prep Your New Pedals
Before installing your new pedals, make sure you choose the right lubricant to keep things running smoothly.
Clean the pedal threads thoroughly to remove any dirt or debris that could cause issues. Then, apply grease evenly to prevent seizing and make future removal easier.
Choose The Right Lubricant
Choosing the right lubricant is key to making sure your new pedals spin smoothly and last longer. It helps prevent rust, cuts down on friction, and keeps your pedal threads and bearings in good shape.
Go for a high-quality bicycle-specific grease. It’s thick, stays put, and offers great protection against moisture and dirt.
If you prefer a thinner option, light oil is fine. Just keep in mind you’ll need to reapply it more often because it doesn’t stay in place as well.
Anti-seize compound is a good choice if you often ride in wet or salty conditions. It stops seizing and makes future removal easier.
Before installing, apply your chosen lubricant evenly. This helps ensure your pedals perform their best and last longer.
Clean Pedal Threads Thoroughly
Applying the right lubricant sets the stage for your pedals to work smoothly, but you’ll want to make sure the pedal threads are clean before installing. Dirt, old grease, and debris can cause binding or damage the threads, making it harder to screw the pedals in properly.
Start by wiping the crank arm threads with a rag to remove loose grime. Next, use a small brush or an old toothbrush to scrub inside the threads gently, loosening any stubborn dirt. If needed, apply a bit of degreaser, then wipe thoroughly to ensure no residue remains.
Clean threads guarantee a snug fit and prevent corrosion, helping your pedals last longer. Taking this step now saves you trouble down the road.
Apply Grease Evenly
Spread a thin layer of grease evenly across the pedal threads to guarantee smooth installation and prevent seizing. Applying grease properly helps protect the threads from rust and makes future removal easier.
Here’s how to do it right: Use a clean cloth or your finger to apply a small amount of bike-specific grease to the threads. Rotate the pedal spindle while holding it steady, making sure the grease covers every thread evenly.
Avoid over-greasing, as it can attract dirt and grime, causing more harm than good.
Thread the New Pedal by Hand
Start by aligning the new pedal with the crank arm’s threads and gently screw it in by hand. This step is essential to avoid cross-threading, which can damage both the pedal and crank arm.
Remember, the right pedal tightens clockwise, and the left pedal tightens counterclockwise. If you try to force it the wrong way, it won’t thread properly.
Turn the pedal spindle slowly, feeling for smooth engagement. Once the threads start catching correctly, keep turning by hand until it’s snug against the crank arm.
Don’t rush this part. Hand-threading guarantees everything lines up perfectly before you use tools.
When you feel resistance and the pedal can’t go in any further by hand, you’re ready to tighten it securely with a wrench or spanner.
Tighten Pedals With a Wrench or Spanner
You’ll want to grab the right size wrench or spanner to fit your pedal’s flats perfectly.
Position the tool on the pedal spindle so you can apply steady force without slipping.
Tighten the pedal firmly, but don’t overdo it. Proper torque keeps your pedal secure and protects the threads.
Choosing The Right Tool
Two common tools you’ll need to tighten your mountain bike pedals are a wrench and a spanner. Choosing the right one depends on your pedal type and personal preference. Both help you secure pedals firmly without stripping the threads.
Here’s how to decide:
- Wrench: Best for pedals with flat wrench surfaces. It provides a strong grip and is easy to handle.
- Spanner: Great for pedals with narrower flats or limited space. Its open-ended design fits tight spots well.
- Size: Make sure your tool matches the pedal nut size, usually 15mm, to avoid slipping or damage.
Picking the right tool makes pedal tightening smoother and helps prevent damage. Take a moment to check your bike’s specs before you start.
Correct Wrench Positioning
Correct wrench positioning is essential when tightening your mountain bike pedals to ensure a secure fit and prevent damage to the threads.
Start by placing the wrench or spanner on the flat part of the pedal axle, not on the crank arm. This helps prevent slipping and potential injury. Make sure the wrench is fully seated on the flats for the best grip.
Position your wrench so you’ll be pushing it in the correct tightening direction: clockwise for the right pedal and counterclockwise for the left pedal, since pedals have opposite threading. Keep your hand close to the wrench head for better control and steady pressure.
This careful positioning guarantees you tighten the pedals securely without stripping or damaging any parts.
Applying Proper Torque
Applying the right amount of torque is crucial when tightening your mountain bike pedals. It helps ensure they stay secure without damaging the threads.
Over-tightening can strip the threads, and under-tightening might cause the pedals to loosen during rides. To get it just right, follow these steps:
- Use a torque wrench or a spanner with a torque setting for consistent force.
- Tighten the right pedal clockwise and the left pedal counterclockwise, matching the pedal’s threading.
- Aim for about 35-40 Nm of torque, which is standard for most mountain bike pedals.
Check Pedal Direction and Tightness
Before removing or installing pedals, you need to verify their threading direction and tightness.
Remember, the right pedal tightens clockwise, while the left pedal tightens counterclockwise. This helps prevent them from loosening while you ride. Double-check the pedal spindle for markings like “L” or “R” to identify which side it belongs to.
When loosening, turn the wrench opposite the tightening direction: left pedal loosens clockwise, right pedal counterclockwise. Make sure you apply steady force to avoid stripping threads.
If a pedal feels unusually tight or stuck, don’t force it. Apply some lubricant and try again after a few minutes. Verifying the correct direction and tightness keeps your pedals secure and prevents damage during removal or installation.
Test Pedals for Smooth Rotation and Safety
After installing your pedals, spin them by hand to make sure they rotate smoothly without any grinding or resistance. This step helps ensure your ride will be safe and efficient. If you notice any stiffness or noise, don’t ignore it.
Here are some quick checks to do:
- Spin Test: Turn each pedal fully to see if it moves smoothly and quietly.
- Wobble Check: Hold the pedal and wiggle it side to side; there should be no play.
- Load Simulation: Press down on each pedal with your palm to mimic weight and check for stability.
If your pedals pass these tests, you’re ready to hit the trail with confidence. If not, recheck the installation or consider servicing the pedal bearings before riding.
Maintain Your Mountain Bike Pedals
Once you’ve confirmed your pedals spin smoothly and feel secure, keeping them in good shape will ensure they keep performing well. Regularly clean your pedals to remove dirt and grime, and lubricate the bearings to prevent rust. Check for any loose parts or damage after each ride.
Tighten the pedal axle if needed, and replace worn-out components promptly. Here’s a quick maintenance checklist:
| Task | Frequency | Tips |
|---|---|---|
| Clean pedals | After every ride | Use a brush and mild soap |
| Lubricate | Monthly | Apply grease to bearings |
| Inspect parts | Before rides | Look for cracks or looseness |
Following these steps will extend your pedal’s lifespan and keep your rides smooth and safe.
Frequently Asked Questions
What Type of Pedals Are Best for Mountain Biking?
You’ll find clipless pedals are best for mountain biking if you want better control and power transfer. They lock your shoes to the pedals, giving you a secure connection on rough trails.
If you prefer more freedom, flat pedals with good grip and pins work well. They’re especially good for beginners or technical riding.
Ultimately, choose pedals that match your riding style, comfort, and the terrain you tackle most often.
How Often Should I Replace My Mountain Bike Pedals?
You should replace your mountain bike pedals before they fall apart mid-ride and send you flying into the next county!
Seriously, check them every 6 to 12 months, or sooner if you notice worn grip, loose bearings, or unusual creaks.
If you ride hard and often, you might need new pedals more frequently.
Don’t wait for disaster—keeping your pedals in top shape guarantees better control and a safer, smoother ride.
Can I Use Bike Pedals on Other Types of Bicycles?
Yes, you can use bike pedals on different types of bicycles, but it’s important to check if they’re compatible first. Most pedals have a standard 9/16-inch thread, which fits most adult bikes like road, hybrid, and mountain bikes.
However, some kids’ bikes or specialty bikes might use different thread sizes. Also, think about the pedal style—clipless pedals for mountain biking may not be suitable for casual road riding.
Always make sure your pedals match your bike’s needs to ensure a safe and comfortable ride.
What Are the Signs of Worn-Out Mountain Bike Pedals?
You’ll notice worn-out mountain bike pedals if they spin loosely or feel gritty when you turn them.
If the pedal body cracks, chips, or the pins that grip your shoes are missing or rounded off, it’s time for a replacement.
Also, if you hear creaking noises while pedaling or feel unusual play between the pedal and crank arm, those are clear signs your pedals need attention or swapping out.
Are Clipless Pedals Better Than Flat Pedals for Beginners?
Clipless pedals aren’t necessarily better for beginners because they require practice to clip in and out safely. Flat pedals are easier to use and give you more freedom, which makes them great when you’re still getting comfortable on your bike.
With flat pedals, you don’t have to worry about getting stuck during a fall, so they can help build your confidence. Once you’ve gained control and feel more confident, you can switch to clipless pedals for better power transfer and efficiency.
Conclusion
Now that you’ve swapped out your pedals, you might think you’re done. But hold on, the real test is just ahead.
Will your new pedals glide smoothly over rough trails, or will a hidden snag catch you off guard? Keep an eye on their performance and don’t hesitate to fine-tune as you ride.
With these simple steps mastered, you’re not just changing pedals—you’re gearing up for your next adventure.
Ready to hit the trail with your new pedals?