How to Make a Mountain Bike Electric in 8 Easy Steps
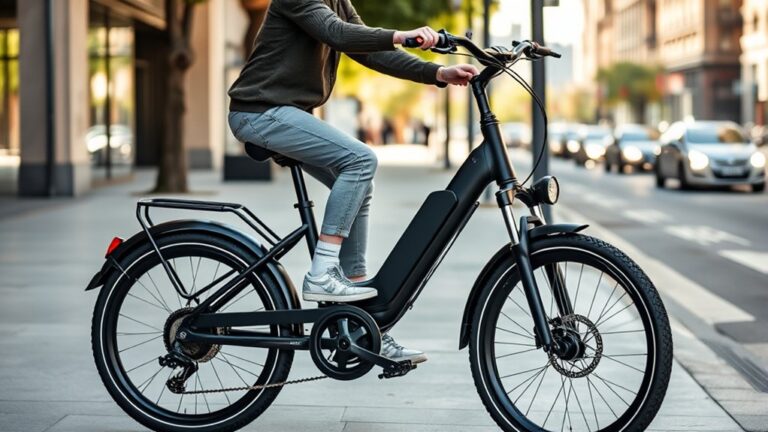
Feeling the thrill of mountain biking but wishing your ride could go further or be a bit easier? You’re not alone—many riders dream of turning their regular bike into an electric one but don’t know where to start.
Luckily, converting your mountain bike to electric isn’t as complicated as it seems. With a little effort, you can enjoy powered rides on rugged trails and steep climbs.
To convert your mountain bike to electric in 8 simple steps, start by evaluating your riding needs and bike compatibility. Choose a suitable electric conversion kit, considering motor power and battery capacity.
Remove old components like derailleurs, then carefully install the motor and battery, ensuring proper alignment and secure wiring.
Connect electrical parts safely, checking for damage or loose connections. Test your bike, troubleshoot issues, and fine-tune settings to optimize performance.
If you want detailed guidance through each step, you’ll find useful insights as you continue.
Key Takeaways
- Assess your riding needs first. Choose an electric conversion kit that fits your requirements, paying attention to motor power, battery capacity, and compatibility with your mountain bike.
- Remove existing components like derailleurs and shifters. Then, securely install the motor and mount the battery, making sure the weight is evenly distributed for better balance.
- Connect the electrical parts carefully. Keep the wires organized and insulated, and double-check that everything is compatible. This helps prevent damage and keeps things safe.
- Test the motor and battery to see how they perform. Check the throttle response and make sure the power delivery is smooth. If you notice any issues, troubleshoot them early.
- Regular maintenance is key to a great riding experience. Keep an eye on tire pressure, suspension settings, and the health of your battery. This way, your bike stays in top shape.
What You Need to Know Before Converting Your Mountain Bike to Electric
Before you start converting your mountain bike to electric, it’s important to understand the key factors involved. First, think about your riding needs and the terrain you’ll be tackling.
Will you be riding steep hills or rough trails? This helps determine the motor size and battery capacity you’ll need. Next, check if your bike is compatible—consider the frame size, weight, and existing components.
Riding steep hills or rough trails influences your motor, battery needs, and bike compatibility for a successful conversion.
You also need to decide between a front, rear, or mid-drive motor. Each type offers different benefits depending on your riding style. Budget is another big factor since electric conversions can vary a lot in cost.
Finally, make sure to look into the legal regulations in your area. Know the rules around speed limits and power restrictions to keep your conversion safe, legal, and suited to your riding style.
How to Choose the Best Electric Conversion Kit for Your Mountain Bike
Choosing the right electric conversion kit for your mountain bike depends on understanding your riding style, terrain, and performance goals. To make the best choice, consider these factors:
- Motor Power: Higher wattage motors give you more torque for steep climbs and rough trails. Just keep in mind, they might drain your battery faster.
- Battery Capacity: Bigger batteries let you ride longer, which is great for long trails. Smaller ones save weight if you’re looking for a lighter setup.
- Compatibility: Make sure the kit fits your bike’s frame and wheel size. That way, installation is smooth and performance stays optimal.
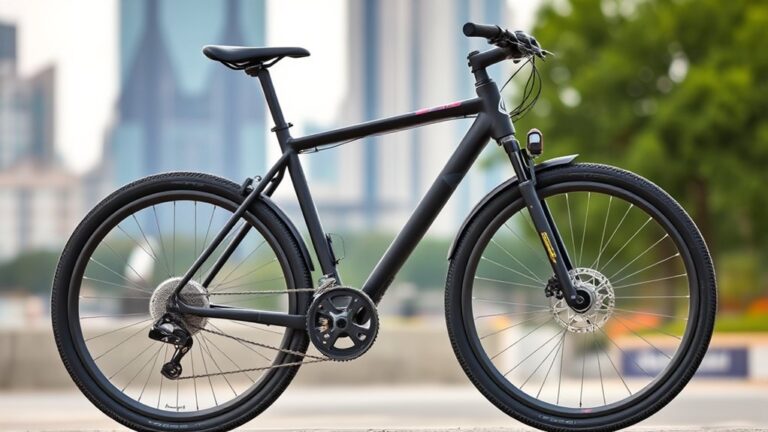
Assess Your Bike’s Compatibility Before Starting
Before you start, make sure your bike’s frame can handle a conversion kit. Check if your wheel size matches what the motor requires.
You’ll also want to confirm that your brake system can support the extra power and weight of the electric parts. Doing these quick checks now can save you time later and avoid compatibility issues.
Frame Compatibility Check
Start by inspecting your bike’s frame to see if it can handle a conversion kit. Check the material—some, like carbon fiber, might need special adapters or may not be compatible.
Next, make sure there’s enough space for the motor, battery, and wiring. Confirm the frame’s geometry can support these components comfortably.
Finally, look at the welds and joints for strength and stability. They need to support the added weight without compromising safety.
Focus on these points: material compatibility, space availability, and structural integrity. Doing this will help ensure a smooth and safe conversion from the start.
Wheel Size Requirements
The wheel size of your bike is really important when it comes to an electric conversion. Most mountain bikes have 26-inch, 27.5-inch, or 29-inch wheels.
You should check your current wheel size and make sure it matches the compatible sizes for your electric kit. Some kits are made for specific wheel diameters, so mismatched sizes can cause fitment or performance issues.
To do this, measure your existing wheels or look for size markings on the sidewalls. Keep in mind that larger wheels can give you better ride stability and help you clear obstacles more easily.
However, bigger wheels might need different motor mounts or adjustments. Making sure your wheel size fits with your conversion kit helps avoid problems and keeps your electric mountain bike running safely and smoothly.
Brake System Compatibility
Verifying your bike’s brake system is compatible with an electric conversion is crucial for safety and performance. Electric bikes produce extra power, which means your stopping distances will increase. So, your brakes need to be up to the task.
Start by checking if your current brakes are disc brakes, as they tend to be more reliable for electric bikes. Next, look at your brake rotors—ideally, they should be 180mm or larger for better stopping power.
Finally, make sure your brake levers can handle the increased braking force and are compatible with either hydraulic or mechanical systems. Focusing on these points helps prevent brake failure and keeps you safe. Proper compatibility is key before you move forward with the conversion.
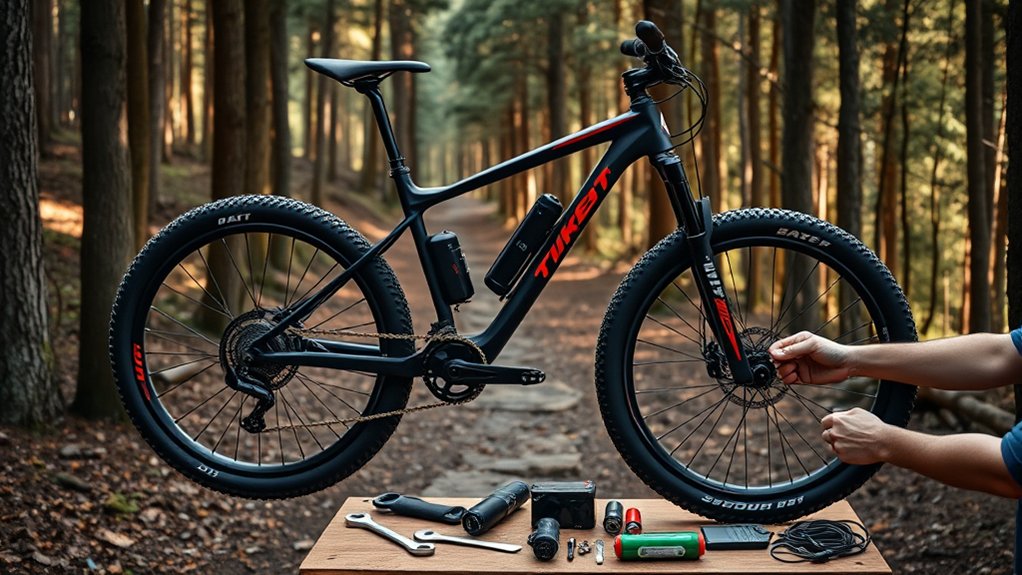
Removing Old Components to Make Room for Your Electric System
Begin by carefully removing the existing components that will interfere with your electric system, such as the derailleur, shifters, and any unnecessary cables.
Use a wrench or Allen keys to detach the derailleur from the rear dropout, and disconnect the shifters from the handlebars. Remove cables that run along the frame to prevent interference during installation.
Take your time to guarantee all connectors are fully detached, avoiding damage to the frame or remaining parts. If your bike has a front derailleur, remove it as well.
Keep all screws and small parts in a safe container for easy reassembly later. Clearing these components creates the space needed for your new electric motor, battery, and wiring, helping to make the installation smoother.
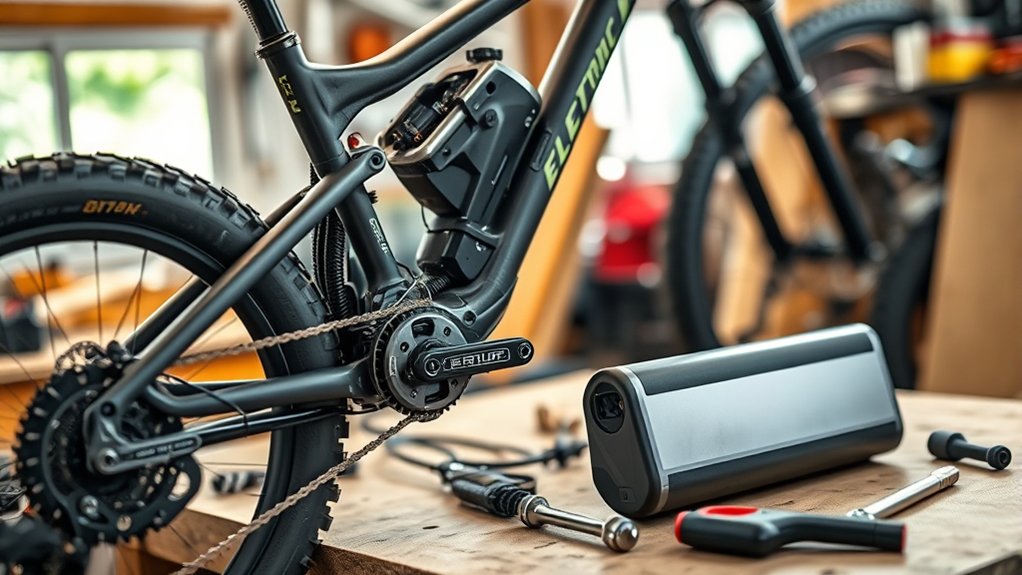
How to Install the Electric Motor and Battery
Start by positioning the electric motor on the bike frame where it provides ideal power transfer, usually near the bottom bracket or rear hub, depending on your motor type. Secure it firmly using brackets or mounting plates designed for your motor.
Next, attach the battery in a convenient, balanced location—typically on the downtube or rear rack—that guarantees easy access and good weight distribution. To install the motor and battery effectively, remember:
- Align the motor properly to avoid strain on the chain or gears.
- Secure the battery tightly to prevent movement during rides.
- Check that all mounting points are firm and stable before proceeding with wiring or testing.
Proper positioning and secure attachments are essential for safe, efficient operation.
Hooking Up Electrical Components Safely
After securely mounting your motor and battery, it’s time to connect the electrical components properly. First, check that all wires are undamaged and match in voltage and amperage.
Use connectors designed for electrical systems, and avoid forcing connections that don’t fit. Keep wires organized with zip ties or clips to prevent movement and damage.
Make sure the wiring is away from moving parts, like the wheels and chain. When connecting, follow the wiring diagram closely, and double-check each connection before moving on.
Use electrical tape or heat shrink tubing to insulate exposed connections, reducing the risk of shorts. Always work in a dry environment, and wear insulated gloves if needed.
Taking these steps helps ensure a safe, reliable setup for your electric mountain bike.
Testing and Troubleshooting Your Electric Mountain Bike
To make sure your electric mountain bike runs smoothly, start by checking the battery’s performance and ensuring it holds a charge properly. It’s a good idea to regularly monitor how long it lasts and recharge it as needed.
Next, test the motor to see if it responds correctly and gives you the power you expect. If it feels sluggish or doesn’t kick in, it might be time for a closer look or some maintenance.
Catching any issues early on can help you avoid breakdowns and keep your rides safe and fun. Regular checks like these will keep your bike in top shape for every adventure.
Battery Performance Checks
Battery performance is key to making sure your electric mountain bike runs smoothly, so it’s important to test and troubleshoot it regularly. Start by checking the battery’s charge level and see if it matches the expected range.
Next, look for any signs of damage like swelling, corrosion, or leaks. These can be signs that the battery needs attention or replacement.
Finally, perform a voltage test with a multimeter to make sure the battery’s output matches what the manufacturer specifies.
Remember these steps:
- Confirm the charge level and range consistency.
- Visually inspect for physical damage or corrosion.
- Test voltage output to verify proper functioning.
Motor Function Testing
The motor is the heart of your electric mountain bike, giving you the power to tackle tough terrains. To test its function, start by making sure the battery is fully charged and properly connected.
Turn on the bike and gently accelerate. You should feel smooth, steady power without any hesitation or strange noises. Listen for sounds like grinding or clicking, which could mean mechanical problems.
Check that the motor responds quickly to your throttle and that the pedal assist works as it should. If the motor doesn’t engage or runs oddly, inspect the wiring for any loose or damaged connections.
Use the bike’s display or controller to look for error codes. These can help guide your troubleshooting. Regular testing helps catch issues early, so your bike stays reliable on every ride.
Fine-Tuning Your E-Mountain Bike for Peak Performance
Achieving peak performance from your e-mountain bike requires careful fine-tuning of its components. Start by adjusting the suspension for your weight and riding style. This guarantees better control and comfort.
Next, calibrate your motor and battery settings to optimize power output and battery life. Finally, check your tire pressure. Correct inflation improves traction, reduces rolling resistance, and prevents flats.
To deepen your understanding:
- Fine-tune suspension for responsiveness.
- Optimize motor and battery for efficiency.
- Maintain proper tire pressure for safety and performance.
Frequently Asked Questions
How Long Does It Take to Convert a Mountain Bike to Electric?
It usually takes around 3 to 6 hours to convert a mountain bike to electric, depending on your experience and the complexity of the build. If you’re familiar with bike mechanics, you might get it done faster.
You’ll need to install the motor, battery, and controller, then do some wiring and testing. Taking your time ensures everything’s secure and working properly.
This way, your e-mountain bike will be safe and reliable once you’re finished.
What Is the Average Cost of Converting a Mountain Bike?
Converting your mountain bike to electric usually costs between $500 and $1,500, depending on the quality of parts you pick.
You’ll need a conversion kit, which can range from basic to premium, plus any extra tools or accessories. If you’re on a budget, DIY options are cheaper, but higher-end parts can boost performance and durability.
Can I Convert Any Mountain Bike to Electric?
You can convert most mountain bikes to electric, but not every bike is ideal. Think of it like fitting a suit—you need the right size and shape.
For example, a bike with a sturdy frame and enough space for a motor and battery makes the process smoother. If your bike has a lightweight frame or complex geometry, it might be more challenging.
Do some research on your specific model first.
How Do I Maintain My Electric Mountain Bike?
You keep your electric mountain bike in top shape by regularly checking the tire pressure and inspecting the brakes for wear.
Clean the chain and drivetrain to prevent dirt buildup, and recharge the battery after each ride.
Keep an eye on the electrical connections for corrosion or looseness, and store your bike in a cool, dry place.
Routine maintenance guarantees your bike stays reliable and performs at its best on every trail.
Are There Legal Restrictions for Electric Mountain Bikes?
Yes, there are legal restrictions for electric mountain bikes. You might worry about complicated rules, but generally, regulations vary by location.
Many areas classify e-mountain bikes based on their power and speed, which affects where you can ride and if you need a license. Always check local laws before hitting trails.
Staying informed keeps you safe and compliant, so you can enjoy your ride without worries.
Conclusion
Converting your mountain bike to electric changes how you ride, blending adventure with modern tech. It’s like tackling a tough trail—challenging but totally worth it.
It’s a journey that needs patience and precision, especially when wiring everything correctly. But the payoff is a bike that’s more powerful and fun to ride.
Remember, it’s not just about adding electric gears. It’s about unlocking new possibilities for your mountain biking adventures.
In the end, transforming your bike into an electric mountain bike is all about boosting your ride’s potential and enjoying the ride like never before.