7 Easy Steps to Inflate a Mountain Bike Tire
Many mountain bikers know the frustration of a deflated tire right before hitting the trails. If you’re tired of struggling with inconsistent inflation or unsure if your tire is properly topped up, you’re not alone.
Getting your mountain bike tires just right can make a huge difference in your ride quality and safety.
To inflate your mountain bike tire, start by inspecting the tire and valve for damage or debris. Choose the right pump, attach it securely to the valve, and then inflate gradually while watching the pressure gauge.
Check the recommended PSI for your terrain and rider weight, adjusting as needed.
Once the desired pressure is reached, detach the pump and examine the tire for leaks or issues.
Keep practicing these steps to guarantee a safe, smooth ride—more tips await if you keep going.
Key Takeaways
- First, make sure to remove any debris or embedded objects from the tire and valve before you start inflating.
- Check the recommended PSI range listed on the sidewall of your tire to know the right pressure.
- Now, attach the pump securely to the valve. Make sure it’s tight so there are no air leaks.
- Once everything’s connected, inflate the tire gradually. Keep an eye on the pressure gauge to avoid over-inflating.
- When you’ve reached the desired PSI, detach the pump carefully.
- Finally, double-check that the tire pressure is correct before heading out for your ride.
Why Proper Tire Inflation Matters for Mountain Biking
Proper tire inflation is essential because it directly affects your mountain biking performance and safety. When your tires are properly inflated, you get better control, traction, and stability on uneven trails.
Under-inflated tires increase the risk of pinch flats, punctures, and slow you down because they can’t roll efficiently over obstacles. Over-inflated tires, on the other hand, reduce grip and make your ride rougher, especially on rocky or bumpy terrain.
Maintaining the right pressure helps you respond quickly to trail conditions, prevents damage, and conserves energy. It’s a simple step that keeps your bike handling predictably and keeps you safe on challenging trails.
Proper inflation ultimately improves your riding experience and helps minimize the risk of accidents.
Inspect and Prepare Your Mountain Bike’s Tire and Valve
Before inflating your mountain bike tire, it’s important to check the tire and valve for any damage or debris. Look at the sidewalls and tread for cuts, punctures, or cracks.
Remove any stones, mud, or debris lodged in the tire or around the valve. Make sure the valve stem is straight and not bent or damaged, as a damaged valve can cause leaks.
If you notice any cracks or significant damage, it’s best to replace the tire or valve before you continue. Also, wipe away dirt or dust from the valve to ensure a good seal with your pump.
Taking these steps helps prevent leaks and ensures a safe, reliable inflation process. This sets your tire up for top performance on the trail.
Choose the Best Pump and Attachments for Mountain Bikes
Choosing the right pump and attachments is key to efficiently inflating your mountain bike tires. You want a pump that’s portable, durable, and fits your valve type.
For mountain bikes, a floor pump with a pressure gauge is ideal, but a small hand pump works well for quick fixes. Attachments depend on whether you have Presta or Schrader valves—make sure your pump has the right adapters.
Use the table below to compare options:
| Pump Type | Features | Best For |
|---|---|---|
| Floor Pump | High pressure, stable, gauge | Home garage |
| Hand Pump | Portable, lightweight | Trail, emergencies |
| Convertible Pump | Switches between Presta and Schrader valves | Versatile, travel kit |
| Mini Pump | Compact, minimal pressure | Quick on-the-go repairs |
| CO2 Inflator | Fast inflation, disposable | Emergency, trail riding |
Choose based on your riding style and convenience.
Determine the Right Mountain Bike Tire Pressure
To find the right mountain bike tire pressure, start by checking the ideal range printed on the tire sidewall.
Keep in mind that you might need to adjust this pressure based on the terrain you’re riding. Use lower pressure for softer trails and higher pressure for smooth surfaces.
Properly setting your pressure guarantees better control, comfort, and tire longevity.
Ideal Pressure Range
Finding the ideal pressure range for your mountain bike tires helps ensure top performance and safety on the trail. Proper inflation strikes a balance between grip, comfort, and puncture resistance.
Check your tire sidewall for the recommended PSI, but keep in mind this can change depending on terrain and rider weight. Use the guide below to get started:
| Terrain Type | Recommended PSI | Rider Weight Range |
|---|---|---|
| Cross-country | 40-50 PSI | Light to Medium |
| Trail | 30-40 PSI | Medium to Heavy |
| Technical | 20-30 PSI | Heavy or Aggressive |
| Downhill | 25-35 PSI | All weights |
Adjust within these ranges based on your riding style and conditions. Maintaining the right pressure consistently will make your ride safer and more efficient.
Adjust for Terrain
Adjusting your tire pressure based on terrain is key for the best performance and safety. For smooth trails or packed dirt, keep the pressure higher—closer to the upper end of your recommended range—to reduce rolling resistance.
On rocky or uneven terrain, lower the pressure slightly to improve grip and shock absorption, helping you handle rough surfaces more comfortably. If you’re riding on loose gravel or sand, softer tires can give you better traction.
Just remember, too low a pressure can lead to pinch flats, while too high makes your ride harsh and less controllable. Always think about the trail conditions and your riding style. Small tweaks help you find the perfect balance between speed, control, and comfort, making your ride safer and more fun.
Inflate Your Mountain Bike Tire Step-by-Step
Start by gathering your pump and pressure gauge, making sure everything’s ready to go. Next, check your tire’s recommended pressure so you don’t over- or under-inflate it.
Finally, attach the pump and carefully inflate the tire until it reaches the proper level.
Prepare Your Equipment
Before you start inflating your mountain bike tire, gather everything you’ll need to make the process smooth. You’ll want a reliable air pump, ideally with a pressure gauge to keep an eye on the pressure.
Make sure your pump’s valve fits your tire’s valve type—either Schrader or Presta. It’s also helpful to have the recommended pressure range, usually printed on the tire’s sidewall.
Wearing gloves can keep your hands clean and protected. Check that your pump hose and nozzle are in good shape, without cracks or leaks.
Getting everything ready beforehand stops interruptions and speeds things up. Being prepared means you won’t forget any essential tools, making the job easier and more straightforward.
Check Recommended Pressure
To guarantee your tire is inflated correctly, you need to check the recommended pressure range printed on the sidewall of the tire. This range indicates the minimum and maximum PSI your tire can handle safely.
Using a reliable pressure gauge, compare the current PSI to this range. If your tire’s pressure is below the minimum, it won’t roll efficiently and might be prone to pinch flats.
Too high, and you’ll compromise traction and comfort. Always aim for a pressure within the recommended range for peak performance.
Keep in mind, factors like rider weight, terrain, and riding style can influence the ideal PSI. Checking this before inflating guarantees you don’t over- or under-inflate, keeping your ride safe and efficient.
Properly Inflate Tire
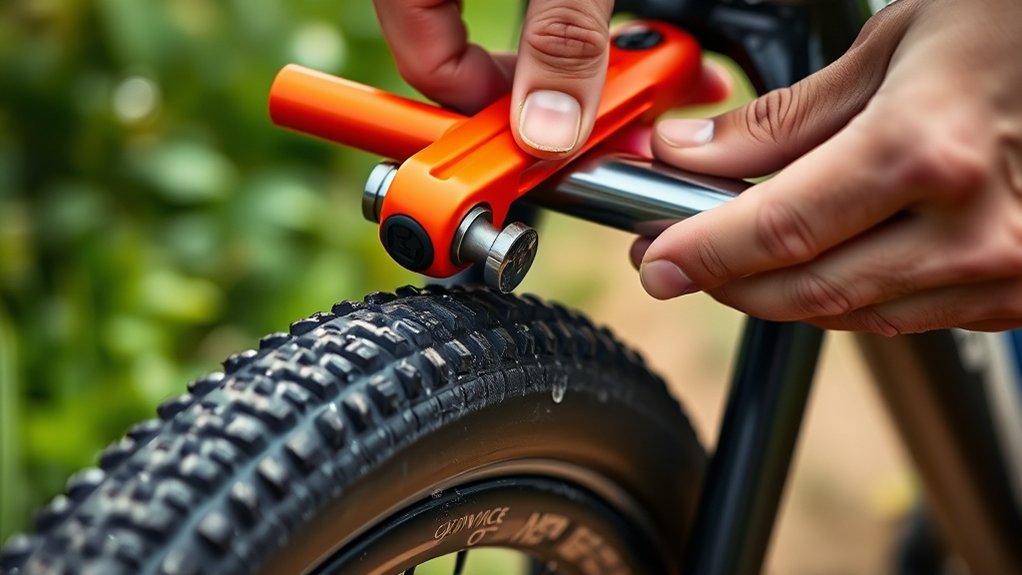
Begin inflating your tire by attaching your pump securely to the valve, making sure there’s no air leakage. Once connected, start pumping steadily, keeping an eye on the pressure gauge.
Don’t rush; maintain steady pressure to avoid over-inflation. Check the recommended PSI for your bike’s tire—usually printed on the sidewall—and aim to reach that level.
If your pump doesn’t have a gauge, periodically stop and use a separate gauge to monitor the pressure. Adjust as needed, adding air slowly to avoid overshooting.
Once you hit the recommended PSI, detach the pump carefully, making sure the valve stays sealed. Proper inflation guarantees your ride is smooth, safe, and efficient, preventing flats and improving handling on the trails.
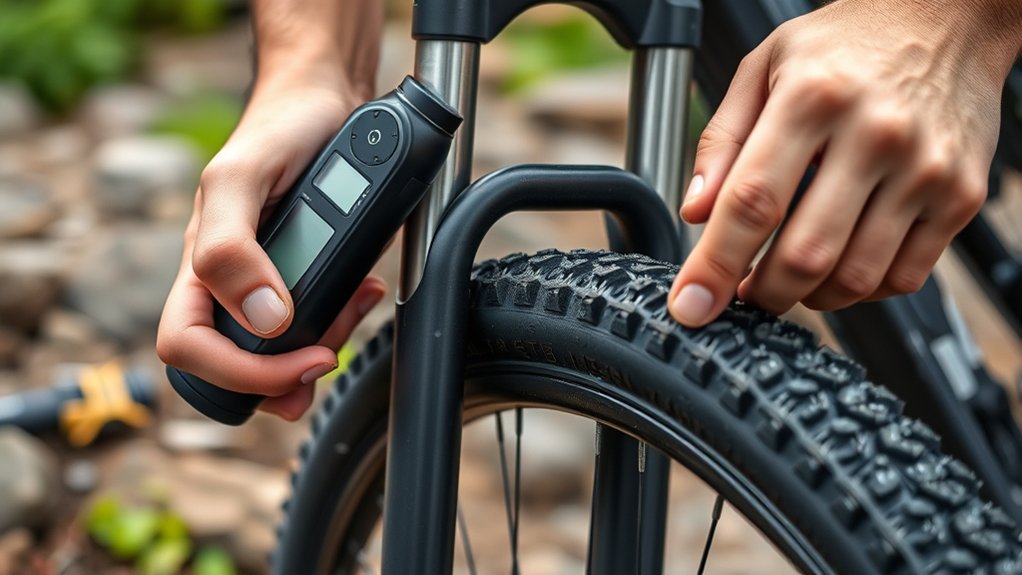
Check Tire Pressure and Assess Tire Condition
Checking your tire pressure and evaluating the condition of your mountain bike tires are essential steps to confirm a safe and smooth ride. Use a reliable pressure gauge to verify your tires are inflated to the recommended PSI, which you can find on the tire sidewall or your bike’s manual.
Underinflated tires can cause poor handling and increase the risk of flats, while overinflated tires might reduce traction and comfort. Also, inspect the tires for cuts, cracks, embedded debris, or signs of wear. Look for uneven tread wear or sidewall damage that could compromise your ride’s safety.
Regularly checking pressure and tire condition helps prevent unexpected flats and keeps your bike performing at its best.
Troubleshoot Common Tire Inflation Issues and Maintain Pressure
Even the best tires can have trouble holding air, but knowing how to troubleshoot common issues keeps your ride smooth and safe.
If your tire isn’t staying inflated, start by checking for punctures or small leaks around the valve stem. Apply soapy water to the valve and tire surface—bubbles will show you where leaks are.
Make sure the valve core is tight. A loose core can cause slow leaks, so give it a gentle tighten if needed. If pressure drops quickly, look for embedded debris or cuts in the tire.
To keep your tires at the right pressure, check them regularly, especially before riding. Use a reliable pump with a built-in pressure gauge to avoid over-inflating.
When your bike isn’t in use, keep the tires at recommended pressure levels to prevent damage. Regular maintenance and quick troubleshooting will help your mountain bike perform its best and keep your rides safe.
Frequently Asked Questions
How Often Should I Check My Mountain Bike Tire Pressure?
You should check your mountain bike tire pressure at least once a week, especially before long rides or rough terrain. Regular checks help prevent flats, improve performance, and make your tires last longer.
Keep an eye on the tire, and if you notice it feels softer or looks flatter, top it off. Temperature changes can also affect pressure, so more frequent checks are a good idea during hot or cold weather.
Can I Use a Car Pump for Mountain Bike Tires?
Yes, you can use a car pump for mountain bike tires, but it’s not always the best choice. Car pumps usually put out higher pressure, which can make inflating small bike tires tricky.
Make sure the pump has a compatible valve type, like Schrader, and use a pressure gauge to avoid over-inflating. If your bike’s tires need lower pressure, a floor pump designed for bikes might be more precise and easier to handle.
What Signs Indicate My Tire Needs Replacing Instead of Inflation?
Did you know that over 60% of bike riders ignore signs of tire wear? If your tire shows cracks, chunks missing, or significant tread wear, it’s time to replace it instead of just inflating.
Also, if the tire’s sidewalls are bulging or if it frequently loses pressure despite proper inflation, these are clear signs. Replacing worn tires guarantees safety, better performance, and prevents sudden flats during rides.
Is It Safe to Overinflate Mountain Bike Tires?
Overinflating mountain bike tires isn’t safe because it can cause the tire to burst or damage the rim, especially on rough terrains.
You should stick to the recommended pressure listed on the tire sidewall. Proper inflation provides ideal grip, comfort, and control.
Use a reliable pump with a gauge to avoid overinflation. Regularly check your tire pressure before rides to guarantee safety and performance.
How Does Temperature Affect Mountain Bike Tire Pressure?
When the temperature drops, your mountain bike tire pressure shrinks like a deflating balloon. Warm weather, on the other hand, causes the air inside to expand and pressure to go up.
You really need to keep an eye on these changes because riding with the wrong pressure can lead to flats or poor handling.
It’s a classic case of “you get what you pay for.” Regularly checking and adjusting your tires helps ensure a smoother, safer ride no matter what the weather is like.
Conclusion
Inflating your mountain bike tire is quick and straightforward once you know the steps. Don’t worry if it feels tricky at first—practice makes perfect! Regularly checking and maintaining proper pressure keeps your ride smooth and safe, even if you’re busy.
Just take a few minutes to follow these simple steps, and you’ll enjoy better control and fewer flats. Trust me, keeping your tires inflated is worth it for your next adventure on the trails. Properly inflated tires make all the difference in your ride!