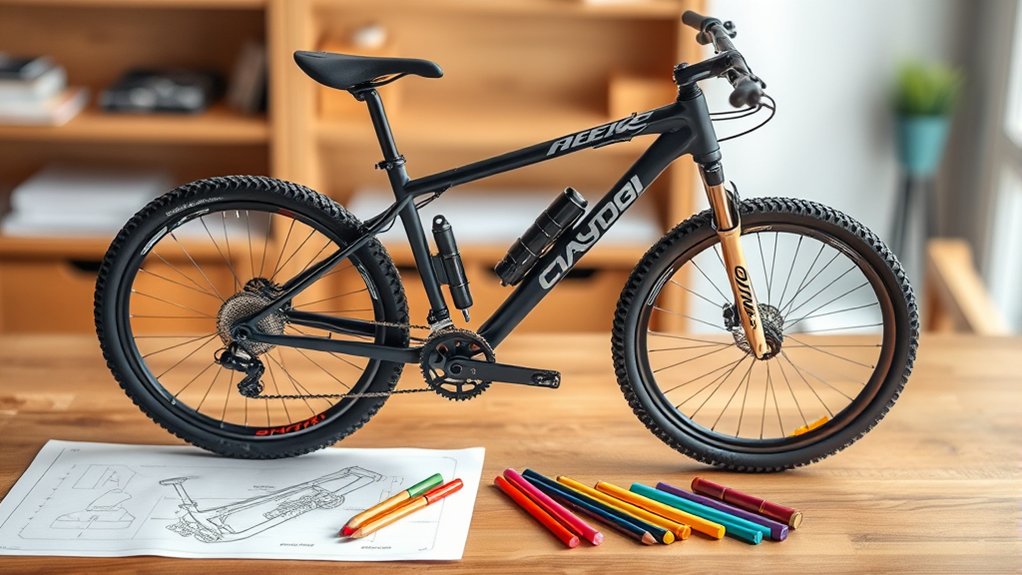
How to Draw a Mountain Bike in 8 Easy Steps
Many aspiring artists feel overwhelmed when trying to draw complex objects like a mountain bike. You’re not alone—getting the details right can seem tricky at first.
But with a simple, step-by-step approach, you can master it easily.
To draw a mountain bike in 8 easy steps, start by gathering your pencils, erasers, and paper, and familiarize yourself with bike parts like the frame and suspension.
Sketch the bike’s basic frame shape, then add accurately sized and positioned wheels.
Next, draw the handlebars, front suspension, seat, and rear suspension components.
Include pedals, crankset, and detailed tires with tread patterns.
Finish by adding shading and textures for depth.
Keep practicing, and you’ll develop a clear, easy-to-follow method for creating realistic bike drawings.
Key Takeaways
- Start by gathering your drawing materials and taking a good look at mountain bike parts. This will help you get an accurate idea of how everything fits together.
- Sketch out the basic shape of the bike’s frame. Then, draw two circles for the wheels, making sure they are aligned and the same size.
- Next, add the handlebars, suspension, seat, and pedals. Don’t forget to include detailed components like the forks and chainrings.
- Use shading techniques to bring your drawing to life. Focus on showing light and shadow, as well as textures like tire treads and shiny metal highlights.
- Finally, check the overall composition. Make sure everything is proportional, refine the light and shadow areas, and add any last details to make your mountain bike look realistic.
Gather Materials and Understand Mountain Bike Parts
Before you start drawing, gather all the materials you’ll need, like pencils, erasers, and paper. Having everything ready helps you focus on your art without interruptions. You might also want a ruler for straight lines and colored pencils or markers if you plan to add details later.
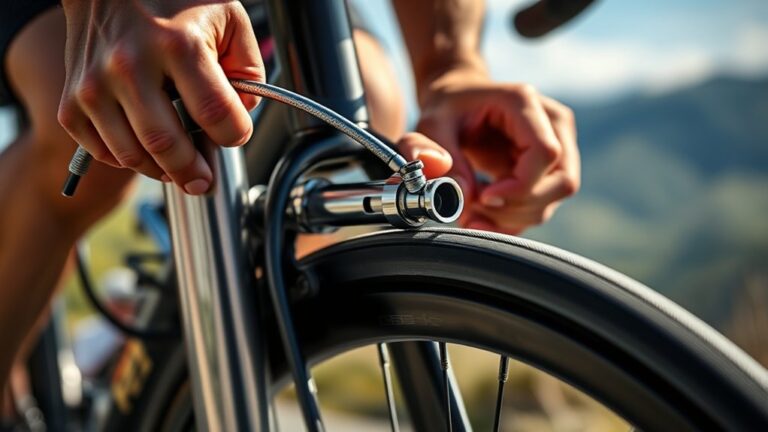
Next, get familiar with the main parts of a mountain bike. Knowing these components makes your drawing more accurate. Key parts include the frame, wheels, handlebars, seat, pedals, and suspension. Each has a distinct shape and position.
Understanding terms like “fork” (front suspension) and “chainstay” (part of the frame) helps you visualize the bike better. Spend a few minutes studying reference images or a real bike to spot these elements before you start drawing.
Sketch the Mountain Bike’s Basic Frame Shape
Start by outlining the mountain bike’s basic frame shape, focusing on its geometry. Pay attention to the key components like the top tube, down tube, and seat tube. This structure sets the foundation for the rest of your drawing.
Frame Geometry Basics
Although mountain bike frames come in various styles, start by sketching the basic triangle shape that forms the core structure. This triangle includes three key lines: the top tube, down tube, and seat tube.
Pay attention to the angles between these tubes because they affect how the bike handles and feels. For example, a slacker head tube angle offers more stability on rough terrain, while a steeper seat tube angle helps with pedaling efficiency.
Keep the frame proportions balanced—neither too stretched nor too compact. As you draw, make sure the rear triangle, connecting the seat tube to the rear wheel, complements the front triangle for smooth geometry.
This foundation helps you add details with confidence in the next steps.
Key Frame Components
Three main components define the mountain bike’s basic frame shape: the top tube, down tube, and seat tube. Start by sketching the top tube as a slightly angled horizontal line connecting the seat tube to the front of the bike.
Next, draw the down tube slanting downward from the head tube to the bottom bracket area. The seat tube rises vertically from the bottom bracket, supporting the saddle.
These tubes form a sturdy triangle, giving the frame strength and balance. Don’t forget to add the head tube at the front, where the fork and handlebars will attach.
Keep your lines clean and simple at this stage; you’ll refine the details later. Mastering these key frame components sets a solid foundation for your mountain bike drawing.
Draw the Wheels With Correct Size and Position
To draw the wheels with the correct size and position, focus on getting their proportions right relative to the bike frame. Start by sketching two large circles that are equal in size—these will be the wheels.
Position them so they align with the frame’s bottom tube and seat stays. Make sure the rear wheel sits near the bike’s rear triangle and the front wheel lines up with the front fork. Keep some space between the wheels and the frame to show realistic clearance.
Use light lines to adjust their placement before finalizing. Accurate wheel size and alignment are key because they anchor the bike’s structure and balance. Once you’re happy with their size and position, you can add details like spokes and rims later.
Add Handlebars and Front Suspension Details
Once you’ve set the wheels in place, start shaping the bike’s front end by adding the handlebars and front suspension. Begin with a horizontal bar above the front wheel—this will be your handlebar.
Add grips on each end by drawing small cylinders. Then, draw the handlebar stem connecting the bar to the front fork. For the front suspension, outline two parallel fork tubes extending down from the stem toward the front wheel hub.
These tubes usually have a slightly thicker section near the top where the suspension mechanism is housed. Add subtle details like adjustment knobs or protective covers for extra realism. Keep your lines clean and simple, focusing on basic shapes before refining.
This step gives your bike its distinctive, rugged appearance!
Sketch the Seat and Rear Suspension Components
Now, focus on sketching the seat, paying attention to its shape and position on the frame.
Next, add the rear suspension components, capturing their connection points and mechanical details.
These elements give your mountain bike drawing its realistic and functional look.
Seat Shape and Position
Although the seat might seem like a simple part, its shape and position are really important for your comfort and control while riding. When you sketch the seat, focus on its streamlined, slightly curved shape that tapers toward the front. This design helps reduce friction and supports your riding posture.
Position the seat so it sits just above the top tube, angling it slightly upward or level, depending on the bike’s style. The seat post should connect directly beneath and extend down toward the frame. Make sure to leave enough space between the seat and the rear wheel.
This setup not only looks realistic but also reflects how riders adjust seats for balance and efficiency. Keep the lines clean and simple to highlight these key features clearly.
Rear Suspension Details
Because the rear suspension plays an essential role in absorbing shocks and improving ride comfort, you’ll want to carefully sketch its components along with the seat. Start by drawing the seat connected to the seat post, positioned just above the rear triangle of the frame.
Then, add the rear shock absorber, usually a coil or air spring, linking the seat stay to the main frame. Be sure to show the pivot points where the suspension moves. These parts often include a linkage system, so sketch small connecting arms or bolts to indicate the mechanical connections.
Keep the lines clean and proportionate to the bike’s frame. Paying attention to these details will bring your mountain bike drawing to life and highlight its functional design.
Draw the Pedals, Crankset, and Chainring
Focus on the pedals, crankset, and chainring next, as these parts connect the rider’s power to the bike’s movement. Start by sketching two small rectangles on either side of the bottom bracket area for the pedals. Keep them simple but proportional.
Then, draw the crank arms extending from the center, linking the pedals to the chainring. Make the crank arms straight and slightly angled outward. For the chainring, create a large circle centered on the bottom bracket, adding small teeth around its edge to show where the chain grips.
Make sure the chainring overlaps the right crank arm. This setup captures the mechanical link that drives the bike forward. Keep your lines clean and avoid overcrowding details to maintain clarity in this important area.
Add Mountain Bike Tires With Detailed Tread Patterns
With the pedals, crankset, and chainring in place, you can move on to shaping the mountain bike’s tires. Start by drawing two large circles around the wheel hubs to form the basic tire shape.
Then, add the tread pattern to give your tires a rugged, realistic look. To do this effectively, sketch small, evenly spaced rectangles or diamonds around the tire’s circumference.
Alternate the shapes slightly to mimic the uneven grip of mountain bike tires. Use short, angled lines between the main tread blocks to show texture.
Keep the tread pattern consistent but not perfectly symmetrical for a natural feel. This detailed tread will make your mountain bike look ready to tackle any trail.
Next, you’ll be ready to finalize your drawing with shading and texture.
Finalize Your Drawing With Shading and Texture
As you finish outlining the mountain bike, start adding shading and texture to bring depth and realism to your drawing. Focus on areas where light naturally falls and shadows form, like beneath the frame, around the tires, and near the handlebars.
Use soft, controlled strokes to create smooth shading on curved surfaces, and apply more defined lines or dots for rough textures such as tire treads or the seat’s fabric. Vary your pressure to achieve different tones, enhancing the three-dimensional feel.
Remember to keep the light source consistent throughout. Adding subtle highlights on metal parts will make them appear shiny, while darker shading in crevices adds contrast. This final step will transform your sketch into a more lifelike and dynamic mountain bike drawing.
Frequently Asked Questions
What Type of Paper Is Best for Drawing Mountain Bikes?
You’ll want to use smooth, heavyweight paper like Bristol board or a good-quality drawing paper with a weight of at least 80 lb (120 gsm).
This type of paper handles pencil, ink, and light marker work well without bleeding or warping.
It also lets you add fine details and erase cleanly.
Avoid thin or textured papers, as they can make your mountain bike drawing look rough or uneven.
How Do I Correct Mistakes in My Mountain Bike Drawing?
When you mess up a line, think of it like wiping a foggy mirror—just grab a kneaded eraser and gently lift the graphite without smudging. I once saw an artist erase and redraw a wheel five times, each time clearer.
Don’t rush; correcting mistakes helps your drawing breathe. Use light pencil strokes early on so you can easily adjust shapes.
Can I Use Digital Tools Instead of Traditional Drawing Materials?
Yes, you can definitely use digital tools instead of traditional drawing materials. Digital drawing apps and tablets give you the flexibility to undo mistakes instantly, experiment with colors, and work on multiple layers.
Plus, they often have brushes and effects that mimic real pencils and paints. If you’re comfortable with technology, digital tools can speed up your process and make editing much easier while still letting you create detailed, impressive mountain bike drawings.
How Long Does It Typically Take to Complete This Drawing?
Drawing a mountain bike usually takes about 30 to 60 minutes, kind of like climbing a steady hill—you go at your own pace.
If you’re new, expect to spend more time perfecting details. Using digital tools can help speed things up with undo options and layers.
Remember, it’s not a race. Enjoy each stroke and make adjustments as you go.
With practice, you’ll finish faster and feel more confident every time.
Are There Any Recommended Resources for Mountain Bike Reference Images?
You can find great mountain bike reference images on websites like Pinterest, Unsplash, and Flickr. They offer plenty of free, high-quality photos that are perfect for studying.
You might also check out bike manufacturer websites or online bike forums for detailed shots. If you want more variety, Instagram hashtags like #mountainbike or #mtbphotography are super helpful.
Don’t forget YouTube, where videos can give you different angles and motion references to improve your drawing accuracy.
Conclusion
Now that you’ve mastered drawing a mountain bike step-by-step, you’re part of a creative journey that celebrates the bike’s popularity. Did you know over 50 million mountain bikes are sold worldwide each year? That’s a lot of adventure on two wheels!
Keep practicing your drawing skills to capture more details and textures. With each sketch, you’ll improve and gain a better appreciation for the design and engineering behind these amazing bikes.
Remember, drawing a mountain bike is not just about the look but understanding what makes it special. Keep riding your creativity and have fun exploring more bike designs!