10 Steps to Build a Mountain Bike Trail
Building a mountain bike trail can seem overwhelming, especially if you’re new to the process. Many bike enthusiasts dream of creating their own epic routes but feel unsure where to start. You’re not alone—crafting a great trail takes planning, patience, and some know-how.
To build a mountain bike trail, start by choosing a varied terrain location with good drainage and get permission from landowners or authorities.
Design a flowing route that balances challenges and gather essential tools like shovels and axes. Clear the path safely, prevent erosion, and test ride for fun and safety.
Set a maintenance schedule and engage the community for support. Keep following for detailed tips on creating a trail that’s both exciting and environmentally responsible.
Key Takeaways
- Scout different types of terrain that include natural features and make sure the area has good drainage. This helps create an exciting and sustainable mountain bike trail.
- Before you start building, get all the necessary permissions. Check local rules and secure permits to keep everything above board.
- Plan out your trail route carefully. Use natural obstacles to keep it interesting and aim for a smooth flow. Make sure there’s a variety of difficulty levels so riders of all skills can enjoy it.
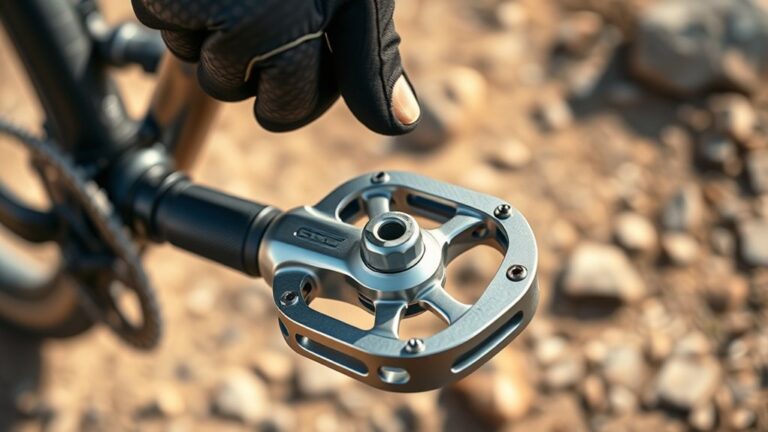
- Gather your essential tools and materials. Axes, shovels, gravel, and logs are key for shaping and stabilizing the trail surface.
- Regularly inspect the trail for safety. Keep an eye on erosion, clear away debris, and maintain signage so everyone stays safe and informed.
Choose the Best Location for Your Mountain Bike Trail
Where should you build your mountain bike trail? Start by scouting areas with varied terrain to keep the ride exciting. Look for natural features like hills, rocks, and trees that add challenge and interest.
Choose a spot with good drainage to avoid muddy sections and erosion problems. Think about accessibility—pick a place that’s easy for riders to reach but still feels remote enough for adventure.
Avoid sensitive ecosystems or habitats to minimize environmental impact. Also, check the soil type; firm, well-packed soil will hold up better under frequent use.
Get Permission and Know Local Rules
Once you’ve found the perfect spot for your mountain bike trail, the next step is to get permission and understand the local rules. This helps ensure your trail-building efforts don’t run into legal issues later on.
Start by reaching out to landowners or managing agencies to get formal approval. It’s also a good idea to research local zoning laws and environmental restrictions that might affect your plans.
Check if you need permits or environmental impact assessments before you begin. And don’t forget to respect protected areas and seasonal rules, like wildlife breeding seasons or fire bans.
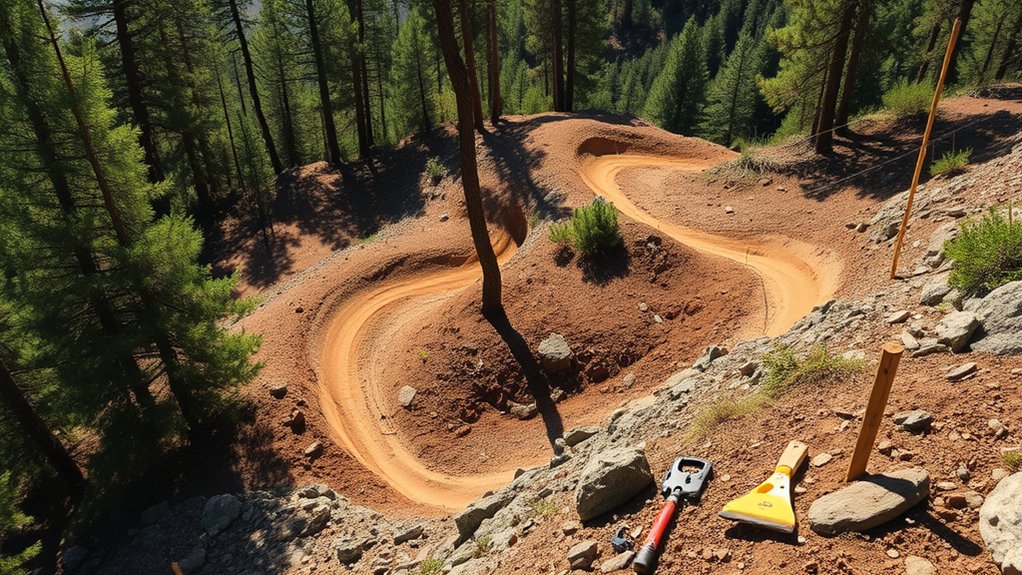
Design Your Mountain Bike Trail for Smooth Flow and Varied Challenge
Although building a trail might seem straightforward, designing it for smooth flow and varied challenge takes careful planning. You’ll want to map out a route that keeps riders engaged without overwhelming them.
Start by considering natural terrain features and use them to create fun obstacles and technical sections. Balance easier stretches with more challenging areas to suit different skill levels.
Design turns and berms to help maintain momentum so riders don’t have to pedal too much or brake too often. Incorporate gradual climbs and descents to change the intensity without causing fatigue.
Remember to avoid sharp, sudden changes that can disrupt flow. By thoughtfully planning your trail’s layout, you ensure riders enjoy a seamless ride that tests their skills while still being fun and safe.
Gather Tools and Materials for Trail Building
Before you start building, make sure you have the essential tools like shovels, rakes, and loppers ready.
You’ll also need materials such as gravel or wood for trail reinforcement.
Don’t forget to gather safety gear like gloves, helmets, and first aid supplies to keep yourself protected.
Essential Trail Building Tools
A well-equipped toolkit lays the groundwork for successful trail building. You need the right tools to shape and maintain your mountain bike trail efficiently. Here are four essential tools to get you started:
- Pulaski Axe. This tool combines an axe and a mattock, making it great for cutting roots and digging soil.
- McLeod Tool. It works as a rake and hoe in one, perfect for smoothing the trail surface and clearing debris.
- Shovel. Useful for digging, moving dirt, and shaping trail features.
- Wheelbarrow. It helps you transport soil, rocks, and other materials with ease.
With these tools, you’ll be able to handle most trail-building tasks confidently and keep your project moving smoothly. Make sure each tool is sturdy and sharp for the best results.
Materials Needed For Trails
Since trail building involves shaping and stabilizing the terrain, you’ll need specific materials to create a durable and safe path. Start with quality soil or gravel to fill low spots and improve drainage.
Use rocks and logs to reinforce trail edges and prevent erosion. Mulch or wood chips help with surface traction and reduce mud. You might also need landscape fabric beneath loose materials to keep the trail stable over time.
In addition, consider using stakes or markers to outline the trail layout clearly during construction. Having these materials on hand guarantees you can address common trail challenges like water runoff and wear.
Gathering them before you begin will save time and help your trail stand up to regular use.
Safety Gear And Supplies
Although you’re excited to start shaping the trail, it’s important to have the right safety gear and supplies. This helps you work efficiently and stay safe from injuries.
Protecting yourself is key when handling tools and moving through rough terrain. Here’s what you should have on hand:
- Helmet and Gloves – Keep your head and hands safe from falls, cuts, and blisters.
- Sturdy Boots – Choose boots with good ankle support and traction for stability.
- First Aid Kit – Have basic medical supplies nearby for minor injuries.
- Protective Eyewear – Shield your eyes from debris and branches.
Getting the right gear lets you focus on building the trail without unnecessary risks. Safety gear and supplies are essential—they help keep your project moving smoothly.
Clear and Prepare Your Mountain Bike Trail Path Safely
Start by removing any rocks, branches, and debris from your trail path to create a safe and smooth riding surface. Use gloves and eye protection while clearing to avoid injuries.
Cut back overgrown vegetation with pruners or a brush saw, keeping the trail wide enough for comfortable riding without damaging surrounding plants.
Trim overgrown plants carefully to maintain a wide, safe trail while protecting nearby vegetation.
Check for unstable soil or erosion spots, and stabilize them by adding compacted dirt or gravel where needed.
Avoid working on steep slopes during wet conditions to prevent accidents and minimize trail damage.
Regularly step back to assess your progress and make sure the path follows your planned route safely.
Build Trail Features Like Berms and Jumps With Sustainable Methods
After clearing and preparing your trail path, you can make it more fun by adding features like berms and jumps. Building these sustainably helps your trail last longer and fit well with the environment.
Use natural materials like soil and rocks from nearby to shape berms and jump lips. This keeps things eco-friendly and easy to source.
Make sure to compact the soil firmly so your features stay stable and durable, even after lots of riding.
Shape berms with a gentle incline so riders can keep their speed safely. It makes the ride smoother and more enjoyable.
Design jumps with smooth takeoff and landing zones, avoiding sharp edges or loose soil. This keeps things safe and fun for everyone.
Prevent Erosion With Sustainable Trail-Building Techniques
When you build your trail, preventing erosion is key to keeping it safe and durable. Start by designing with natural water drainage in mind, avoiding steep slopes that cause runoff.
Use outsloping, where the trail tilts slightly to one side, to help water flow off quickly. Incorporate grade reversals, or short uphill sections, to slow water and help it shed naturally.
Stabilize soil by placing rocks or logs in vulnerable spots, and plant native vegetation along the trail to hold soil with their roots. Avoid cutting into slopes more than necessary, and keep the trail narrow to limit exposed soil.
These sustainable techniques protect the environment and ensure your trail stays solid and enjoyable for years to come.
Test Ride and Adjust Your Trail for Safety and Fun
Although you’ve carefully planned and built your trail, test riding it is essential to guarantee both safety and enjoyment. When you take your first ride, pay close attention to how the trail flows and where adjustments might be needed.
Here’s what to do: ride at different speeds to identify tricky spots or hazards. Check for loose rocks, roots, or unexpected drops that may need smoothing out.
Note any areas where the trail feels unsafe or less fun, then tweak angles or add features. Ask friends to ride and give honest feedback from various skill levels.
Create a Maintenance Schedule to Keep Your Mountain Bike Trail in Top Shape
You’ll want to set up regular inspections to spot any wear or damage early.
Plan seasonal maintenance tasks to address issues like erosion or overgrowth before they get worse. Staying consistent with your schedule keeps the trail safe and enjoyable for everyone.
Regular Trail Inspections
Since trails face constant wear from weather and riders, scheduling regular inspections is crucial to keep your mountain bike trail safe and enjoyable. When you inspect your trail, focus on key areas to catch problems early and maintain quality.
Check for erosion or washouts that could make sections unsafe. Look for damaged or fallen obstacles that need repair or removal. Inspect trail surfaces for ruts, loose soil, or debris buildup.
Finally, assess signage and markers to guarantee they’re visible and intact. Regular inspections help you keep the trail in top shape for everyone to enjoy.
Seasonal Maintenance Tasks
When you create a maintenance schedule, you help keep your mountain bike trail safe and fun all year long. First, think about the seasonal challenges—spring might cause erosion from melting snow, while summer heat can dry out the soil and cause cracks.
In fall, falling leaves might hide the trail, and winter’s freeze-thaw cycles can damage the surface. Plan tasks around these conditions—clear debris in autumn, fix drainage after spring thaws, and reinforce trail edges before winter hits.
Keep an eye out for fallen branches or overgrown plants and trim them quickly. Using a calendar helps you stay consistent and respond fast to the trail’s changing needs.
Involve the Community to Keep Your Trail Active and Welcoming
Although building the trail is a big step, involving the community helps keep it lively and welcoming. You want riders and locals to feel connected and responsible for its upkeep.
Building the trail is just the start; community involvement keeps it vibrant and cared for.
Here’s how you can do that:
1. Host Regular Events
Organize group rides, cleanups, or skill clinics to bring people together.
2. Create a Volunteer Program
Encourage locals to help with maintenance and improvements.
3. Use Social Media
Share updates, photos, and trail conditions to keep everyone informed and engaged.
4. Partner with Local Businesses
Collaborate for sponsorships or discounts to support the trail financially and socially.
Frequently Asked Questions
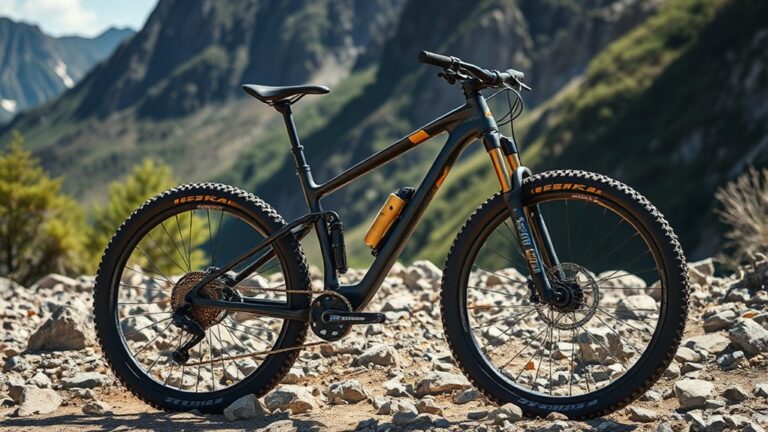
What Are the Best Types of Bikes for Different Trail Difficulties?
For easy trails, a hardtail mountain bike with front suspension is ideal. It absorbs bumps without adding extra weight, making your ride smoother.
When you’re ready for intermediate trails, a full-suspension bike is better. It helps you handle rougher terrain and technical features comfortably.
For the most challenging or downhill trails, go for a bike with heavy-duty full suspension and strong brakes. It keeps you safe during steep descents and jumps.
Match your bike to the trail difficulty, and you’ll ride with confidence and control.
How Can I Track and Measure the Trail’s Environmental Impact?
You can keep an eye on the trail’s “footprint footprint” by regularly monitoring soil erosion, vegetation health, and water runoff. Use GPS and mapping apps to track trail changes over time.
Conduct periodic surveys, take photos from fixed points, and gather feedback from riders about trail conditions. Partner with local environmental groups to assess wildlife impact.
This way, you’ll gently measure how your trail’s shaping nature and make smart improvements.
What Safety Gear Is Essential for Riding Newly Built Trails?
You’ll want to wear a helmet to protect your head, gloves for better grip and hand protection, and knee and elbow pads to guard against scrapes and impacts.
Don’t forget sturdy shoes with good traction and eye protection like goggles or sunglasses to keep debris out.
If the trail is technical, consider a full-face helmet and body armor.
Always check your gear before riding to stay safe on new trails.
How Do I Handle Trail Disputes Between Different User Groups?
You handle trail disputes by encouraging open communication between user groups. Listen to everyone’s concerns and find common ground.
Set clear trail guidelines that respect all users, and involve local organizations to mediate if needed. Promote shared trail etiquette and education to foster understanding.
Are There Smartphone Apps to Help Plan and Map My Trail?
Yes, you’ll find several smartphone apps to help plan and map your trail. Apps like Trailforks, Komoot, and Gaia GPS let you design routes, track elevation, and share your plans with others.
They provide detailed topographic maps, user reviews, and trail conditions. Using these tools, you can efficiently map out your mountain bike trail, avoid obstacles, and ensure everyone has a great riding experience.
Conclusion
Now that you’ve got the tools and know-how, you’re ready to craft your own slice of singletrack paradise. Like a skilled artist shaping a masterpiece, your trail will blend challenge and flow, inviting riders to carve their own stories.
Remember, every great trail is a living thing. Nurture it with care and community spirit. Keep it sustainable and enjoyable for everyone.
So, gear up and get out there. Your mountain bike adventure awaits just beyond the next bend. Building your own trail is an exciting way to share your passion and create lasting memories.