How to Air Up a Road Bike Tire in 10 Easy Steps
Are you tired of struggling to get your road bike tires properly inflated? Many cyclists find this task tricky, especially if you’re new to biking or don’t have the right tools. Don’t worry—you’re not alone, and inflating your tires can be simple once you know how.
To air up your road bike tire, first check the recommended PSI on the tire sidewall. Gather a compatible pump and pressure gauge, then identify if your valve is Presta or Schrader.
Remove the valve cap and prep the valve—unscrew the Presta nut if needed. Secure the pump head tightly, then pump steadily while monitoring pressure.
Stop at the right PSI, detach the pump carefully, and replace the valve cap. Inspect for leaks or damage afterward. Keep following these steps for a smooth ride.
Key Takeaways
- Locate the recommended tire pressure on the sidewall, usually between 80-120 PSI. This helps you avoid flats and keeps your bike handling smoothly.
- Find out what type of valve your tire has—Presta or Schrader. Remove the cap and loosen the Presta nut if needed. It’s a quick step but important for a good seal.
- Attach your pump securely to the valve. Keep an eye on the pressure gauge as you pump steadily. This way, you won’t go over or underinflate.
- Once you reach the recommended pressure, stop inflating. Overinflating can cause issues and reduce comfort.
- Carefully detach the pump from the valve, then put the cap back on. Take a quick look at the tire to make sure there are no leaks or damage after inflation.
Check Your Road Bike Tire’s Recommended Pressure
Before you start pumping air into your road bike tire, check the recommended pressure printed on the sidewall of the tire. This number tells you the ideal PSI (pounds per square inch) range for safe and efficient riding.
You’ll usually see a minimum and maximum value, like 80-120 PSI. Staying within this range helps prevent flats, improves traction, and guarantees a smoother ride.
If you inflate below the minimum, you risk pinch flats and poor handling. Going above the maximum might burst the tire or make your ride harsh.
Make it a habit to always verify this pressure before inflating, especially if the tire looks under or overinflated. Knowing this info keeps your bike in top shape and your rides safer.
Gather a Pump and Pressure Gauge for Inflation
Two essential tools you’ll need to air up your road bike tire are a reliable pump and an accurate pressure gauge. Without them, you risk underinflating or overinflating, which can affect your ride quality and safety.
Choose a pump that fits your valve type and can easily reach the recommended pressure. A pressure gauge helps you monitor the exact PSI so you avoid guesswork.
Here’s a quick comparison to help you pick:
| Tool | Feature | Benefit |
|---|---|---|
| Floor Pump | High pressure | Faster inflation |
| Hand Pump | Portable | On-the-go use |
| Pressure Gauge | Digital or analog | Accurate reading |
Make sure both tools are in good condition before you start pumping.
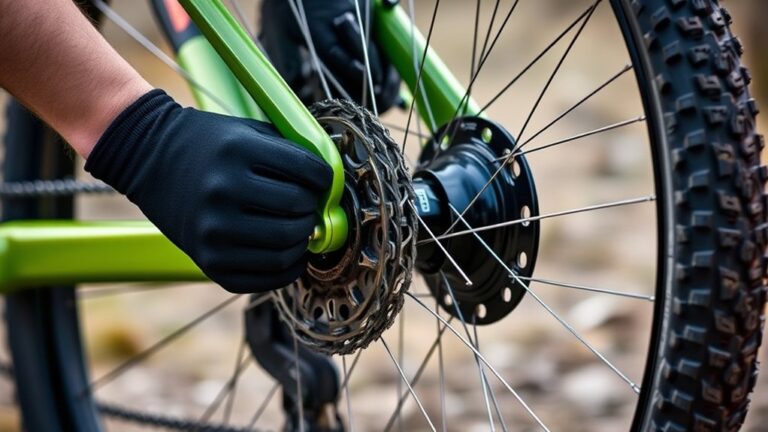
Identify Your Tire’s Valve Type: Presta or Schrader
Before you start pumping, it’s important to know which valve your tire has.
Presta valves are slim with a small nut at the top, while Schrader valves look like the ones on car tires and are wider.
Knowing the valve type helps you pick the right pump attachment, making inflation quick and easy.
Presta Valve Features
Although both Presta and Schrader valves serve the same purpose, it’s important to know which one your road bike tire uses for proper inflation. The Presta valve is slimmer and longer, designed specifically for road bikes.
It has a threaded metal body with a small nut at the top that you need to unscrew before pumping air in. Unlike Schrader valves, Presta valves don’t have a spring mechanism and rely on air pressure to stay closed.
You’ll notice the valve stem is narrower, so you’ll need a compatible pump head or an adapter. When inflating, after loosening the locknut, briefly press the valve to release a small burst of air and confirm it’s open.
Knowing these features helps you avoid damage and ensures accurate inflation every time.
Schrader Valve Characteristics
While Presta valves are common on road bikes, many tires come with Schrader valves, especially on hybrid or mountain bikes. Schrader valves look similar to those on car tires and are wider and shorter than Presta valves.
You’ll find a spring-loaded pin in the center, which you press to let air in or out. Schrader valves are easier to use if you have a standard air pump, as most pumps are designed to fit this valve type.
You don’t need to unscrew any parts before inflating; just remove the valve cap and attach your pump. However, Schrader valves usually require a larger hole in the rim, which can make the wheel slightly heavier.
Knowing your valve type helps you pick the right pump and inflate your tire effortlessly.
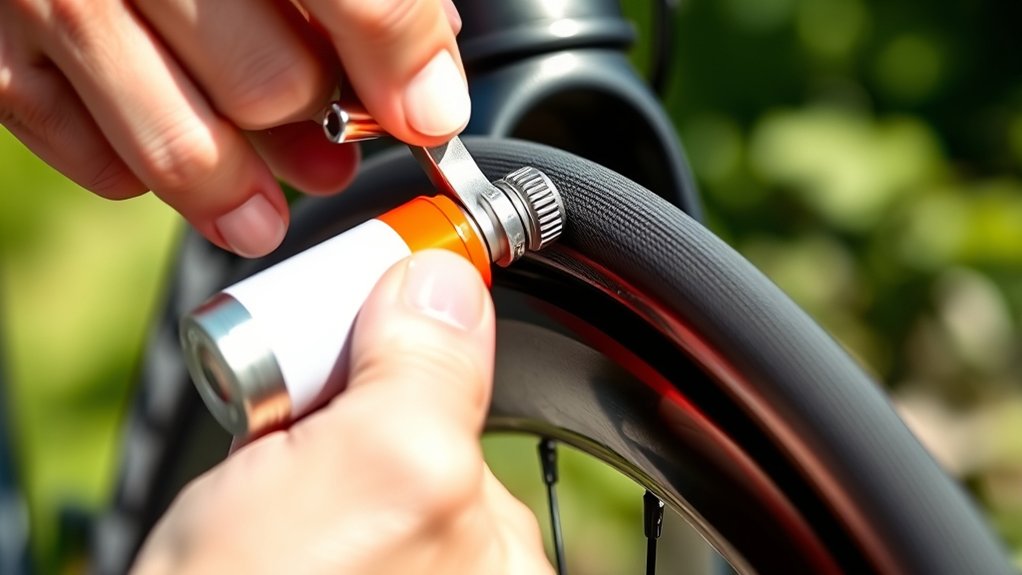
Remove the Valve Cap and Prepare the Valve
Start by locating the valve on your tire and unscrewing the valve cap. Take a moment to clean the valve area to guarantee a proper seal.
Make sure you clearly identify whether it’s a Presta or Schrader valve before proceeding.
Locate and Unscrew Valve
Find the valve stem on your road bike tire. It usually sticks out from the rim and looks like a small metal tube. First, remove the valve cap by twisting it counterclockwise. Set it aside so you don’t lose it.
Next, you’ll need to unscrew the valve core slightly if it’s a Presta valve. Turn the small nut at the top counterclockwise until it’s loose enough to let air in. Don’t remove it completely.
For Schrader valves, no unscrewing is necessary. Just remove the cap and you’re ready to inflate.
| Valve Type | Unscrewing Needed? |
|---|---|
| Presta | Unscrew small nut |
| Schrader | No unscrewing needed |
| Dunlop | Varies, check valve |
Now your valve is ready for inflation.
Clean Valve Area
Before inflating your tire, make sure to clean the valve area thoroughly. Start by carefully removing the valve cap and setting it aside somewhere safe so you don’t lose it.
Use a clean cloth or paper towel to wipe around the valve stem, removing any dirt, dust, or debris. This step is important because grime can interfere with a proper seal when attaching your pump.
If the valve looks particularly dirty, dampen the cloth slightly with water and wipe again. Just avoid using any harsh chemicals.
Ensuring the valve area is clean helps prevent air leaks and makes inflating your tire smoother and more efficient.
Once it’s clean, you’re ready to move on and prepare the valve for pumping.
Identify Valve Type
Once you’ve removed the valve cap, take a close look at the valve itself to figure out what type it is. This will help you know how to attach your pump and inflate the tire correctly.
Most road bike tires have either a Presta or Schrader valve. A Presta valve is narrow, with a small knurled nut at the top that you’ll need to unscrew before pumping. In contrast, a Schrader valve looks like a car tire valve—wider and with a spring-loaded center pin.
Knowing this difference is important because pumps have different heads or adapters for each valve type. After identifying the valve, make sure it’s clean and ready.
For a Presta valve, unscrew the nut gently and press it to release a small burst of air. This confirms it’s open and working properly.
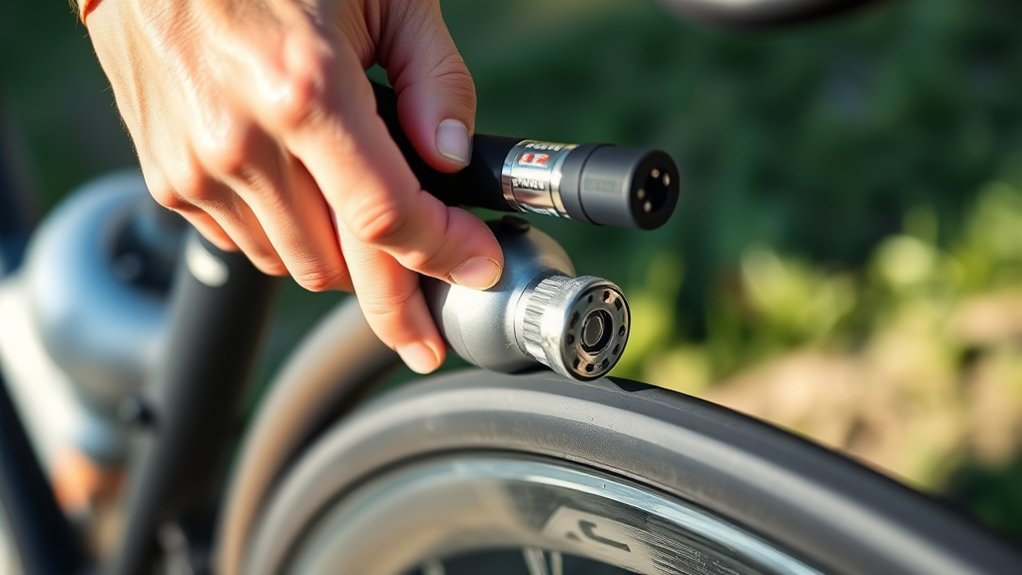
Secure the Pump to Your Road Bike Tire Valve
Attach the pump head firmly to your road bike tire valve to ensure a tight seal. If you have a Presta valve, unscrew the small locknut at the top before attaching the pump. For Schrader valves, just line up the pump head and push it onto the valve stem.
Make sure the pump head fits snugly without any wiggle or gaps. Many pumps have a lever you flip up or down to lock it in place—engage this lever to secure the connection. This helps prevent air from escaping while you’re pumping.
If your pump uses a screw-on attachment, twist it clockwise until it feels tight. Double-check the fit by gently pulling on the pump head; it should stay firmly attached without slipping off.
Pump Air While Watching the Pressure Gauge
As you pump air into your tire, keep a close eye on the pressure gauge to see how much you’ve added.
Maintain a steady rhythm to make sure you’re inflating the tire evenly without sudden jumps in pressure.
Be careful not to overinflate, because that can damage your tire or even cause a blowout.
Monitor Pressure Gauge Closely
Keeping a close eye on the pressure gauge while pumping air ensures you don’t overinflate or underinflate your road bike tire. As you pump, watch the needle or digital readout carefully. You’ll see the pressure rise steadily with each stroke.
Stop immediately once you reach the recommended tire pressure, usually printed on the tire sidewall. Avoid guessing or waiting too long before checking, since small increases can make a big difference.
If you miss the ideal pressure, release some air or add more cautiously. Regularly monitoring the gauge helps keep your tires at their best, providing better grip, comfort, and efficiency on the road.
Don’t rush—precise pressure control keeps your bike safe and smooth during your ride.
Maintain Steady Pumping Rhythm
Once you’ve closely monitored the pressure gauge, focus on maintaining a steady pumping rhythm. Consistency helps you avoid sudden pressure jumps and keeps the inflation smooth.
Here’s how to keep it steady:
Pump evenly—apply the same force with each stroke to keep air flowing at a steady rate.
Watch the gauge—keep your eyes on the pressure reading and slow down if it climbs too quickly.
Breathe and relax—don’t rush. Steady breathing helps you stay in control and prevents fatigue.
Avoid Overinflation Risks
Although it can be tempting to pump quickly, you should always watch the pressure gauge closely to avoid overinflating your road bike tire. Overinflation can cause the tire to burst or wear unevenly, which can compromise your safety and performance.
As you pump, keep a steady eye on the gauge and stop once you reach the recommended pressure, usually printed on the tire sidewall. Don’t rely on guesswork—precision keeps your ride smooth and safe.
If your pump doesn’t have a gauge, consider investing in one for better control. Remember, a properly inflated tire improves grip and reduces rolling resistance, making your ride more efficient.
Take your time and pump carefully to maintain the ideal pressure without risking damage.
Stop Pumping When You Reach the Right Pressure
As you pump air into your road bike tire, keep an eye on the pressure gauge or how the tire feels. Stopping at the right pressure is key for a smooth, safe ride. Overinflating can make your ride harsh or cause a blowout, while underinflating can make handling tricky and lead to more tire wear.
Monitor tire pressure carefully to ensure a safe, comfortable ride—avoid overinflating or underinflating your road bike tire.
Here’s how to know when to stop:
- Check the pressure gauge often and stop when it matches the recommended PSI on your tire sidewall.
- Feel the tire’s firmness; it should be firm but still have a slight give when pressed.
- Don’t guess—use a reliable pump with a gauge for accuracy.
Detach the Pump and Replace the Valve Cap
Carefully detach the pump from the valve to avoid losing air or damaging the valve stem. Once you’ve reached the desired pressure, gently release the pump head by loosening the lever or unscrewing it, depending on your pump type.
Pull the pump straight off the valve to prevent bending or breaking the stem. Immediately after removing the pump, screw the valve cap back onto the valve stem to protect it from dirt, moisture, and accidental damage.
The valve cap also helps maintain the valve’s integrity over time. Make sure it’s snug but don’t overtighten, as this can cause wear or strip the threads.
With the pump detached and the valve cap replaced, you’re ready to move on to your next step.
Inspect Your Tire for Leaks or Damage After Inflation
Once you’ve inflated your tire, take a moment to check for any leaks or visible damage. This helps make sure your ride stays safe and smooth.
Start by listening closely for any hissing sounds that might mean air is escaping. Then, visually inspect the tire surface and sidewalls for cuts, cracks, or debris stuck in the tread.
Finally, gently press around the tire to feel for soft spots or irregular firmness. Catching issues now can save you surprises when you’re out on the road.
Troubleshoot Common Road Bike Tire Inflation Issues
If your tire isn’t holding air properly or inflating as expected, you’ll want to identify the problem quickly to avoid delays during your ride. First, check the valve—make sure it’s fully open and not damaged. For Presta valves, confirm the small locknut is loosened before pumping.
Next, inspect the pump head for a secure fit; a loose connection can cause air leaks. If inflation feels difficult, verify the tire bead is seated evenly on the rim. Also, check your pump’s pressure rating matches your tire’s recommended pressure.
If you still face issues, look for hidden punctures or faulty inner tubes. Addressing these common problems will help you inflate your road bike tire smoothly and keep you rolling without interruptions.
Frequently Asked Questions
How Often Should I Check My Road Bike Tire Pressure?
You should check your road bike tire pressure before every ride to guarantee peak performance and safety. Tires naturally lose air over time, so even if you haven’t ridden recently, it’s smart to check weekly.
If you ride often or on rough terrain, check more frequently. Keeping your tires properly inflated helps prevent flats and makes your ride smoother.
Make it a quick regular habit to check and adjust your tire pressure. It’s a simple step that pays off by improving your safety and ride quality.
Can I Use a Car Tire Pump for My Bike?
Yes, you can use a car tire pump for your bike, but you’ll need an adapter since most bike valves differ from car valves. Car pumps usually fit Schrader valves, which are common on mountain bikes.
However, road bikes often have Presta valves, which are narrower. If your road bike has Presta valves, get a Presta-to-Schrader adapter or a pump compatible with Presta valves to avoid damaging the valve and ensure proper inflation.
What Happens if I Overinflate My Road Bike Tire?
If you overinflate your road bike tire, it’s like filling a balloon to bursting point. Too much pressure can cause the tire to blow out or damage the rim.
You’ll also notice a harsh, uncomfortable ride because the tire won’t absorb bumps well. Overinflation increases the risk of punctures and reduces traction.
This makes your ride less safe. Always stick to the recommended pressure printed on the tire sidewall.
How Do Temperature Changes Affect Tire Pressure?
Temperature changes directly affect your tire pressure because air expands when it’s warm and contracts when it’s cold. If you inflate your tires on a warm day, the pressure will drop as temperatures fall, making your tires feel soft.
Conversely, inflating in cold weather can cause overinflation when it warms up, risking blowouts. You should check and adjust your tire pressure regularly to maintain peak performance and safety.
Are There Specific Pumps Recommended for Tubeless Tires?
Yes, you’ll want a pump designed specifically for tubeless tires, like a high-volume floor pump or a tubeless-specific air compressor. These pumps deliver a quick, powerful burst of air to seat the tire bead properly.
Regular pumps often don’t provide enough volume or pressure fast enough. You can also use a CO2 inflator for quick inflation, but make sure it’s compatible with tubeless setups to avoid damaging the valve or tire.
Conclusion
Now that you’ve given your road bike tire a fresh burst of air, you’re ready for smoother rides. Properly inflated tires aren’t just about pressure—they help make every ride feel effortless and safe.
A little care goes a long way in preventing unexpected issues on the road. Keep these simple steps in mind, and your bike will thank you with every mile you conquer.
Remember, maintaining the right tire pressure is key to a comfortable and reliable ride.