Adjust Road Bike Handlebars in 8 Simple Steps
Many road cyclists know the challenge of finding the perfect handlebar position. It can feel like a never-ending trial-and-error process, leaving you uncomfortable and tired on rides. You’re not alone—getting your handlebars just right is a common goal for many enthusiasts.
To adjust your road bike handlebars, start by finding a comfortable position where your elbows are slightly higher than your saddle. Loosen the stem bolts and handlebar clamps, then reposition the handlebars for the desired height and reach.
Tighten everything securely with a torque wrench, checking for stability. Test ride to confirm comfort and control, then fine-tune the angle if needed. Keep your setup secure and consistent, and you’ll enjoy smoother rides and better performance.
More tips follow for perfecting your adjustments.
Key Takeaways
- Sit on the bike and adjust the handlebar height for comfort and proper posture.
- Loosen the stem bolts so you can raise or lower the handlebars. Make sure they stay even on both sides.
- Reposition or add spacers if needed to fine-tune the reach and alignment.
- Once everything feels right, tighten all the bolts firmly with a torque wrench. This helps prevent shifting during your ride.
- Take the bike out for a test ride and make small adjustments as needed.
- This way, you can find the perfect setup for maximum comfort and control.
How to Find the Right Handlebar Position for Comfort and Control
Finding the right handlebar position is key for both comfort and control while you ride. You want your handlebars to allow a natural, relaxed grip without straining your wrists or shoulders.
Start by sitting on your bike in your usual riding stance. Your elbows should be slightly bent, and your hands should rest comfortably on the grips.
Sit on your bike with elbows slightly bent and hands resting comfortably on the grips.
Adjust the height so that your elbows are roughly level with or slightly higher than your saddle. If you feel stretched out or cramped, tweak the position until your arms and shoulders feel relaxed.
Pay attention to your wrist angle—avoid excessive bending that could cause discomfort. Finding this balance helps you stay in control and ride comfortably.
It also reduces fatigue, especially on longer rides. So take the time to find the handlebar position that works best for you.
Preparing Your Bike for Handlebar Adjustment
Before you start adjusting your handlebars, it’s important to get your bike ready to ensure safety and make the process easier. First, shift your bike to the highest gear to loosen the chain and make handling simpler.
Place your bike on a stable surface or bike stand to prevent slipping. Check that the brakes are disengaged so they don’t interfere during the adjustment. If your handlebars have accessories like lights or GPS devices, remove or secure them to avoid damage or obstruction.
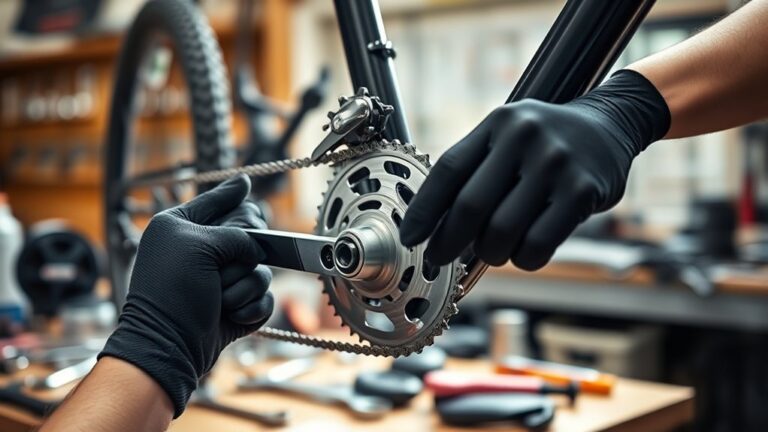
Gather the necessary tools, such as Allen wrenches or screwdrivers, to loosen bolts or clamps. Finally, inspect your bike for any damage or loose parts that could affect the adjustment.
Proper preparation helps you work efficiently and safely, reducing the risk of accidents or equipment damage.
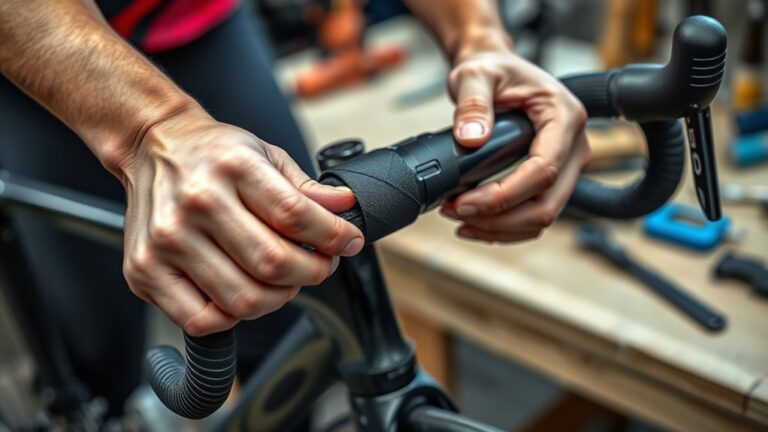
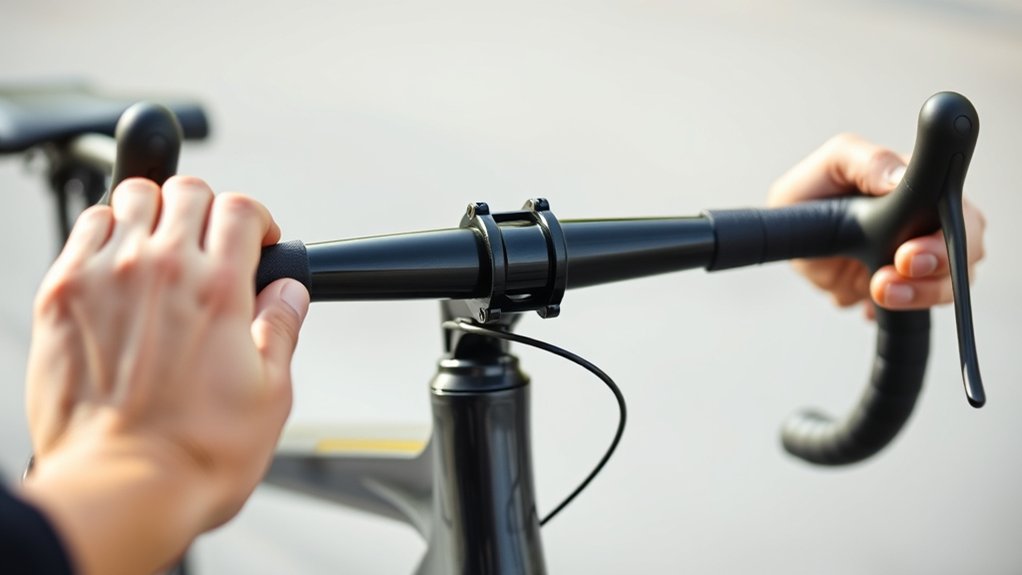
Loosen and Remove Existing Handlebar Components
Start by loosening the bolts or clamps that secure your handlebars to the stem. Use an Allen wrench or the right tool to carefully turn each bolt counterclockwise.
Keep a firm grip on the handlebar to prevent it from shifting unexpectedly. Once the bolts are loose enough, gently lift the handlebar away from the stem.
Maintain a steady grip to keep the handlebar stable as you lift it away from the stem.
If your bike has accessories like shifters, brake levers, or grips attached, carefully remove or loosen them first. Take note of how everything is assembled so you can reassemble it correctly later.
Be patient and avoid forcing components, as this can damage threads or parts. Removing existing handlebar components cleanly gives you a clear workspace for the next step.
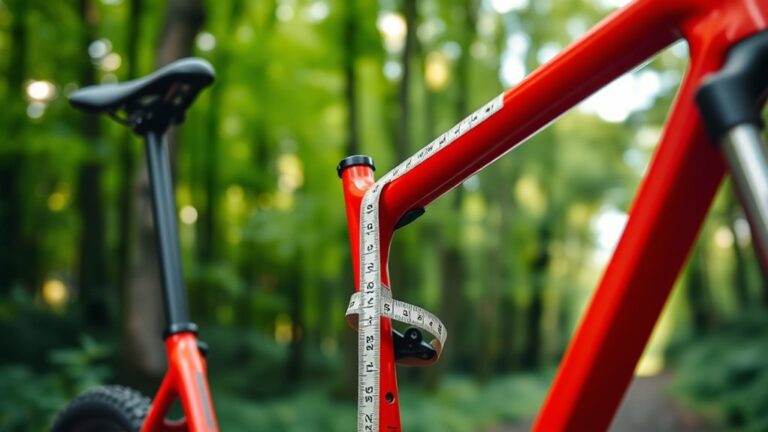
Adjust Handlebar Height and Reach for Your Riding Style
Adjusting your handlebar height and reach lets you customize your riding position for comfort, control, and efficiency. To change the height, loosen the stem bolts and move the handlebar up or down to your preferred level, then tighten everything securely.
Higher handlebars give you a more upright, comfortable posture, which is great for long rides and relaxed cruising. Lower handlebars improve aerodynamics and handling, making them better for speed-focused riding.
For reach adjustment, move the handlebars closer or farther from your saddle by repositioning spacers or changing the stem. A shorter reach puts your arms in a more relaxed position and reduces strain. A longer reach offers better control and power transfer.
Make small adjustments, test your riding comfort, and fine-tune until you find a setup that works well for your riding style.
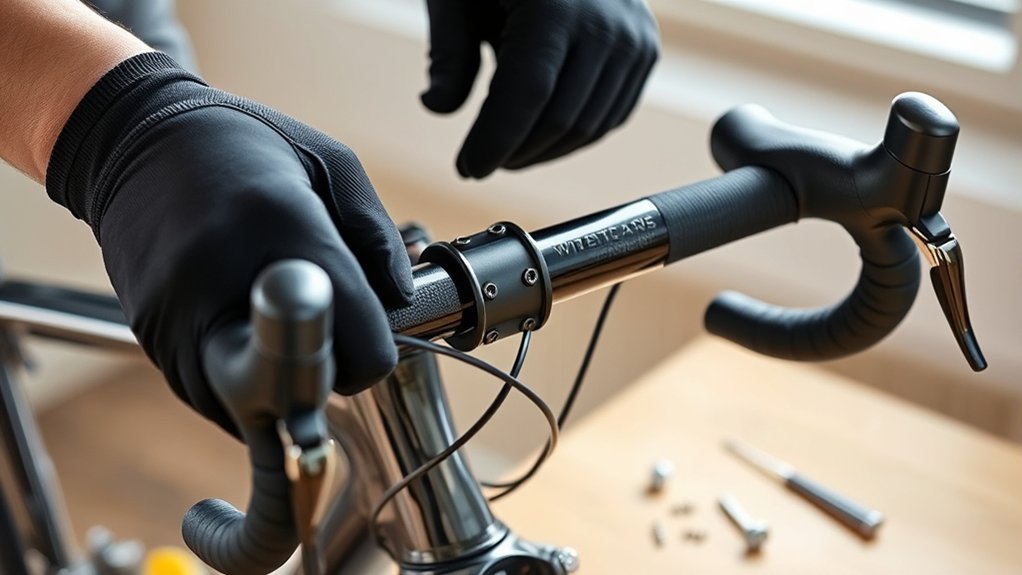
Secure the Handlebar and Test Your New Setup
Once you’ve set your handlebar height and reach, it’s important to tighten all the bolts securely to prevent any movement or slipping while you ride. If you can, use a torque wrench and follow the manufacturer’s recommended settings.
Check each bolt, starting from the stem clamp and working outward. Make sure they’re snug but not over-tightened. After tightening, give the handlebars a firm wiggle to see if they feel stable.
Once everything feels solid, take your bike for a test ride in a safe area. Pay attention to how the handlebars feel—there should be no wobbling, slipping, or unusual movement.
Make small adjustments if needed, then re-tighten. Properly securing and testing your setup is key for safety and comfort, giving you confidence on your rides.
Fine-Tune Handlebar Angle for Better Aerodynamics
To optimize your riding position, fine-tuning the handlebar angle can really boost aerodynamics. Start by loosening the stem bolts slightly so you can adjust the handlebars without taking them all the way off.
Tilt the handlebars forward or backward to find a more aerodynamic stance. Generally, a slight downward tilt helps reduce wind resistance. Make small adjustments and ride briefly after each one to test the change.
Pay attention to how it feels—your handlebars shouldn’t be so low that they cause discomfort or make handling harder. Once you find the right angle, tighten the bolts securely.
Check All Bolts and Ensure Safety Before Riding
Before riding, make sure all bolts are tight and secure to avoid any accidents.
Check that your brakes respond properly and can stop the bike effectively.
Taking these quick steps helps ensure your safety and makes for a smooth ride.
Inspect Bolt Tightness
Start by thoroughly inspecting all the bolts on your handlebars, making sure none are loose or missing. Use a torque wrench or hex key to check each bolt’s tightness, following the manufacturer’s recommended torque specs.
Loose bolts can cause instability or slipping while riding, so it’s really important they’re secure. Apply even pressure when tightening to avoid damaging the threads or over-tightening.
Pay close attention to the stem bolts, handlebar clamps, and brake lever bolts. If you find any stripped threads or bolts that won’t tighten properly, replace them before riding.
Regularly checking bolt tightness keeps your handlebars stable and safe, helping prevent accidents caused by sudden loosening. Always double-check after making adjustments and before every ride for peace of mind.
Confirm Brake Functionality
After tightening all the handlebar bolts, it’s important to verify that your brake system works properly and is safe for riding. Squeeze each brake lever firmly to check that the brakes engage smoothly and stop the wheels promptly.
Make sure the brake pads are aligned correctly against the rim and aren’t rubbing or too far away. Watch for any excessive play or weakness in the brake cables. If the levers feel spongy or require too much pull, adjust or replace the cables.
Check that all bolts connecting the brake components are tight and secure. Testing your brakes thoroughly before riding guarantees your safety and confidence on the road. If anything feels off, recheck your adjustments and make necessary corrections.
Tips to Maintain Your Handlebar Settings Over Time
Maintaining your handlebar settings over time means doing regular checks and adjustments to stay comfortable and safe. Over time, vibrations, impacts, and riding conditions can shift your handlebars or loosen parts.
To keep everything in good shape, inspect your handlebars often. Make sure bolts are tight and the angle feels comfortable for your riding style. Adjust as needed if your flexibility or preferences change.
Lubricate moving parts regularly to prevent rust and keep things operating smoothly. Keep a checklist to monitor key areas like stem tightness, handlebar alignment, and grip security.
Staying proactive helps prevent accidents and extends the life of your components. Remember to check bolt tightness often, inspect handlebar alignment, and clean and lubricate moving parts.
Test your grips frequently to make sure they stay secure. And don’t forget to adjust your setup for comfort whenever you feel it’s necessary.
Frequently Asked Questions
How Often Should I Readjust My Handlebar Position?
You should readjust your handlebar position whenever you feel discomfort, numbness, or notice reduced control while riding.
It’s also a good idea to reassess after long rides or bike upgrades.
Typically, every few months or after several hundred miles, check your fit to prevent strain and improve efficiency.
Regular adjustments keep your riding comfortable, safe, and enjoyable, especially as your flexibility and riding style change.
Can I Change Handlebars Without Professional Tools?
Yes, you can change handlebars without professional tools, but it really depends on your bike’s setup.
Most handlebars are attached with bolts or quick-release levers, which you can loosen with basic tools like an Allen wrench or even by hand if it’s a quick-release.
Just make sure you have the right size tools and follow safety precautions.
If you’re unsure or run into complex parts, it’s always a good idea to consult a professional.
What Signs Indicate My Handlebar Needs Adjustment?
You’ll notice discomfort or strain in your wrists, neck, or shoulders, which signals your handlebars might need adjusting. If steering feels too stiff or loose, or if the handlebars are crooked or uneven, these are clear signs too.
Additionally, if your grips or shifters are hard to reach or feel awkward, it’s time to tweak the positioning. Paying attention to these cues helps ensure a comfortable, safe ride.
Are There Different Handlebar Types for Specific Riding Styles?
A handlebar is like a steering wheel—different styles suit different riding styles. For example, drop bars are great for racing or long-distance rides because they give you multiple hand positions.
Flat bars are perfect for city commuting or casual rides since they offer good control. Aero bars help you cut through the wind, making them ideal for speed.
Choosing the right handlebar depends on what you want to do, how comfortable you are, and the terrain you’ll be riding on. Think of it as picking the right tool for the job.
How Do I Prevent Handlebar Slippage During Rides?
To prevent handlebar slippage during rides, start by checking your grip tape or handlebar tape. Make sure it’s tightly wrapped and secure.
Next, tighten any loose bolts on your stem and handlebars with a wrench. Replace worn or damaged tape to keep things snug.
Consider adding bar-end plugs or using adhesive-backed grip pads for extra security. These small additions can make a big difference.
Regularly inspect your handlebars before each ride. If you notice any movement, don’t forget to tighten everything up.
Conclusion
Adjusting your road bike handlebars can boost comfort and control, making every ride more enjoyable. Did you know that cyclists who customize their handlebar position report a 25% increase in riding comfort?
By following these simple steps, you’ll ensure your setup is just right. Regular checks and tweaks keep your position ideal over time.
So, take the time to fine-tune your handlebars. Your body and your performance will thank you on every ride. Proper handlebar adjustment is key to a better cycling experience.