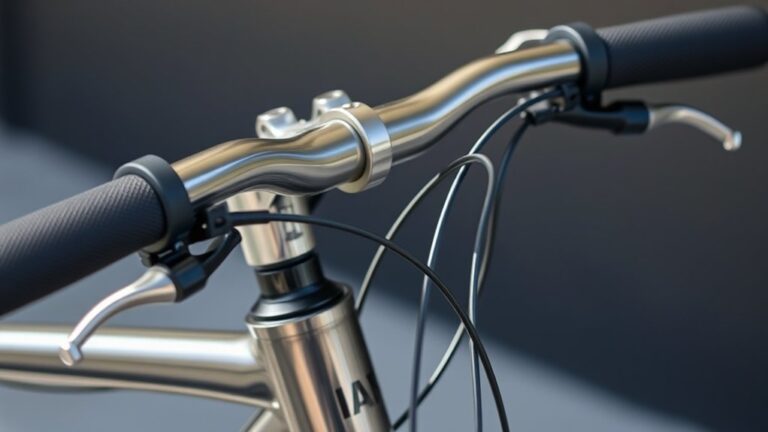
How to Put Racing Handlebars on Your Hybrid Bike
Are you tired of your hybrid bike feeling uncomfortable or not quite fitting your riding style? You’re not alone—many riders struggle with customizing their bikes for better comfort and performance.
One popular upgrade is swapping out the stock handlebars for racing handlebars, which can dramatically improve your riding experience.
To put racing handlebars on your hybrid bike, start by removing your current handlebars carefully, keeping everything organized.
Next, select the right racing handlebars that fit your riding style and bike specs, then attach them to the stem securely, adjusting for comfort and proper positioning.
Use the right tools like Allen wrenches and a torque wrench for tightening bolts.
If you continue exploring, you’ll find detailed steps to guarantee a smooth, safe installation.
Key Takeaways
- Carefully remove the existing handlebars, making sure to keep track of all the parts. Take note of how everything is positioned so you can put it back together correctly.
- Next, choose racing handlebars that fit your riding style. Make sure they’re compatible with your bike’s stem to ensure a good fit.
- Attach the new racing handlebars to the stem. Line them up and center them properly before tightening the bolts. This helps keep everything balanced.
- Adjust the handlebars for your comfort. Check that they’re level and positioned at a height that feels good for you.
- Finally, do a safety check. Tighten all bolts to the recommended torque. Make sure the cables are routed correctly and test your brakes to ensure everything works smoothly.
Why Upgrade to Racing Handlebars on Your Hybrid Bike?
Upgrading to racing handlebars on your hybrid bike can really improve your ride, especially if you want better control and agility. These handlebars put you in a more aerodynamic position, helping you go faster with less effort.
They also give you a more aggressive stance, which is perfect for hitting trails or zooming through city streets. With racing handlebars, you get increased maneuverability, making tight turns and quick moves easier.
Plus, they often offer multiple hand positions, which helps reduce fatigue on long rides. If you’re looking to boost your bike’s performance and feel more connected to your ride, switching to racing handlebars is a smart choice.
It’s a simple upgrade that can make a big difference in your comfort and control on the road or trail.
How to Choose the Right Racing Handlebars for Your Bike
Choosing the right racing handlebars for your bike depends on your riding style, comfort preferences, and the terrain you’ll be riding on. Think about how you prefer to ride—whether it’s an aggressive racing position or a more relaxed cruise—and pick handlebars that support that stance.
Consider the width and drop of the bars, as these affect control and aerodynamics. Wider bars give you more control, while narrower ones help with aerodynamics. Deep drops improve speed, but shorter reach can be more comfortable.
Make sure the handlebars are compatible with your bike and feel good to you. Materials like lightweight aluminum or carbon fiber are popular for their strength and lightness.
Choosing the right handlebars makes your ride more comfortable and efficient, tailored to your needs.
Tools and Supplies Needed for the Installation
To install racing handlebars on your hybrid bike, you’ll need a few essential hand tools like Allen wrenches and screwdrivers.
Make sure you also have any replacement parts, such as new handlebar grips or shifters, ready beforehand.
Having everything on hand will make the process smoother and quicker.
Essential Hand Tools
Before you start installing racing handlebars on your hybrid bike, gather the essential hand tools and supplies you’ll need. Having the right tools makes the process smoother and helps prevent damage.
First, a set of Allen wrenches or hex keys in various sizes is crucial for removing and tightening bolts. Second, a Phillips or flat-head screwdriver will come in handy for any screws involved.
Third, a torque wrench ensures you tighten bolts to the correct specifications, which helps avoid over-tightening. Keep a clean rag or cloth nearby to wipe down parts, and some lubricant or grease to prevent rust and ensure smooth assembly.
With these tools ready, you’ll be well-prepared to tackle the installation confidently and efficiently. Proper tools allow you to work precisely and safely.
Required Replacement Parts
In addition to your hand tools, you’ll need some specific replacement parts and supplies to install the racing handlebar properly. First, get new racing handlebars that are compatible with your bike’s stem and width.
You’ll also want handlebar tape or grips to ensure a comfy grip and a secure hold. Check if your existing brake and shift cables are long enough for the new handlebars; if not, you’ll need replacements.
Gather any necessary bolts or clamps that might not fit with your new setup. If you’re switching to drop bars, consider getting new brake levers designed for racing handlebars.
Having these parts ready will make your upgrade go smoothly and prevent delays during installation.
Measuring Your Bike to Select the Correct Handlebar Size
To choose the right handlebar size, start by measuring your current handlebar width to match your riding style. Next, check your stem’s compatibility to ensure the new handlebars fit properly.
Finally, think about your preferred riding position to pick a width that feels comfortable and gives you good control.
Determine Handlebar Width
Choosing the right handlebar width starts with measuring your bike properly. To do this, stand behind your bike and look at the handlebars. Measure the distance between the outer edges of the grips, keeping the tape measure straight for an accurate reading.
A wider handlebar offers more control, while a narrower one improves aerodynamics and agility. When selecting racing handlebars, consider your riding style and comfort preferences.
Think about the width of your shoulders for natural arm positioning and the type of terrain you’ll ride most often. Matching handlebar width to your physique and riding needs guarantees better handling and comfort.
Measure Stem Compatibility
Before selecting your racing handlebars, it’s important to make sure they’ll fit your bike’s stem properly. Start by measuring the diameter of your current stem’s clamp area, usually where the handlebars attach.
Use a caliper or a ruler to check if it’s 25.4mm, 26mm, 31.8mm, or another size. Confirm your stem’s compatibility with the handlebar’s clamp diameter before buying.
If the sizes don’t match, you might need an adapter or a different handlebar. Also, measure the length of your stem if you want to change your riding position or handlebar reach.
Ensuring these measurements match guarantees a proper fit, safety, and comfort when you install your new racing handlebars. Accurate measurements help prevent unnecessary returns or modifications.
Consider Riding Position
When choosing the right handlebar size, think about your riding position and how you want to feel on your bike. Your comfort and control depend on handlebars that match your posture and riding style.
Decide if you prefer a more aggressive, aerodynamic stance or a relaxed, upright position. Picking the right fit can boost efficiency and help reduce fatigue.
To find your ideal size, consider how far you like to reach forward, your typical riding duration, and your flexibility. Measuring your current setup or checking a sizing chart can help guide you.
Removing Your Existing Handlebars Safely
Start by loosening the bolts securing your handlebars with the appropriate Allen wrench or socket. Once loosened, gently lift the handlebars away from the stem, being careful not to force anything.
If your bike has cables running through or attached to the handlebars, disconnect or release them to avoid damage. Keep track of any spacers, shims, or washers that might be in place—they’re essential for reassembly.
If the handlebars resist removal, check for hidden bolts or clamps you might have missed. Don’t rush; applying steady pressure prevents stripping bolts or damaging components.
Once the handlebars are free, set them aside in a safe spot. This careful removal prepares your bike for the new handlebars without risking injury or damage.
Step-by-Step: Installing Racing Handlebars on Your Hybrid Bike
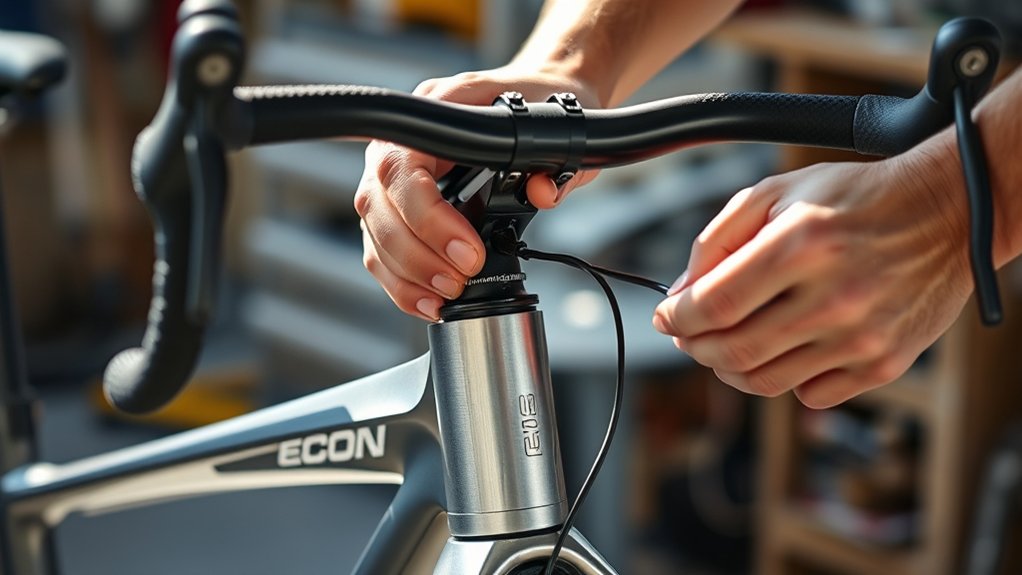
Now that you’ve removed your old handlebars, it’s time to attach the racing handlebars securely. Make sure everything lines up properly before you tighten any bolts.
Align all parts carefully and tighten each bolt firmly. Take your time to ensure everything is secure and snug.
Finally, adjust the handlebars so they feel comfortable for your riding position. Find the best fit for you before hitting the road.
Remove Existing Handlebars
To remove the existing handlebars, start by loosening the stem bolts that hold them in place. Use an Allen wrench or the right tool to gradually loosen each bolt.
Once the bolts are loose, gently lift the handlebars away from the stem. Be careful not to strain any cables or wires connected to them.
Before removing the handlebars completely, check for attached shifters or brake levers and disconnect if needed. Also, look for cable guides or housing that might need repositioning, and see if there are any spacers or washers between the stem and handlebars.
Keep all parts organized as you work. Removing the handlebars carefully helps prevent damage and makes installing new ones easier. Once the old handlebars are out, you’re ready for the next step.
Attach Racing Handlebars Properly
Begin by aligning the racing handlebars with the stem and making sure they sit at the angle you want. Slide the handlebars into the stem clamp, keeping them centered and straight.
Tighten the clamp bolts gradually, switching sides as you go to spread the pressure evenly. Check that the handlebars are secure by applying firm pressure—there should be no movement.
If your handlebars have multiple clamp points, tighten each one little by little to keep everything aligned. Make sure the grip areas are positioned for comfort and good control.
Once everything feels tight and stable, double-check the alignment with your preferred riding position. Don’t overtighten, as this could damage the handlebars or stem. Properly attached, they’ll give you a solid foundation for your riding adjustments later.
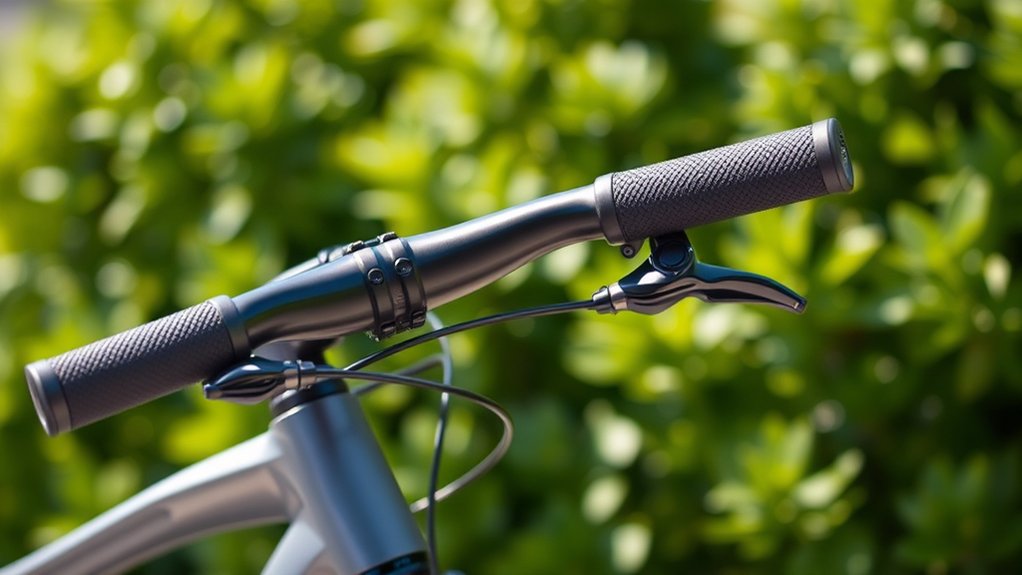
Adjust for Comfort and Fit
Making sure you have a comfortable and secure riding position starts with adjusting the handlebars to fit your body. Proper fit helps reduce fatigue and gives you better control. First, loosen the stem bolts just enough so you can move the handlebars easily.
Position the bars so they’re level and aligned with your shoulders for a natural grip. Adjust the height to avoid putting strain on your wrists or neck, raising or lowering as needed.
To fine-tune your fit, consider these factors: Keep your wrists straight to prevent discomfort. Make sure you don’t have to stretch too far, which can cause fatigue. Find a hand position that feels natural and comfortable during your ride.
Making these adjustments ensures your ride is both comfortable and efficient.
Adjusting and Fine-Tuning Your Racing Handlebars for Comfort
Adjusting your racing handlebars for comfort isn’t just about tightening bolts; it’s about fine-tuning their position to match your riding style and body. Start by adjusting the height and angle to help reduce strain on your wrists and shoulders.
Next, move the handlebars slightly forward or backward to find a natural arm position. Make sure you’re not overstretching or cramping—that’s key for comfort. Try different grips and hand positions to see what feels best during your ride.
Make small adjustments at a time, then ride briefly to see how it feels. Your goal is to find a setup that balances comfort and control, reducing fatigue and making your ride more enjoyable. Don’t hesitate to tweak until you find the perfect fit for your body and riding style.
Troubleshooting Common Installation Challenges
Installing racing handlebars on a hybrid bike can sometimes present unexpected challenges, especially if components don’t fit together as smoothly as expected. You might encounter issues like incompatible stem sizes, misaligned cables, or difficulty securing the handlebars firmly.
To troubleshoot effectively, check stem compatibility and consider replacing or adjusting it. Confirm all bolts are tightened to the correct torque specifications. Verify that cables and wires are routed properly without pinching or unnecessary tension.
Taking these steps helps identify specific problems and resolve them quickly. If you hit a dead end, consulting your bike’s manual or visiting a local bike shop can save time. Addressing these common hurdles guarantees a safer, more comfortable ride with your new racing handlebars.
Tips for Maintaining Your Racing Handlebars and Making Them Last
To keep your racing handlebars in top shape and make them last longer, regular maintenance is key. Start by cleaning them with a damp cloth to get rid of dirt and sweat that can cause corrosion.
Check for loose bolts or cracks and tighten or replace parts as needed. Applying a light lubricant to the joints helps them move smoothly and prevents rust from forming.
Store your bike in a dry, cool place to avoid moisture damage. Use the table below to keep track of your maintenance routine and important tasks:
| Task | Frequency | Notes |
|---|---|---|
| Clean handlebars | After every ride | Use mild soap and water |
| Check bolts | Monthly | Tighten to recommended torque |
| Lubricate joints | Every 3 months | Avoid over-lubricating |
| Inspect for damage | Regularly | Replace if cracked or worn |
When to Seek Professional Help or Consider Upgrades
While regular maintenance keeps your racing handlebars in good shape, there are times when you’ll need professional help. If you notice persistent issues like uneven steering, excessive vibrations, or trouble securing parts, it’s a good idea to visit a bike shop.
Upgrades might also be worth thinking about if your handlebars feel outdated or uncomfortable for your riding style. Addressing these concerns early can prevent safety problems and make your rides more enjoyable.
You should seek help when you’re unsure about proper installation or alignment. If the handlebars feel loose or wobble, or if you want to upgrade to more advanced or lightweight components, don’t hesitate to ask a professional.
Getting help early can keep you safe and improve your riding experience. If you’re unsure about any part of the process, reaching out to a bike shop is always a smart move.
Final Safety Checks Before Your First Ride
Before you hop on your bike for the first ride, it’s essential to do a few final safety checks to make sure everything is secure and working right.
First, take a look at your handlebars and stem to ensure they’re tight and stable. Make sure the racing handlebars are properly aligned and securely fastened.
Next, test the brake levers to see if they engage smoothly and stop the wheels effectively. Spin the wheels to check they turn freely without wobbling or rubbing.
Test your brake levers for smooth engagement and ensure wheels spin freely without wobbling or rubbing.
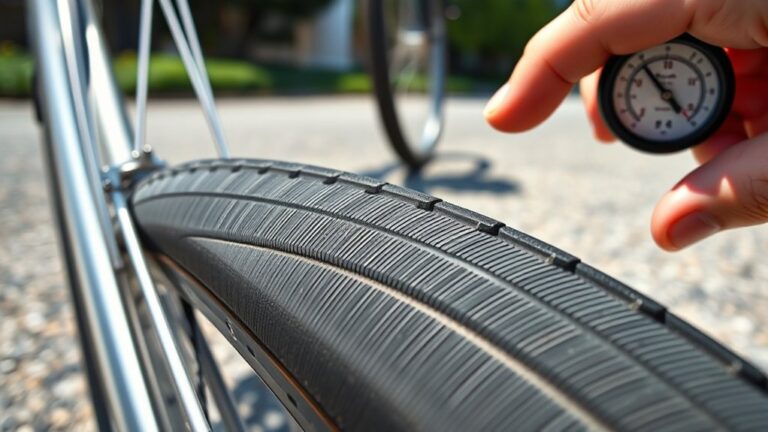
Then, inflate the tires to the recommended pressure and look for any cuts or damage. Finally, tighten all bolts, including those on the stem, handlebars, and seat post.
Doing these checks helps prevent accidents and ensures a safe, smooth ride from the start.
Frequently Asked Questions
Can I Install Racing Handlebars on Any Hybrid Bike Model?
Yes, you can install racing handlebars on most hybrid bikes, but you need to check compatibility first.
Look at your bike’s stem clamp size and verify it matches the handlebar diameter. Some hybrids may require adapters or different stems.
Measure carefully, and if you’re unsure, consult your bike’s manufacturer or a professional bike shop. Proper fit guarantees safe, comfortable riding and peak performance.
Are Racing Handlebars Compatible With All Brake and Gear Systems?
Racing handlebars aren’t compatible with all brake and gear systems, but the difference isn’t as vast as the Grand Canyon! You need to check if your bike’s brake levers and shifters match the handlebar type, whether they’re integrated or separate.
Most modern bikes support this upgrade, but some older or specialized models might need adapters or different components. Always verify your parts before installing to guarantee a smooth, race-ready ride.
How Do Racing Handlebars Affect My Bike’s Handling and Stability?
Racing handlebars can make your bike feel more responsive and aerodynamic. They also affect handling and stability.
You might notice quicker steering and more precise control, especially at high speeds. But they can also reduce comfort during long rides and make steering feel twitchier.
Your weight shifts forward with racing handlebars, which can challenge your balance on rough terrain. Overall, they sharpen handling but require some getting used to for safe, comfortable riding.
What Safety Precautions Should I Take During Installation?
Think of safety precautions as your shield in a battle. Before installation, wear gloves to protect your hands and goggles to shield your eyes from debris. Use the correct tools, making sure they’re in good condition, to avoid slips.
Double-check all bolts are tight, like securing your armor, before riding. Taking these steps keeps you safe, making your upgrade a smooth process and your ride secure on every adventure.
Do Racing Handlebars Require Special Maintenance or Cleaning?
Racing handlebars don’t need any special maintenance beyond regular cleaning and inspection. Just wipe them down with a damp cloth to get rid of dirt and sweat, especially after your rides.
Make sure to check for loose or damaged parts often, like the clamps and grips, to keep everything safe. If you see any signs of wear or corrosion, replace those parts right away.
Taking good care of your handlebars keeps them comfortable and secure, making your rides smoother and more enjoyable.
Conclusion
By upgrading your hybrid bike with racing handlebars, you can elevate your riding experience, improve your control, and boost your confidence.
With the right tools, careful measurements, and a bit of patience, you can confidently install your new handlebars. Just take your time and follow each step carefully.
Always prioritize safety, stay attentive to details, and perform thorough checks before riding. It’s better to double-check everything to avoid any surprises on the road.
Remember, the more you learn and maintain your bike, the more you enjoy your rides. Upgrading to racing handlebars can make your bike more fun, safer, and more comfortable.