How to Raise Road Bike Handlebars in 7 Steps
Many road cyclists know the struggle of finding the perfect handlebar height for comfort and performance. You’re not alone—adjusting handlebars can seem tricky, but it’s totally doable with a little guidance.
To raise your road bike handlebars, first gather the necessary tools like Allen wrenches and a torque wrench. Loosen the stem bolts carefully without removing them completely to keep alignment.
Adjust the handlebars to your preferred height, ensuring they’re level with or slightly higher than your saddle. Tighten the bolts gradually, checking for stability as you go.
Test your setup and fine-tune for comfort. Taking these steps will help you find the right position for a smoother, more enjoyable ride.
If you’re interested in detailed steps, you’ll find useful tips to guarantee safety and proper adjustment.
Key Takeaways
- Gather the appropriate tools, like Allen wrenches and a torque wrench. You might also want a bike stand to keep everything steady.
- Start by loosening the stem bolts carefully. Don’t remove them completely—just enough to loosen so you can adjust the handlebars. This helps keep everything aligned.
- Next, raise the handlebars to your preferred height. Aim for a position that’s level with or slightly higher than the saddle for comfort.
- Once you’ve found the right height, re-tighten the bolts. Do this gradually and evenly, making sure to apply the right amount of torque so everything stays secure.
- Finally, take your bike for a test ride. Check how it feels and make any small adjustments if needed for better comfort and control.
Why You Might Need to Raise Your Road Bike Handlebars
Raising your road bike handlebars can really boost your riding comfort and posture. If you’re feeling neck, shoulder, or back pain after rides, adjusting the handlebars might help ease that strain.
You might also notice discomfort in your wrists or numbness in your hands, which can often be relieved by a higher handlebar position. If you’re leaning too far forward or feeling unstable, raising the handlebars can give you better control and balance.
Cyclists with limited flexibility or those recovering from injuries often find a more upright riding position makes a big difference. Raising your handlebars isn’t just about comfort; it can help you ride longer and more efficiently by reducing fatigue and soreness.
If any of these issues sound familiar, it’s definitely worth considering a handlebar height adjustment.
Gather the Right Tools for Adjusting Your Handlebar Height
Before you start making adjustments, make sure you have the necessary tools. Basic essentials include Allen wrenches, a torque wrench, and maybe a screwdriver.
Having the right tools on hand will make the process smoother and safer. It’s worth taking a moment to gather everything you need before you begin.
Essential Tools List
To successfully adjust your bike’s handlebar height, you’ll need some essential tools to make the process smooth and safe. Having the right tools on hand helps prevent frustration and ensures everything is secure.
Here’s what you’ll need:
- A set of Allen wrenches or hex keys — these are critical for loosening and tightening handlebar bolts.
- A torque wrench — this guarantees you tighten bolts to the proper specification, helping you avoid damage.
- An adjustable or fixed wrench — useful for loosening stem bolts or spacers.
- A bike stand, if you have one — it’s optional but highly recommended to keep your bike stable for precise adjustments.
With these tools, you’ll feel confident and in control as you raise your handlebars for a more comfortable ride.
Proper Tool Selection
Selecting the right tools is essential for a smooth handlebar adjustment process. You need equipment that’s reliable and suited for your bike’s components. A good set of Allen wrenches, a torque wrench, and a screwdriver are must-haves.
Using improper tools can damage your bike or lead to unsafe adjustments. Make sure your tools fit your bike’s specifications and are in good condition. Proper tool selection saves time and prevents damage.
Choosing quality tools streamlines the process and keeps your ride safe. It’s worth investing in reliable equipment to ensure everything is tightened correctly and safely.
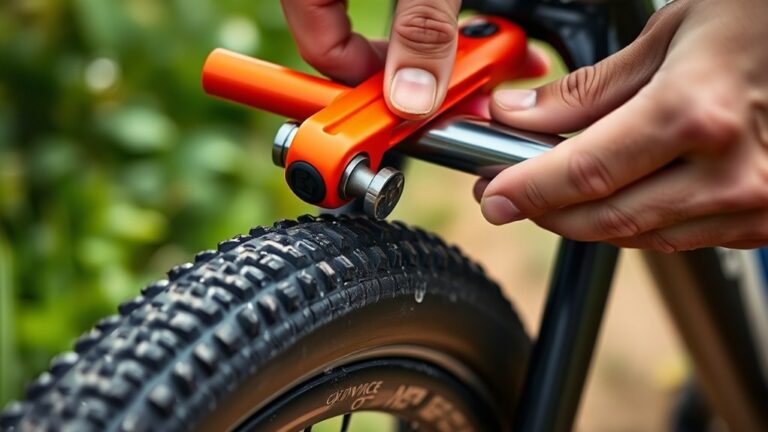
Loosen the Handlebar Clamp or Stem Bolts Safely
Start by locating the handlebar clamp or stem bolts, usually at the top of the stem where the handlebars connect. Carefully loosen these bolts using the right tool, like an Allen wrench, to avoid stripping.
Feel the satisfaction as the tension eases, signaling progress. Remember these key steps:
- Apply steady pressure to prevent slips or damage.
- Loosen bolts gradually, working across them evenly to avoid misalignment.
- Check for resistance, stopping if anything feels stuck or strained.
- Keep bolts organized so you don’t lose any parts during the process.
Taking your time builds confidence, and a gentle touch helps keep your bike in good shape. Now, you’re ready to move on to the next step safely.
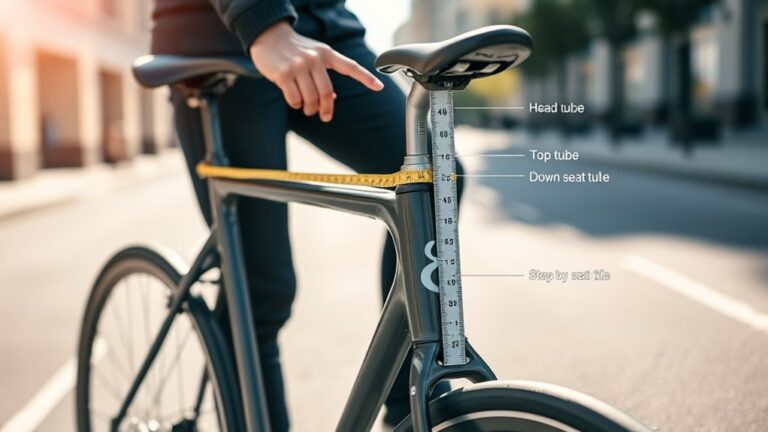
Raise Your Road Bike Handlebars to the Perfect Height
To find the right handlebar height, you need to guarantee proper alignment for comfort and control. Adjusting the stem height can help with this, but it’s also important to check that your handlebars are aligned correctly.
Take the time to fine-tune both aspects for a setup that feels natural and safe. Getting your handlebars at the perfect height makes a big difference in how comfortable and confident you feel on your bike.
Proper Handlebars Alignment
Achieving proper handlebars alignment is key for comfort and control on your road bike. Raising your handlebars to the right height is an important step in that process. Proper alignment keeps your wrists comfortable, makes steering feel natural, and ensures a smooth ride.
To get it right, start by checking if your handlebars sit level with your saddle or are slightly higher for added comfort. Make sure they are centered and symmetrical for balanced handling. Confirm that the angle feels natural, avoiding awkward wrist bends.
Take your bike out for a test ride and adjust until your hands rest comfortably. You want to feel confident and in control while riding. Properly aligned handlebars not only improve your experience but also keep you safe.
Take the time to fine-tune your setup. With the right adjustments, you’ll enjoy a smoother, more comfortable ride every time.
Adjusting Stem Height
Raising your road bike handlebars involves adjusting the stem height to match your comfort and riding style. To do this, loosen the bolts securing the stem to the fork steerer tube.
If your bike has a threaded or quill stem, raise the stem by inserting spacers or adjusting its position on the steerer tube, then tighten the bolts securely.
For threadless stems, you might need to add or replace spacer rings beneath the stem to increase height. Always make sure the stem is centered and tightened properly to prevent slipping.
Test your riding position after making adjustments. Ensure your handlebars feel comfortable without causing strain on your neck or back.
Proper stem height improves comfort, control, and your overall riding experience.
Secure the Handlebar and Check for Stability
Start by tightening the handlebar bolts securely with an Allen wrench or the appropriate tool. Make sure each bolt is evenly tightened to prevent any wobbling.
Once tightened, grasp the handlebar firmly and try to move it side to side or up and down. If it shifts or feels loose, recheck your bolts and tighten further.
Ensure you feel confident before riding. Here are key checks:
- Confirm all bolts are snug and evenly tightened.
- Test for any movement or wobbling.
- Verify the handlebar stays in place under pressure.
- Double-check your grip feels secure and comfortable.
A stable handlebar boosts your confidence and safety on the road. Take your time—stability is essential for a smooth, safe ride.
Test Your Ride and Fine-Tune for Comfort
Take your bike for a short test ride to see how the handlebars feel when you’re actually riding. Pay attention to your posture, arm position, and overall comfort. Notice if your shoulders feel tense or if you have any strain in your neck or wrists.
If you feel awkward or uncomfortable, try adjusting the handlebars slightly, raising or lowering them as needed. Aim for a natural, relaxed riding position that lets you breathe easily and stay in control.
Test out different hand positions if your bike has multiple options. Make small tweaks and then ride again to see if things improve. The goal is to find a setup that reduces fatigue and makes longer rides more comfortable.
Fine-tuning your handlebars might take a few tries, but it’s worth it for a better riding experience.
Maintain Your Handlebar and Stem for Long-Term Safety
Regularly inspecting and maintaining your handlebar and stem keeps your bike safe and reliable on every ride. Check for loose bolts, rust, or wear that could affect safety. Keep everything tight and well-lubricated to avoid unexpected failures. Regular maintenance gives you confidence that your bike can handle anything.
Here are four simple steps to ensure long-term safety:
- Tighten all bolts securely to prevent wobbling or slipping.
- Inspect for corrosion or damage and replace parts if needed.
- Clean and lubricate the stem and handlebar areas to prevent rust and keep adjustments smooth.
- Test stability by applying force to make sure everything stays in place during your ride.
Stay vigilant, and your bike will keep you safe mile after mile.
Frequently Asked Questions
Can I Adjust Handlebar Height Without Removing the Stem?
Did you know that adjusting handlebar height can improve your cycling efficiency by up to 15%? Yes, you can raise your handlebar height without removing the stem.
Just loosen the stem bolts enough to slide spacers or shims between the stem and head tube. Then, carefully lift the handlebars to your preferred height and tighten everything back up.
This quick fix can boost your comfort without the hassle of fully disassembling your setup.
What Safety Precautions Should I Take During Adjustment?
You should wear gloves to protect your hands from sharp edges and to ensure a firm grip. Make sure your bike is stable—use a work stand or lean it securely.
Before adjusting, loosen the bolts gradually to prevent sudden shifts. Check that all bolts are tightened to the recommended torque afterward.
Finally, test the handlebars gently to confirm they’re secure before riding. This way, you can be confident everything is safe during your ride.
How Often Should I Check Handlebar Height After Adjustments?
You should check your handlebar height every few rides, especially after making adjustments or if you notice discomfort or handling issues. Regular inspections help ensure your bike stays comfortable and safe.
If you ride often or on rough terrain, consider checking it weekly. Always double-check your bolts and clamps to make sure everything is secure.
Staying vigilant can help prevent accidents and keeps your ride smooth and comfortable.
Are There Specific Tools Recommended for Different Bike Models?
Yes, there are specific tools recommended for different bike models. You should use Allen wrenches or hex keys for most road bikes, as they fit the bolts securing handlebars and stems.
Some bikes may require Torx tools or adjustable wrenches for certain components. Always check your bike’s manual or manufacturer’s specifications to confirm you’re using the right tools.
Using the correct tools prevents damage and guarantees safe, effective adjustments.
How Do Handlebar Adjustments Affect Overall Bike Handling?
Adjusting your handlebars directly impacts your bike’s handling. Raising them can improve comfort and reduce strain on your back and shoulders, making steering feel more relaxed.
However, higher handlebars may decrease steering responsiveness, especially at high speeds or during technical turns. Lowering them boosts control and aerodynamics but might cause discomfort.
Find a balance that suits your riding style and terrain, making sure your handling feels natural and comfortable.
Conclusion
So, there you have it—raising your road bike handlebars is almost as easy as pretending you’re a pro cyclist. Just follow these steps, and you’ll be cruising in comfort—until your next adventure or, worse, your next roadside adjustment.
Remember, a bike that fits right isn’t just about comfort; it’s about avoiding that awkward “I-just-fell-off-my-bike” look. Keep tinkering, keep riding, and maybe, just maybe, you’ll outshine your local bike shop.
Happy riding!