How to Size a Mountain Bike in 10 Easy Steps
Finding the perfect mountain bike size can feel overwhelming, especially with so many options out there. Many riders struggle with comfort, control, and just knowing if their bike fits right. You’re not alone—getting your size just right makes a huge difference in how much you enjoy your ride.
To size your mountain bike, start by measuring your inseam with a book between your legs to find the right frame height. Choose a frame size that fits your riding style—smaller for aggressive downhill, larger for stability in cross-country.
Adjust seat height so your leg fully extends without locking, and make sure handlebar reach feels natural with a slight arm bend. Consider handlebar width and wheel size based on terrain and comfort.
Fine-tune these details to ride with ease and control, and investigate further tips to perfect your fit.
Key Takeaways
- Measure your inseam length by standing against a wall with a book between your legs to get an accurate frame size.
- Choose your frame size based on your inseam length and riding style. Make sure there’s about 2-3 inches of clearance when you stand over the frame. This helps you feel comfortable and confident on your bike.
- Adjust the saddle height so your leg is almost fully extended when the heel is on the pedal at the lowest point. This setup makes pedaling more efficient and reduces strain.
- Pick handlebar width that matches your shoulder width and riding style. It’ll give you better control and comfort, especially on trail rides.
- Think about wheel size—26″, 27.5″, or 29″. The right size depends on the trails you’ll ride and your riding style, helping you handle the bike better and maintain momentum.
Measure Your Inseam to Size Your Mountain Bike
Before you choose a mountain bike size, you need to measure your inseam accurately.
Stand with your back against a wall, feet about 6 inches apart. Place a book or a flat object snugly between your legs, simulating the bike saddle.
Mark where the top of the book touches the wall. Measure from the floor to that mark—that’s your inseam length.
This measurement is essential because it helps determine the standover height you need for comfortable riding.
Make sure you’re barefoot or wearing thin socks to get an accurate number.
Once you have your inseam, you’ll be better prepared to pick a bike that fits well, ensuring comfort, control, and safety on your mountain rides.
Understand Mountain Bike Frame Sizes
Choosing the right mountain bike frame size is key for a comfortable and efficient ride. The size impacts your posture, control, and overall trail experience. Frames are usually measured in inches or centimeters, based on the seat tube length. But don’t just focus on numbers—different brands and models have different geometries.
Selecting the right mountain bike frame size ensures comfort, control, and a better ride experience.
When picking a frame, keep these points in mind:
- Smaller frames are more maneuverable and lighter.
- Larger frames offer stability at higher speeds.
- Your inseam length helps determine the best frame height.
- Reach and top tube length influence how stretched out you feel.
- Suspension design can also affect the effective frame size.
Knowing these details will help you find a frame that fits your body and riding style perfectly.
Pick the Right Frame Size for Your Riding Style
Since your riding style influences how you handle your bike, picking the right frame size means matching it to the trails and terrain you prefer.
If you enjoy aggressive downhill or technical trails, a slightly smaller frame offers better maneuverability and control.
For cross-country or endurance rides, a medium to larger frame provides stability and comfort over long distances.
Trail riders who mix climbing and descending might opt for a balanced size that allows both agility and smooth handling.
Remember, your riding style impacts your posture and bike handling, so don’t just pick a size based on height alone.
Consider how aggressive or relaxed your rides are to find a frame size that complements your skills and keeps you confident on every trail.
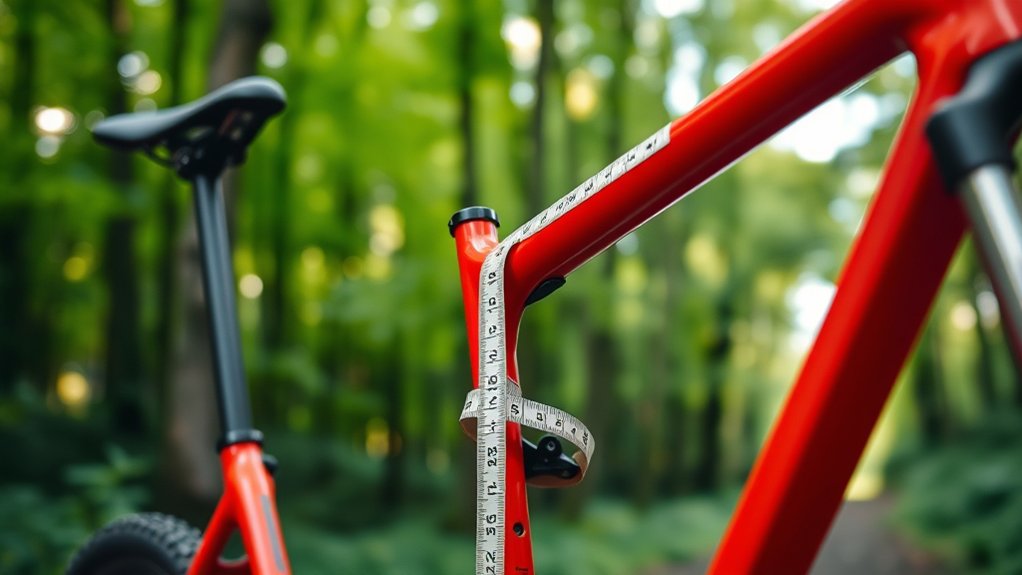
Check Top Tube Length for Comfort and Control
Although frame size sets the foundation, checking the top tube length ensures your bike fits your body and riding style comfortably. The top tube length influences how stretched out or upright you feel while riding, which impacts your control and comfort.
If the top tube is too long, you might strain your back and shoulders. If it’s too short, handling could feel cramped and less precise.
When you evaluate top tube length, think about your torso and arm length proportions. Also consider how you want to position your body on climbs and descents.
Your preferred riding posture—whether aggressive or relaxed—matters too. Make sure you can reach the handlebars comfortably without overextending.
Finally, consider how easily you can maneuver on technical trails. The right top tube length helps you stay in control and enjoy your ride.
Adjust Seat Height for Proper Mountain Bike Fit
Now that you’ve checked the top tube length, it’s time to adjust your seat height for a proper fit.
Start by measuring your leg length to set the saddle at the right height. Then, make sure your pedals are within comfortable reach to maximize efficiency and control.
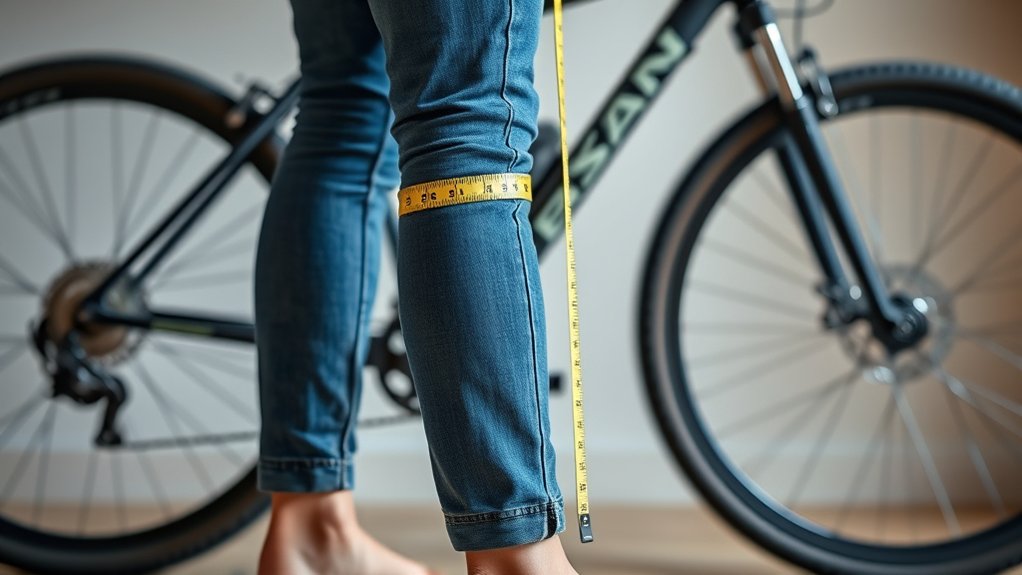
Measuring Leg Length
Measuring your leg length accurately is the first step to getting your mountain bike seat height just right. This helps ensure the seat isn’t too high or too low, which improves comfort and control.
Stand straight against a wall, barefoot, with your feet about 6 to 8 inches apart. Use a book or something similar to mimic the bike saddle, placing it snugly against your crotch.
Measure from the floor up to the top of the object. This gives you your inseam length, which is key for adjusting your seat for efficient pedaling and preventing injuries.
Here’s a quick checklist:
- Stand upright with your feet slightly apart.
- Place a flat object firmly against your crotch.
- Keep the object parallel to the floor.
- Measure from the floor to the top of the object.
- Record the measurement in centimeters or inches.
This simple step is the foundation for a perfect bike fit.
Setting Saddle Height
Once you know your inseam length, you can set your saddle height to maximize comfort and pedaling efficiency. Start by placing your heel on the pedal at its lowest point and adjust the saddle so your leg is fully extended without locking your knee.
This way, when you pedal with the ball of your foot, your knee will have a slight bend, reducing strain. Make small adjustments and take a test ride to fine-tune the height.
If the saddle is too low, you’ll waste energy. Too high, and you risk hip rocking and discomfort. Remember to tighten the seat post clamp securely after you finish adjusting.
Proper saddle height helps you ride longer, pedal smoother, and avoid injuries.
Checking Pedal Reach
After setting your saddle height, the next step is to check your pedal reach to make sure your position feels natural and efficient. Pedal reach affects your comfort and how well you transfer power, so it’s important to get it right.
Sit on your bike and place your feet on the pedals at the 3 o’clock and 9 o’clock positions. Look to see if your knees are properly aligned and if your hips stay steady without rocking side to side.
Here’s what to check: Knees should be slightly bent, not locked or overly flexed. Your hips should stay level and not shift from side to side.
Make sure your feet can comfortably reach the pedals without straining forward or back. There should be no excessive extension or cramping in your legs.
Finally, you should be able to pedal smoothly without feeling cramped or stretched. If needed, adjust your saddle forward or backward to improve the reach.
Find the Right Handlebar Width for Stability
To find the right handlebar width, start by measuring your shoulder width to ensure comfort and control.
Choose a handlebar that matches your riding style—wider bars give you more stability on rough trails, while narrower ones are better for quick maneuvers.
Getting this fit right will improve your balance and make your ride overall more enjoyable.
Measuring Shoulder Width
Although many riders overlook it, measuring your shoulder width is important for choosing the right handlebar width for your mountain bike. A handlebar that matches your shoulder width helps you stay in control and balanced, especially on tricky trails.
To measure, stand naturally and have someone measure the distance between the outer edges of your shoulder bones. This measurement roughly equals the ideal handlebar width.
Here are some tips to keep in mind: Use a tape measure for accuracy. Relax your shoulders to get a natural stance. Measure twice to confirm your result. Compare your measurement to handlebar sizes. Remember, wider bars can offer more stability and control.
Getting this right guarantees comfort and better handling. So, take your time measuring before you buy.
Matching Riding Style
Choosing the right handlebar width really depends on your riding style because it impacts your bike’s stability and control.
If you love aggressive downhill or technical trails, wider handlebars give you better balance and help you navigate rough terrain with confidence.
On the flip side, if you prefer cross-country riding or smoother paths, narrower bars make steering quicker and riding more efficient.
Think about your terrain and how you handle your bike. Wider bars provide stability but can feel bulky in tight spots, while narrower bars are more agile but less stable on rough descents.
Try out different widths to see what feels most natural for you. Matching your handlebar width to your riding style ensures better control, less fatigue, and a safer, more comfortable ride every time.
Test and Adjust Reach to Avoid Overstretching
When you test your bike’s reach, you’ll quickly notice if you’re overstretching or feeling cramped. Reach affects your comfort and control, so it’s essential to get it right.
Start by sitting on the saddle and placing your hands on the handlebars. Your arms should have a slight bend, not locked or fully extended.
Begin by sitting on the saddle with hands on the handlebars, keeping a slight bend in your arms.
If you feel too stretched, try adjusting the stem length or handlebar position to bring the bars closer. Here’s what to check:
- Your elbows should be slightly bent, not locked.
- You shouldn’t have to lean excessively forward.
- Your back should maintain a natural curve.
- You can easily reach brakes and shifters.
- Your wrists stay neutral, avoiding strain.
Adjust until these feel comfortable for better riding control and less fatigue.
Consider Wheel Size When Choosing Your Mountain Bike
How does wheel size affect your mountain bike’s performance? The size impacts handling, speed, and ride comfort.
Smaller 26-inch wheels accelerate quickly and maneuver sharply, making them great for tight trails. But they might struggle over obstacles compared to larger wheels.
The now-popular 27.5-inch wheels strike a balance, offering agility along with better rollover ability. If you want smoothness and momentum on rough terrain, 29-inch wheels are your best choice—they roll over roots and rocks more easily but can feel less nimble.
When choosing, think about your riding style and trail conditions. If quick turns are your priority, smaller wheels might suit you better. If you want stability and smoother rides, go bigger.
Matching wheel size with your bike’s frame and your size ensures better control and comfort.
Try Different Bikes to Compare Fit and Feel
You should test different frame sizes to find what fits you best. Pay attention to how comfortable you feel during the ride and how the bike handles on various terrains.
Comparing these factors helps you pick a bike that suits your style and control preferences.
Test Various Frame Sizes
Trying out several mountain bike frames is essential to finding the perfect fit for your riding style and body. When you test various frame sizes, you’ll quickly notice differences in handling and comfort that can make or break your ride. Don’t hesitate to hop on multiple bikes with slightly different frame dimensions to see what feels right.
Focus on these key points while testing frames:
- Check if you can stand over the frame with about 2 to 3 inches of clearance.
- Verify the reach to the handlebars feels natural, not stretched or cramped.
- Notice how easily you can maneuver the bike on trails.
- Assess how balanced the bike feels when you’re seated.
- Pay attention to any awkward pressure points on your hands or feet.
This hands-on approach helps you zero in on the ideal size.
Assess Riding Comfort Levels
Once you’ve narrowed down a few frame sizes that feel promising, the next step is to see how comfortable each bike feels when you’re actually riding. Take each bike out for a test ride on terrain similar to where you’ll usually ride.
Pay close attention to how your body feels—notice any pressure points on your hands, seat, or feet. Check if your posture feels natural or strained. Comfort isn’t just about padding; it’s about how well the bike’s geometry matches your body.
Try to ride each bike for at least 15 minutes to get a real sense of comfort. Comparing how each bike fits and feels helps you pick one that won’t cause discomfort or fatigue, so you can enjoy every ride without unnecessary aches or pain.
Compare Handling and Control
Although comfort is important, handling and control are what really show how well a bike responds to your movements and the terrain. To find the right fit, try out different bikes and see how each one handles corners, climbs, and descents.
Pay attention to how easy it is to maneuver and how stable the bike feels at different speeds. Notice how quickly the brakes respond and how well the suspension absorbs shocks.
When comparing bikes, focus on steering precision and how easy it is to turn. Check how stable the bike feels on rough or uneven trails.
Also, pay attention to suspension performance and comfort, as well as brake responsiveness and modulation. Overall, see how balanced the bike feels and how natural it is under you.
Trying out several models will help you find the bike that matches your riding style perfectly.
Get a Pro Bike Fit to Perfect Your Ride
A professional bike fit can really change how you experience mountain biking by customizing the bike to fit your body’s measurements and riding style. When you get a pro fit, experts look at your height, leg length, arm reach, and flexibility to make precise adjustments.
They’ll set your saddle height, handlebar position, and stem length just right. This means you’ll ride more comfortably and efficiently, with less fatigue and a lower risk of injuries.
A proper fit also boosts your control and power transfer, so you can handle trails with confidence. Don’t guess your size—let a professional fine-tune your setup.
Boost your control and power—trust a professional to perfect your bike fit for confident trail riding.
It’s a smart move to make every ride smoother and more enjoyable. Investing in a bike fit helps you get the most out of your mountain biking adventures.
Frequently Asked Questions
What Type of Suspension Is Best for Mountain Biking?
The best suspension for mountain biking depends on the trails you ride. If you mostly tackle smooth or moderately rough paths, a hardtail with front suspension works great. It’s lighter and more efficient.
For rough, technical terrain with lots of drops and roots, you’ll want a full suspension bike. It absorbs shocks better and gives you more control.
Ultimately, pick what fits your riding style and trail conditions. That way, you’ll enjoy more comfort and better performance out there.
How Often Should I Replace My Mountain Bike Tires?
You should replace your mountain bike tires every 2,000 to 3,000 miles or sooner if you notice significant wear. Did you know worn tires increase your risk of crashes by 30%?
Don’t wait for a flat or poor grip to switch them out. Check for cracks, bald spots, or sidewall damage regularly.
Keeping fresh tires guarantees better control and safety on every ride, so stay proactive and replace them when needed.
What Gear Ratio Is Ideal for Climbing Hills?
You’ll want a low gear ratio for climbing hills, typically between 1:1 and 1:1.5. This means your chainring has about the same or slightly more teeth than your rear sprocket.
It makes pedaling easier, giving you better control and less fatigue on steep climbs. If you struggle, consider a wider range cassette or a smaller chainring to get even lower gears.
This setup helps you tackle tough hills without burning out.
How Do I Maintain My Mountain Bike Chain?
You’ve got to treat your mountain bike chain like a delicate treasure—clean it religiously! Use a degreaser to strip off the grime, then rinse and dry it thoroughly.
Don’t forget to lubricate it with a quality bike-specific lube. Too little and it squeaks, too much and it attracts dirt. Wipe off excess lube after.
Regular maintenance keeps your chain smooth, extends its life, and guarantees your rides stay buttery smooth.
Can I Use the Same Bike for Road and Mountain Trails?
You can use the same bike for both road and mountain trails, but it depends on your bike’s setup. Mountain bikes handle rough terrain well but aren’t as fast or efficient on pavement.
If you mainly ride on roads, you might want slick tires and a lighter frame. For mixed use, consider a hybrid or gravel bike, which balances comfort and performance on both surfaces.
Adjust tires and suspension for the best ride.
Conclusion
Now that you’ve mastered sizing your mountain bike, picture yourself gripping the handlebars, feeling confident with every twist and turn.
Imagine the trail ahead—a perfect fit beneath you, ready to handle every climb and descent with ease.
The right frame, seat height, and reach aren’t just numbers; they’re your key to feeling free on two wheels.
Don’t just ride—own every moment on your ideal mountain bike.
Your perfect mountain bike is waiting. Are you ready to take the leap?