How to Size a Road Bike in 10 Essential Steps
Finding the perfect road bike that fits just right can feel overwhelming, especially with so many options out there. You’re not alone—many riders struggle with sizing to get that comfortable, efficient ride.
Luckily, there’s a simple process to help you find your ideal fit.
To size a road bike, start by measuring your inseam to match it with appropriate frame sizes using brand-specific charts. Check the top tube length for balanced reach, then adjust your saddle height and position to protect your knees and improve pedaling.
Choose handlebar width based on your shoulder size for better control. Test ride different sizes to find comfort and consider a professional fitting for precision.
Next, examine frame materials and fit details suited to your riding style.
Key Takeaways
- Measure your inseam accurately by standing against a wall with a book held firmly between your legs. Mark the height where the book touches the wall to get your inseam length.
- Use this inseam measurement to pick a frame size from the brand-specific charts. Keep in mind, you might need to adjust based on your riding style and flexibility.
- To figure out top tube length, compare it to your torso and arm length. This helps ensure you’ll be able to ride comfortably without overstretching or feeling cramped.
- Adjust your saddle height so that your knee forms a 25-35 degree angle at the bottom of each pedal stroke. This position helps improve efficiency and reduces the risk of injuries.
- When it comes to handlebar width, choose one that matches your shoulder width. You can also tweak the height for added comfort or aerodynamics, depending on your riding preferences.
Measure Your Inseam for Accurate Road Bike Frame Sizing
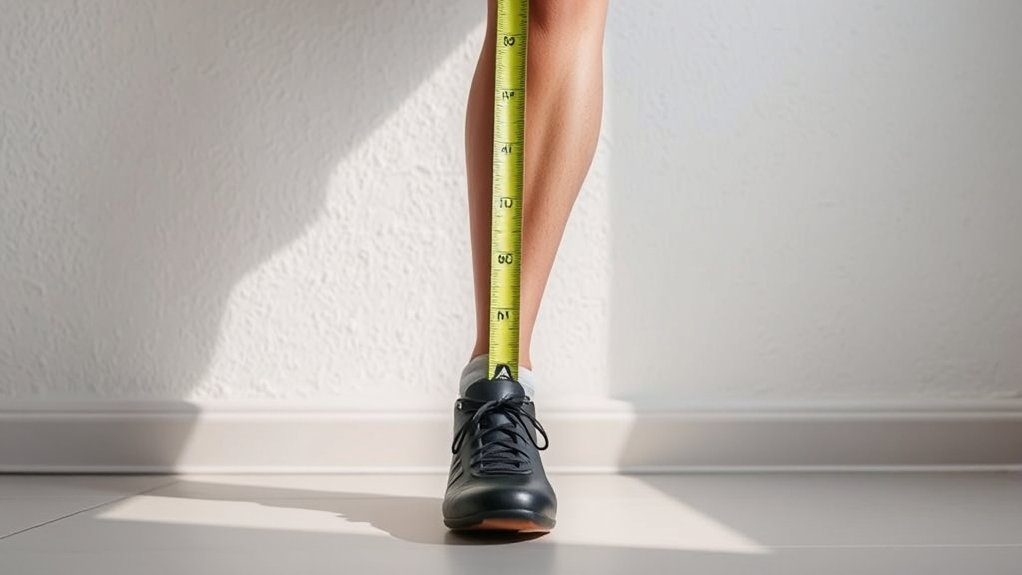
Before choosing a road bike frame, you need to measure your inseam accurately. Stand barefoot with your back against a wall, feet about six inches apart.
Place a book between your legs, pressing it firmly upward as if it were a bike seat. Mark the spot on the wall at the top edge of the book.
Measure the distance from the floor to this mark in centimeters or inches. This measurement is your inseam length, which is essential for selecting the right frame size.
Accurate inseam measurement guarantees your legs fit the bike properly, improving comfort and efficiency.
Proper inseam measurement ensures a comfortable, efficient ride by fitting your legs perfectly to the bike.
Avoid guessing or using outdated measurements because even small errors can lead to discomfort or injury when riding.
Take your time—it’s worth it for a perfect fit.
Read Road Bike Frame Size Charts to Find Your Fit
Once you have your inseam measurement, the next step is to check out road bike frame size charts. These charts turn your inseam into a suggested frame size, usually in centimeters or inches.
Look for charts specific to the bike brand or model you’re interested in, since sizing can vary. Match your inseam to the right frame size, but don’t forget to read the manufacturer’s notes for any tweaks based on your riding style or flexibility.
Frame size charts are a great starting point—they help you narrow down your options quickly. Keep in mind, this method mainly focuses on frame height and doesn’t cover other fit factors like top tube length or reach.
You’ll want to check those next for a truly comfortable ride.
Find Your Ideal Road Bike Top Tube Length for Balanced Reach
Although frame size gives you a good starting point, finding the ideal top tube length is key to a balanced reach and comfortable ride. The top tube length influences how stretched out or cramped you feel on the bike.
To find the right length, measure from the center of the head tube to the center of the seat tube or seat post. Then compare this to your torso and arm length—longer arms and torso usually need a longer top tube.
If the top tube is too long, you’ll overreach, which can cause discomfort and strain. Too short, and you’ll feel cramped and restricted. Aim for a length that lets you keep a slight bend in your elbows while keeping your back flat.
This position helps you stay in control and comfortable during every ride.
Adjust Saddle Height for Proper Road Bike Fit and Knee Health
You’ll want to adjust your saddle height to boost comfort and protect your knees from strain. Measuring the correct position helps ensure your legs extend properly without locking your knees at the bottom of each pedal stroke.
Keeping the right knee angle is key for riding more efficiently and avoiding injury. When your saddle is at the right height, you’ll pedal smoothly and feel more comfortable on longer rides.
Optimal Saddle Height Benefits
Adjusting your saddle height correctly is key to a comfortable ride and protecting your knees from injury. When your saddle is set at the right height, you can produce more power and put less strain on your joints.
This adjustment helps you keep proper cycling form and avoid common problems like knee pain and muscle fatigue.
Here are some benefits you’ll enjoy with the ideal saddle height:
- Better pedaling efficiency, so you can ride longer and more enjoyably
- Less risk of knee injuries by reducing excessive joint bending
- More comfort, letting you focus on the road instead of discomfort
Measuring Correct Saddle Position
When you measure the correct saddle position, you make sure your bike fits your body perfectly. This helps protect your knees and boosts your cycling efficiency.
Start by sitting on your bike with your feet on the pedals at the 3 o’clock and 9 o’clock positions. Your saddle should be level and positioned so your knee is directly over the pedal axle when the pedals are horizontal.
Adjust the saddle forward or backward until you get this alignment. This ensures proper weight distribution and prevents unnecessary strain on your joints.
Make small adjustments, then take a test ride to see how it feels. A correct saddle position not only makes riding more comfortable but also helps you stay in control and generate more power.
Always double-check your setup before heading out on long rides.
Knee Angle Importance
Though it might seem subtle, the angle of your knee while pedaling is really important for comfort and avoiding injuries. Getting your saddle height right helps your knees move efficiently without putting strain on them. If your knee angle is off, you could end up with pain or even long-term damage.
To get your knee angle just right, keep these points in mind:
- Aim for a knee bend of about 25 to 35 degrees at the bottom of the pedal stroke.
- Adjust your saddle height gradually because too high or too low can affect your power and joint health.
- Check your alignment by making sure your knee tracks straight over the pedal spindle without drifting inward or outward.
Move Your Saddle Forward or Back for Better Pedaling Efficiency
Since your saddle position directly impacts how efficiently you pedal, moving it forward or back can really improve your cycling. Adjusting the saddle affects your leg extension and power output, helping you avoid fatigue and injury.
Slide it forward to engage your quads more, or move it back to activate your glutes and hamstrings better. Small changes can lead to big improvements in your ride.
| Feeling | Impact | Result |
|---|---|---|
| Frustration | Inefficient pedaling | Reduced endurance |
| Comfort | Proper saddle alignment | Longer, enjoyable rides |
| Confidence | Optimized power transfer | Better speed and control |
Test different positions until you find the one that feels just right for you.
Set Handlebar Height to Improve Riding Comfort
Adjusting your handlebar height is key to making your ride more comfortable and easier to control. When it’s set right, it can reduce strain on your back, neck, and wrists, so every ride feels better.
If you’re feeling too stretched out or have lower back pain, try raising the handlebars. On the other hand, lowering them slightly can give you a more aerodynamic position.
Just be careful not to go too low, as that could cause wrist discomfort. Use spacers or adjust the stem height to fine-tune your setup without messing with your bike’s handling.
Pick the Right Handlebar Width for Better Control
You’ll want to start by measuring your shoulder width to find a handlebar that fits comfortably. Picking the right width makes a big difference in how your bike feels.
Choosing a width that matches your riding style helps improve control and reduces fatigue. It’s all about finding what works best for you.
Let’s look at how to pick the perfect handlebar width for you.
Measure Shoulder Width
One key measurement to get right when sizing your road bike is your shoulder width, as it directly influences the handlebar width you should choose. To measure your shoulder width, stand straight and have someone measure the distance between the outer edges of your shoulders. This guarantees your handlebars provide ideal control and comfort.
Choosing the correct handlebar width benefits you by:
- Enhancing steering precision and bike handling
- Reducing strain on your wrists and shoulders
- Improving overall riding comfort and efficiency
Keep in mind, handlebars that are too wide or too narrow can negatively affect your posture and control. By matching your handlebar width to your shoulder measurement, you’ll ride more confidently and comfortably, making every mile more enjoyable.
Match Riding Style
Although your shoulder width gives you a good starting point, your riding style should influence your final handlebar width choice.
If you’re into racing or prefer aggressive riding, narrower bars improve aerodynamics and make handling quicker.
For longer rides or if you value comfort and stability, slightly wider bars give you more control and help reduce upper body fatigue.
City or mixed-terrain riders benefit from moderate width handlebars, balancing maneuverability and comfort.
Keep in mind, wider bars can give you an edge when climbing or sprinting, while narrower bars make it easier to cut through traffic or tight corners.
Try out different widths to see what feels natural and enhances your control.
Matching your handlebar width to your riding style makes your rides safer and more efficient every time.
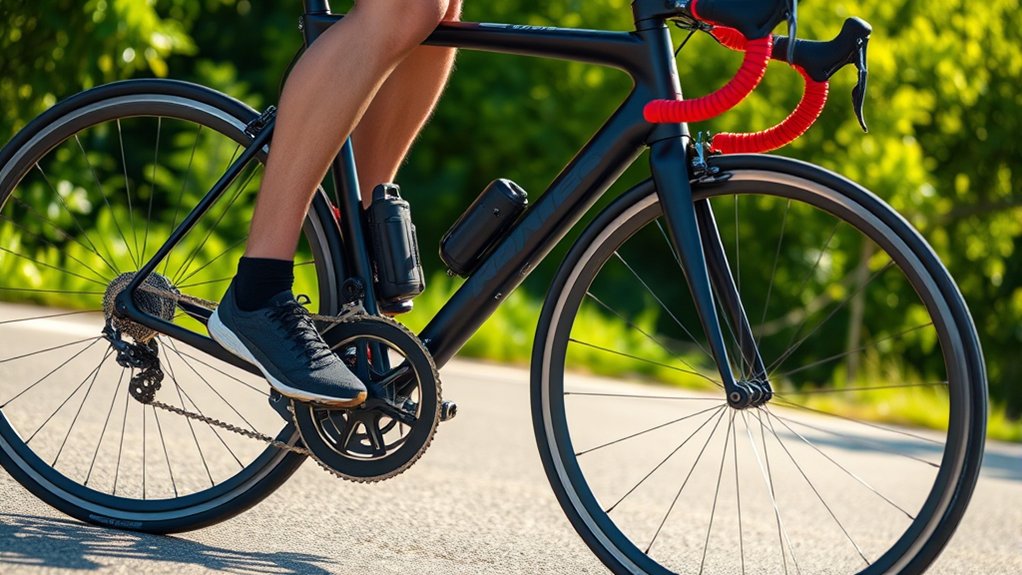
Test Ride Different Road Bike Sizes to Feel the Fit
How do you know if a road bike truly fits until you get on it? Test riding different sizes gives you the real feel. It’s the best way to understand how each frame size affects comfort and control.
When you test ride, pay attention to how easily you can reach the handlebars without strain. Also, check if your feet comfortably touch the pedals at the bottom of the stroke.
Notice how stable and responsive the bike feels when you turn or brake. Don’t rush this step. Try several sizes if possible and observe differences in posture and handling.
This hands-on experience helps you pick a bike that matches your body and riding style. It avoids guesswork and makes sure you have a confident ride every time.
Fine-Tune Your Bike Fit With Professional Bike Fitting Services
If you want to achieve the perfect fit beyond basic adjustments, professional bike fitting services can make a big difference. A skilled fitter assesses your body measurements, flexibility, and riding style to customize your bike’s setup just for you.
They’ll fine-tune saddle height, handlebar reach, and cleat placement to boost comfort and efficiency. Using tools like motion capture or pressure mapping, they can spot subtle issues you might miss on your own.
This personalized approach helps reduce injury risk and improves your performance, making every ride more enjoyable. Even if you’ve already picked a size, a professional fitting can unlock your bike’s full potential.
Consider booking a session to ensure your road bike fits you perfectly from the start and adjusts as your skills and needs grow.
Choose the Best Frame Material for Your Riding Style
Three common frame materials—aluminum, carbon fiber, and steel—each offer unique benefits that match different riding styles. Pick one that suits how and where you ride.
Aluminum is lightweight and stiff, making it great for speed and climbing. It’s perfect if you enjoy racing or fast group rides.
Carbon fiber provides excellent vibration damping and is incredibly light. It’s ideal for endurance rides and smooth performance.
Steel is durable and offers a comfortable, forgiving ride. It’s a good choice if you prefer long-distance touring or riding on rough roads.
Choosing the right frame material helps you enjoy your ride more and ride more efficiently. Think about what’s most important—speed, comfort, or durability—and pick accordingly.
Frequently Asked Questions
How Often Should I Replace My Road Bike Tires?
You should replace your road bike tires every 2,000 to 3,000 miles, depending on wear and riding conditions.
Check for visible cuts, bald spots, or frequent flats—these signs mean it’s time for new tires.
If you ride in harsh weather or rough terrain, you might need to replace them more often.
Regularly inspect your tires to stay safe and maintain performance on every ride.
What Accessories Are Essential for Road Bike Safety?
Did you know that wearing a helmet reduces your risk of head injury by 50%? For road bike safety, you need a quality helmet, front and rear lights for visibility, and reflective gear to stay seen.
Don’t forget a bell or horn to alert others, and gloves to protect your hands during falls. These essentials keep you safe and confident on every ride.
How Do I Maintain My Road Bike Chain Properly?
To maintain your road bike chain properly, clean it regularly with a degreaser to remove dirt and grime. After drying, apply a suitable bike chain lubricant evenly, wiping off any excess to prevent attracting more dirt.
Check for wear using a chain checker tool, and replace the chain if it’s stretched. Regular maintenance keeps your chain running smoothly, improves shifting, and extends its lifespan.
Don’t forget to inspect your chain before long rides to catch any issues early!
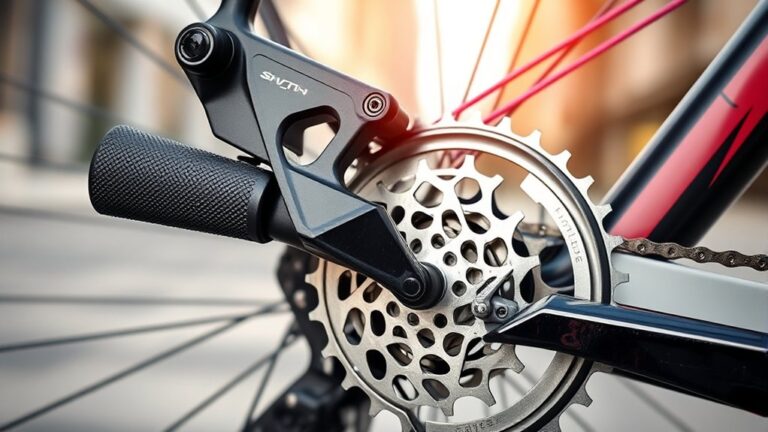
What Gear Setup Is Best for Hilly Terrain?
For hilly terrain, you’ll want a gear setup with a wide range, especially lower gears to make climbing easier. Look for a compact crankset, like a 50/34 teeth, paired with a cassette that has a large sprocket, such as an 11-32 or 11-34.
This combo lets you spin comfortably uphill without overexerting yourself. You’ll also want smooth shifting to adapt quickly to changing gradients, so investing in quality derailleurs and shifters helps.
How Can I Improve My Road Biking Endurance?
You can improve your road biking endurance by gradually increasing your ride duration and intensity. Try adding a little more distance or speed each week to build stamina without overdoing it.
Incorporate interval training to boost your cardiovascular fitness and build endurance. Alternating between high effort and recovery helps your body adapt and become stronger.
Don’t forget to fuel properly before and during your rides, and stay hydrated. Good nutrition and hydration are key to maintaining energy levels and avoiding fatigue.
Consistency is key, so aim to ride regularly and include recovery days. Giving your body time to rest helps prevent burnout and injury.
Cross-training with strength exercises can also help prevent fatigue and improve overall fitness. Building muscle support can make your rides easier and more durable.
Finally, listen to your body. Pushing too hard can lead to overtraining or injury, so take it steady and push your limits gradually.
Conclusion
So, after measuring your inseam, testing handlebars, and tweaking the saddle, you’ll finally pick your perfect road bike size.
Then you might realize the real challenge is just staying upright on two wheels! But with the right fit, you’ll at least look confident as you wobble down the street.
Remember, sizing isn’t just about numbers. It’s about feeling comfortable and confident enough to enjoy every ride, even if you’re still a bit wobbly. Choosing the right road bike size makes all the difference.