How to Fill Road Bike Tires in 8 Simple Steps
Many cyclists find filling their road bike tires to be a bit daunting, especially if they’re new to the sport. You’re not alone—getting the right pressure can feel tricky, and no one wants to end a ride with flat tires or uneven riding.
Luckily, with a little know-how, you can master this simple task and enjoy smoother, safer cycling.
To fill your road bike tires in eight simple steps, first choose a pump with a pressure gauge that fits your valve type—Presta or Schrader.
Remove the valve cap and inspect it for dirt or damage. Secure the pump head snugly, then pump smoothly to the recommended pressure shown on the tire sidewall.
Detach the pump carefully to avoid air loss, replace the valve cap, and check for leaks.
Keep following for tips to perfect your tire care routine.
Key Takeaways
- Identify your tire valve type (Presta or Schrader) so you can pick the right pump and avoid damaging the valve.
- Remove the valve cap and give the valve stem a quick clean. This helps create a good seal when you’re inflating the tire.
- Attach the pump head securely onto the valve. Use smooth, steady strokes to fill the tire with air.
- Keep an eye on the pressure using a gauge. Aim for the PSI that’s listed on the side of your tire.
- Once inflated, put the valve cap back on. Check for leaks by listening closely or applying some soapy water around the valve.
Choose the Right Pump for Road Bike Tires
Before you start pumping, you need to choose the right pump for your road bike tires. Road bike tires require high pressure, so pick a pump that can handle pressures up to 120 psi or more.
A floor pump is your best bet because it offers stability and efficient air delivery, letting you inflate tires quickly and accurately. Look for one with a pressure gauge so you can monitor the air pressure precisely.
Avoid basic mini pumps if you want speed and accuracy, though they’re handy for emergencies. Also, make sure the pump head fits your tire valve, but don’t worry about valve types just yet—that’s coming next.
Choosing the right pump upfront saves time and prevents underinflated or overinflated tires, so you’re ready for a smooth ride.
Know Your Tire Valve Type Before You Inflate
Once you’ve picked the right pump, the next step is to identify your tire valve type. Road bike tires usually have one of two common valves: Presta or Schrader.
Presta valves are slim and have a small nut at the top you’ll need to unscrew before inflating. Schrader valves look like car tire valves and have a wider diameter.
Knowing which valve your tire uses is important because pumps and adapters are different. Using the wrong pump head might damage the valve or stop proper inflation.
Choosing the right pump head prevents valve damage and ensures proper tire inflation.
You can usually tell the valve type by looking closely at the rim hole or the valve itself. Make sure your pump matches the valve or has an adjustable head to fit both types.
This step helps ensure smooth, effective tire inflation every time.
Remove the Valve Cap and Inspect the Valve
Although it might seem like a small step, removing the valve cap carefully is important to avoid losing it and to access the valve properly. Grab the cap between your fingers and twist it counterclockwise until it comes off.
Set it somewhere safe so you don’t misplace it during inflation. Once the cap is off, take a close look at the valve stem. Check for any dirt, dust, or debris that might clog the valve or affect the seal.
If you spot any grime, gently wipe it away with a clean cloth or tissue. Also, inspect the valve for any signs of damage like bending or cracking. Ensuring the valve is clean and intact will help you get a proper seal and make inflation easier.
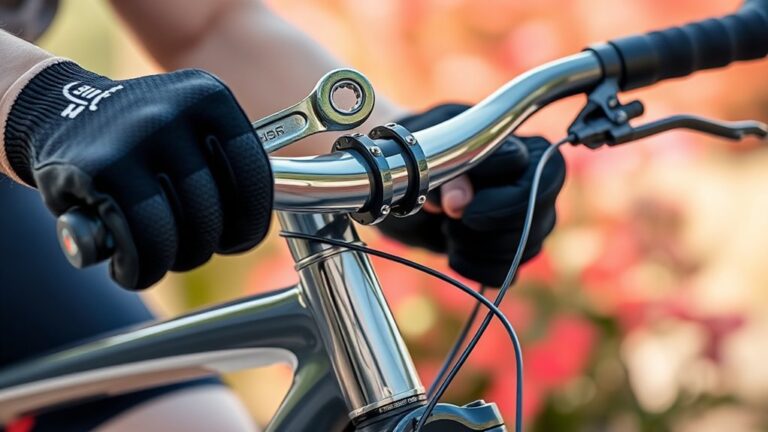
Secure the Pump to Your Road Bike Tire Valve
Firmly attach the pump head to your road bike tire valve, making sure it fits snugly to prevent air leaks. Here’s how to secure it properly:
Attach the pump head firmly to your bike valve for a secure, leak-free fit every time.
- First, identify your valve type—Presta or Schrader—and adjust the pump head accordingly. If you’re using a Presta valve, unscrew the small locknut at the top before attaching the pump.
- Press the pump head onto the valve stem firmly until it’s seated completely. You shouldn’t feel any air escaping.
- Lock the pump head in place by flipping the lever or twisting the connector, depending on your pump model. This creates a tight seal for efficient air transfer without leaks.
Securing the pump correctly ensures you can inflate your tires smoothly and keep the right pressure throughout your ride.
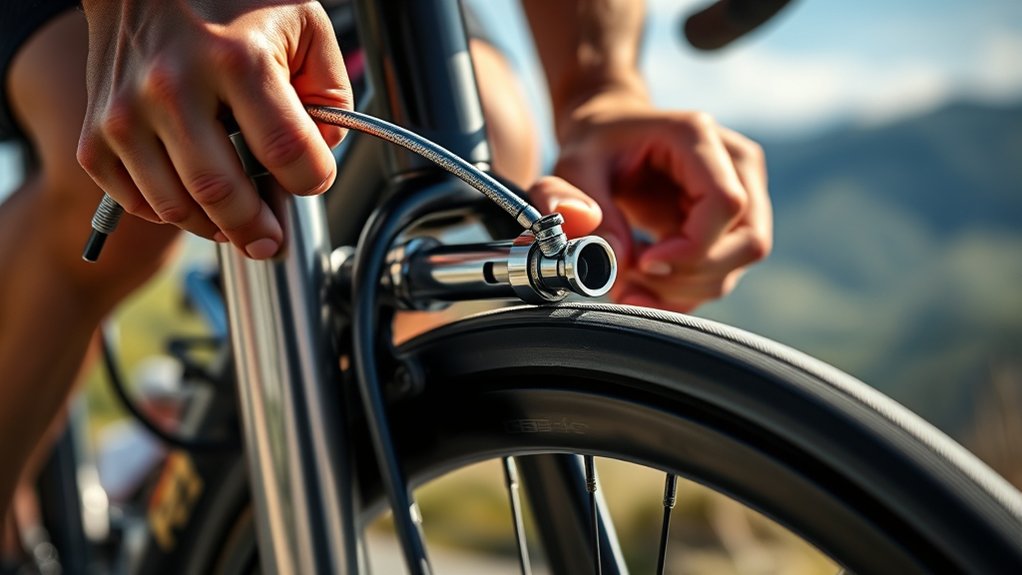
Inflate Your Road Bike Tires to the Right Pressure
After securing the pump head to your valve, you’re ready to start inflating your road bike tires. Begin by pumping air steadily into the tire. Use smooth, consistent strokes to avoid sudden pressure spikes that could damage the tire or tube.
Keep an eye on the tire’s firmness with your fingers. Road bike tires should feel firm but still have a bit of give. Avoid overinflating, which can make the ride harsh and increase the risk of a blowout.
Underinflated tires can cause poor handling and increased wear. Aim to reach the pressure recommended on the tire’s sidewall, usually expressed in PSI or bar. Once you feel the tire is firm enough, stop pumping and carefully detach the pump head.
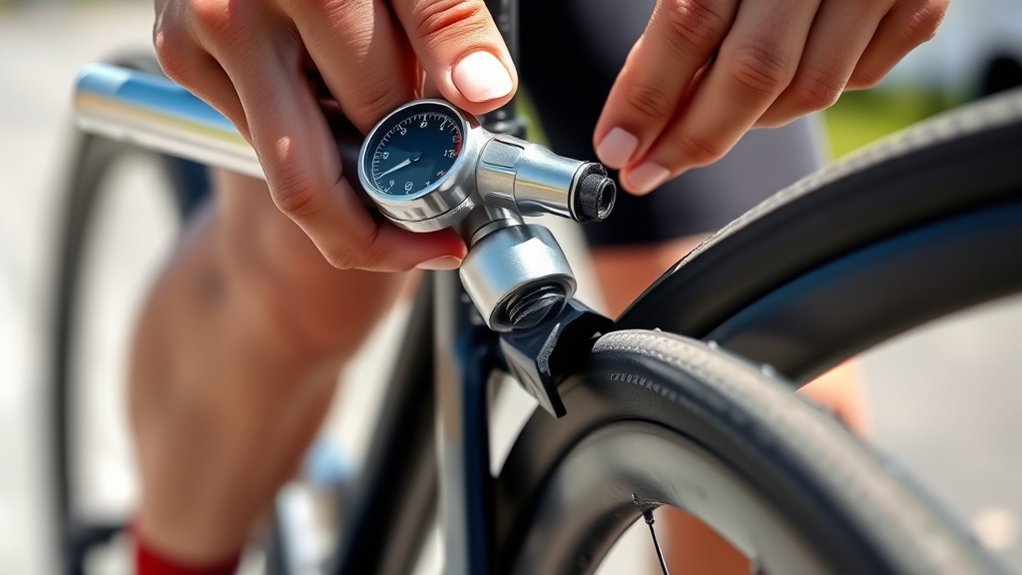
Use a Reliable Gauge to Monitor Tire Pressure
To keep your road bike tires at the right pressure, it’s important to use a reliable gauge to check them accurately. A good gauge helps you avoid underinflation, which can make handling tricky, and overinflation, which could lead to blowouts.
Here’s how to make sure you get precise readings: First, pick a gauge designed for high-pressure tires, usually between 80 and 130 psi. It’s also a good idea to check the gauge’s calibration regularly to keep it accurate.
Make sure to use the gauge both before and after pumping. This way, you can track any pressure changes and avoid guessing how much air is in your tires.
Detach the Pump Without Losing Air
When you’re done pumping, you’ll want to remove the pump without letting any air escape from your tire. To do this, first lock the pump head lever in place.
Next, hold the valve stem firmly with one hand to keep it steady. Then, slowly and steadily lift the pump head straight off the valve to minimize air loss.
Try to avoid twisting or pulling at an angle, as that can cause air to leak out. Practice this a few times to get smooth and confident with the process.
Replace the Valve Cap and Check Your Tire for Leaks
After pumping your tire, screw the valve cap back on to protect the valve from dirt and damage.
Then, carefully check your tire for any signs of leaks by listening or feeling for escaping air. Catching leaks early helps you avoid flats and keeps your ride smooth.
Importance Of Valve Caps
Three simple steps can help protect your road bike tires: replace the valve cap, check for leaks, and ensure proper inflation. The valve cap plays a crucial role in keeping your tire in top condition. Here’s why you should never skip this small but mighty step:
- Prevents Dirt Entry: The cap keeps dirt and debris out of the valve, which can cause slow leaks over time.
- Protects Valve Stem: It shields the valve from damage or bending, helping it stay functional longer.
- Maintains Air Pressure: When the cap is securely in place, it reduces the chance of air escaping and keeps your tire properly inflated longer.
Always screw the valve cap back on tightly after filling. This simple step safeguards your tire’s performance and helps it last longer.
Detecting Tire Leaks
How can you tell if your road bike tire has a leak? First, replace the valve cap after filling your tire to protect the valve from dirt and moisture. Then, inspect your tire carefully.
Inflate it to the recommended pressure and listen closely for any hissing sounds. If you don’t hear anything, apply soapy water to the tire and valve area. Watch for bubbles forming, which indicate escaping air.
Also, run your fingers along the tire surface to feel for any punctures or cuts. If you spot a leak, mark it with chalk or tape for easy repair.
Checking your tire regularly helps you catch leaks early, preventing flats and ensuring a smoother, safer ride every time you hit the road.
Frequently Asked Questions
How Often Should I Check My Road Bike Tire Pressure?
You should check your road bike tire pressure before every ride to guarantee peak performance and safety.
Tires naturally lose air over time, so it’s important not to skip this step.
If you ride frequently, daily checks are ideal. For occasional rides, aim to check at least once a week.
Keeping your tires properly inflated helps prevent flats, improves handling, and makes your ride smoother and more efficient.
Can I Use a Car Pump for My Road Bike Tires?
You can certainly consider using a car pump for your road bike tires, but caution counts! Car pumps often deliver high volume at low pressure, which may not suit your sleek, skinny tires needing higher pressure.
You’ll want a pump with a pressure gauge that reaches at least 100 psi to keep your ride reliable. Using a bike-specific pump guarantees precise pressure, prevents overinflation, and protects your tires from potential damage.
What Are the Signs of a Tire Needing Replacement?
You’ll know it’s time to replace your tire when you see cracks, cuts, or bald spots on the tread. If the tire feels thin or worn down, that’s a clear sign too.
You might also notice frequent flats or reduced grip while riding. And if the sidewalls look frayed or the tire bulges oddly, don’t ignore it.
Replacing your tire keeps you safe and riding smoothly.
How Does Temperature Affect Tire Pressure?
Temperature plays tricks on your tire pressure like a mischievous wind. When it gets colder, the air inside your tires contracts, dropping the pressure. Warm weather does the opposite, making the air expand and increasing pressure.
Because of this, you’ll want to check and adjust your tire pressure regularly, especially if the temperature swings a lot. Keeping it just right helps you ride smoothly and avoid flats or blowouts.
Is It Necessary to Use Sealant Inside Road Bike Tires?
You don’t have to use sealant inside road bike tires, but it can be helpful. Sealant is mainly used with tubeless setups to automatically seal small punctures and prevent flats.
If you’re running traditional clincher tires with inner tubes, it’s optional but can add extra protection.
If you want fewer flat tires and easier maintenance, especially on rough roads, adding sealant is a smart choice. Otherwise, it’s not necessary.
Conclusion
Filling your road bike tires is like preparing your trusty steed for a grand adventure. Each step, from choosing the right pump to securing the valve cap, helps keep your ride smooth and steady.
Think of the air as the breath of freedom that powers every mile ahead. With a little care and attention, you’re not just inflating tires—you’re fueling journeys, discovering new roads, and embracing the open horizon with confidence.
Remember, proper inflation is key to a great ride. So, take your time and follow these steps to ensure your tires are perfectly filled for your next ride. Happy riding!