How to Inflate Road Bike Tires in 7 Easy Steps
Many road cyclists know the frustration of dealing with flat tires or underinflated wheels. It can be tough to keep your bike in top shape, especially when you’re pressed for time or new to bike maintenance.
You’re not alone—properly inflating your road bike tires is a skill many people struggle with, but it’s easier than you think.
To inflate your road bike tires in seven easy steps, first identify your tire type and pressure range, then choose a compatible pump for your valve.
Remove the valve cap and inspect the valve for dirt or damage. Securely attach your pump, inflate to the recommended pressure, and use a gauge to check for leaks.
Finally, replace the valve cap and give your tire a final inspection. Follow these steps, and you’ll keep your ride smooth and safe while uncovering helpful tips along the way.
Key Takeaways
- Identify whether you have a clincher or tubular tire, and check the recommended pressure range on the sidewall of your tire.
- Pick a pump that matches your valve type—either Presta or Schrader—and make sure it’s securely connected to the valve.
- Take a quick look at the tire and valve to spot any damage, dirt, or debris. Also, check that the bead is seated properly.
- Start inflating the tire gradually. Keep an eye on a pressure gauge to stay within the recommended range and avoid over-inflating.
- Once you’re done, put the valve cap back on, recheck the pressure, and listen for any leaks.
- Making sure everything is secure and within the right pressure makes for a safer, smoother ride.
Check Your Road Bike Tire Type and Pressure
Before inflating your road bike tires, it’s important to identify the tire type and know the recommended pressure range. Most road bike tires are either clincher or tubular.
Clincher tires have an inner tube and are the most common, while tubular tires are glued directly to the rim and need different care and tools. Check the sidewall of your tire for the pressure range, usually listed in PSI or bar.
Staying within this range ensures your bike performs well, feels comfortable, and prevents damage. Too little pressure can cause pinch flats, while too much reduces traction.
Knowing your tire type and pressure helps you inflate confidently and safely, giving you a smooth ride every time.
Choose the Right Pump and Prepare Your Tools
You’ll want to pick a pump that matches your bike’s valve type, whether it’s Presta or Schrader.
Make sure you have essential tools like a pressure gauge to get the right inflation. Preparing the right gear upfront makes the process quick and hassle-free.
Types Of Bike Pumps
Although many pumps look similar, choosing the right type for your road bike tires can make inflation faster and easier. You want a pump that suits your riding style and tire pressure needs.
Here are some common types:
- Floor Pumps: Provide fast, high-pressure inflation with a stable base.
- Mini Pumps: Compact and portable, great for on-the-go fixes.
- CO2 Inflators: Use cartridges for quick inflation but need refills.
- Frame Pumps: Attach to your bike frame, offering convenience without extra bulk.
- Electric Pumps: Battery-powered for effortless inflation, though less common.
Pick a pump that fits your routine and tire pressure demands. Having the right pump ready makes all the difference, keeping your ride smooth and safe.
Valve Compatibility Check
Two main valve types, Presta and Schrader, dominate road bike tires. It’s important to check which one your bike uses before picking a pump.
Presta valves are narrow with a small locking nut and are common on most road bikes. Schrader valves look like car tire valves and are wider.
Make sure your pump head fits your valve type. Some pumps have dual heads or adapters to work with both valves.
If your pump doesn’t match, you won’t get a proper seal, which makes inflating difficult or impossible.
Before inflating, check your valve for dirt or damage, and remove the valve cap.
Confirming compatibility saves you time and frustration, letting you inflate your tires smoothly.
Always prepare your pump and tools for the valve type you have.
Essential Inflation Tools
Once you’ve confirmed your valve type, choosing the right pump becomes much easier. You’ll want a pump compatible with either Presta or Schrader valves to avoid frustration.
Next, gather all essential tools to make inflation quick and smooth. Here’s what you’ll need:
- A floor or mini pump suited for your valve
- A pressure gauge for accurate inflation
- Tire levers to remove the tire if needed
- A patch kit for quick fixes
- A valve adapter if your pump doesn’t fit your valve type
Preparing these tools beforehand guarantees you won’t get stuck midway. Keep everything in your repair kit or bike bag so you’re always ready to inflate your tires properly, whether at home or on the road.
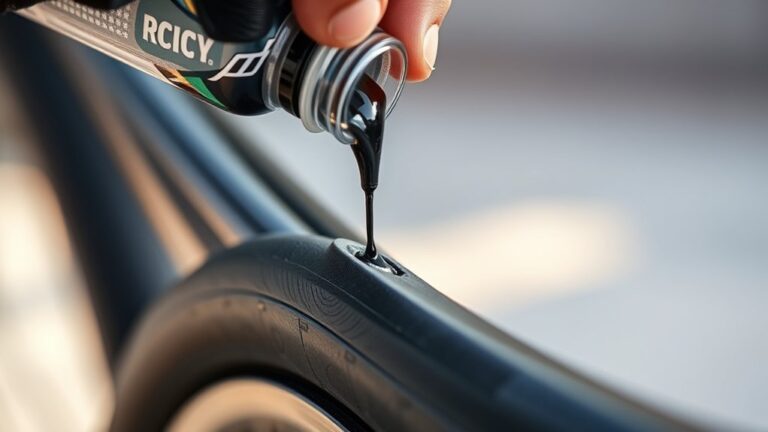
Remove the Valve Cap and Inspect the Valve
Start by unscrewing the valve cap from your road bike tire’s valve stem. Keep the cap in a safe spot so you don’t lose it. Once removed, look closely at the valve for any dirt, debris, or damage that might affect inflation.
If you see grime, gently wipe it off with a clean cloth. Check the tip of the valve to make sure it’s not bent or broken, since that can cause air leaks. If there are cracks or tears, you might need to replace the valve or the tube.
Proper inspection ensures a secure seal when you attach the pump, helping prevent air from escaping. This simple step helps keep your tire pressure up and extends the life of your tire.
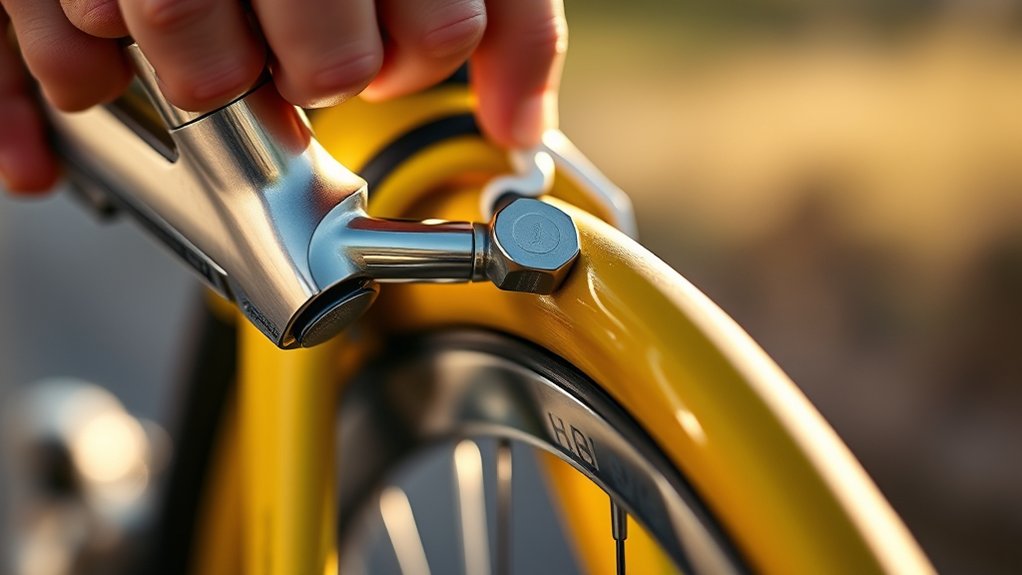
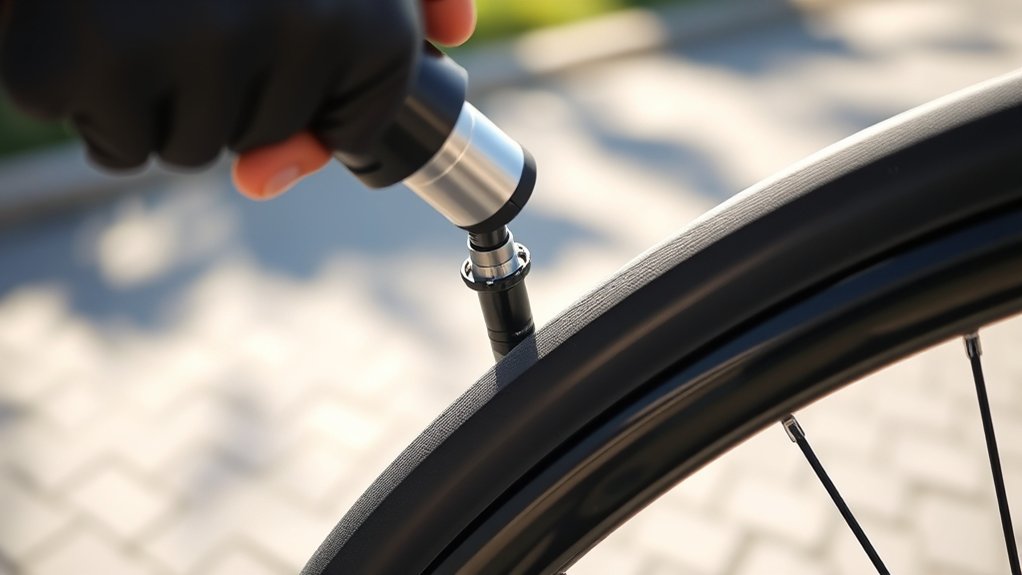
Connect Your Pump Securely to the Valve
First, figure out whether your valve is Presta or Schrader, since this changes how you connect the pump.
Then, make sure the pump head fits tightly onto the valve so you don’t lose any air.
A good seal is key to inflating your tire efficiently without any pressure leaks.
Identify Valve Type
How do you know if your pump will fit your bike’s valve? First, you need to identify the valve type on your road bike tire. Most pumps have heads designed for specific valves, so recognizing yours guarantees a proper connection.
Here are the common valve types you might encounter:
- Presta Valve: Slim with a small locknut at the top. It’s commonly found on road bikes.
- Schrader Valve: Wider, similar to car tire valves. Often seen on hybrids and some road bikes.
- Dunlop Valve: Less common. Looks like a Schrader but uses a different internal mechanism.
- Convertible Valve: Can switch between Presta and Schrader fittings.
- Tubeless Valve: Used with tubeless tires. Resembles Presta but is designed for airtight seals.
Knowing your valve type helps you select the right pump head for easy inflation.
Ensure Tight Seal
Once you’ve identified the valve type, make sure your pump head connects firmly to prevent air leaks. If you have a Presta valve, unscrew the small locknut at the top before attaching the pump. For Schrader valves, just press the pump head down over the valve stem.
Push or twist the pump head as needed to confirm it locks in place securely. A loose connection lets air escape, making inflation less efficient. Check for hissing sounds—if you hear any, adjust the pump head until the seal is tight.
Use the pump’s locking lever if it has one, flipping it up to secure the connection. Taking this extra step guarantees that air flows directly into your tire without leaking, making pumping faster and easier.
Inflate Your Road Bike Tires to the Correct Pressure
Although it might seem simple, inflating your road bike tires to the right pressure is key for a smooth ride and avoiding flats. Both under- and over-inflating can hurt your performance and safety.
Check your tire sidewall for the recommended pressure range. Use a pump designed for road bike valves, whether Presta or Schrader.
Always check your tire sidewall for pressure and use the correct pump for your valve type.
Inflate slowly and feel the tire’s firmness as you go. Stop once you reach the lower end of the range for comfort or the higher end for speed.
Don’t guess—keeping your pressure consistent helps with handling and makes your tires last longer.
Measure Tire Pressure With a Gauge and Check for Leaks
Before you hit the road, use a tire pressure gauge to check if your tires are properly inflated to the recommended level. Attach the gauge firmly to the valve stem and read the pressure.
If it’s below the recommended psi, add air gradually and check again. After inflating, listen closely and feel around the tire for any hissing sounds or bubbles that might mean leaks.
You can also apply soapy water to the tire surface and watch for bubbles forming. Catching leaks early helps prevent flats and ensures a smooth ride.
| Step | Action | What to Look For |
|---|---|---|
| Attach gauge | Firmly press onto valve | Steady pressure reading |
| Inflate | Add air slowly | Reaching the recommended psi |
| Check leaks | Listen and inspect surface | Hissing or bubbles form |
Replace the Valve Cap and Inspect the Tire One Last Time
After you’ve finished inflating your tire and confirmed there are no leaks, screw the valve cap back onto the valve stem to protect it from dirt and damage. This small step helps keep the valve clean and prevents accidental air loss.
Next, give your tire one last inspection to make sure everything’s in good shape before you ride. Check for proper tire pressure according to the manufacturer specs, any cuts, cracks, or embedded debris in the tire surface, and even tire bead seating along the rim.
Also, look for any bulges or deformities in the tire and make sure the valve stem is straight and firmly attached.
Taking these quick steps will help maintain your tire’s performance and safety on the road. Now you’re all set to enjoy a smooth, worry-free ride!
Frequently Asked Questions
How Often Should I Inflate My Road Bike Tires?
You should inflate your road bike tires before every ride or at least once a week if you’re not riding daily. Tires naturally lose pressure over time, so checking regularly helps keep your ride smooth.
This also prevents flats and makes sure you’re riding safely. Use a pressure gauge to keep them within the recommended PSI range printed on the tire sidewall.
Staying consistent with inflation means you’ll ride faster, smoother, and safer every time you hit the road.
Can I Use a Regular Air Compressor to Inflate Bike Tires?
Can you use a regular air compressor to inflate bike tires? Yes, you can, but you need to be cautious. Regular air compressors often deliver air too quickly and at too high pressure, which might damage your tires or tubes.
To avoid this, use a pressure regulator or a compressor with a built-in gauge. Always check your tire’s recommended pressure and inflate slowly to prevent any mishaps.
What Are the Signs of a Tire Needing Replacement?
You’ll know it’s time to replace your tire when you see deep cracks, visible cords, or significant tread wear.
If your tire keeps losing air or feels flat even after pumping, that’s a sign too.
Bulges or deformities in the tire’s shape mean it’s compromised and unsafe.
Also, if you notice frequent punctures or the rubber feels hard and brittle, don’t wait—replace it for a safer ride.
How Do Temperature Changes Affect Tire Pressure?
Temperature twists tire tension terribly. As temperatures drop, your tire pressure decreases because the air inside contracts. When it warms up, the pressure rises as air expands.
You’ve got to check and adjust your tire pressure regularly, especially with fluctuating weather. If you don’t, you risk underinflated tires that slow you down or overinflated ones that might burst.
Stay savvy and keep your ride rolling right by managing pressure properly.
Is It Safe to Overinflate Road Bike Tires?
No, it’s not safe to overinflate your road bike tires. When you pump them beyond the recommended pressure, you risk bursting the tire or damaging the rim.
Overinflated tires also reduce traction and make your ride uncomfortable. You should always stick to the pressure range marked on the tire sidewall and use a reliable gauge.
That way, you get peak performance and safety without risking tire failure.
Conclusion
Just like a well-tuned engine powers a race car, properly inflated tires keep your road bike riding smoothly and safely.
By following these simple steps, you’re giving your bike the care it deserves, making every ride feel effortless and fast.
So, pump up those tires with confidence and hit the road ready to conquer any challenge.
Because a little attention now means many miles of freedom and fun ahead—especially when you know how to inflate your road bike tires correctly.