How to Remove an Electric Bike Rear Wheel in 7 Easy Steps
Are you tired of struggling every time you need to remove your electric bike’s rear wheel? You’re not alone—many e-bike owners find this task tricky at first. But with a little guidance, it becomes a straightforward process.
To remove your electric bike’s rear wheel, first gather your tools and prepare a clean workspace. Turn off the bike and disconnect the battery to prevent electrical issues.
Loosen the quick-release skewer or axle nuts, then carefully lift the bike and slide the wheel out, avoiding damage to the brake rotor or derailleur.
After inspecting and servicing, reinstall the wheel ensuring everything’s secure. Finally, perform safety checks to make sure everything is in place. Continue with the process to learn more about a smooth, safe removal.
Key Takeaways
- Power off the bike and disconnect the battery to keep things safe before you start.
- Loosen the quick-release lever or the axle nuts that hold the rear wheel in place.
- Shift the derailleur to the smallest gear. This makes it easier to take the wheel out.
- Lift the bike and carefully slide the rear wheel backward. Be careful not to damage the brake rotor.
- Before putting everything back together, check and clean the electrical connections.
- Make sure everything is aligned properly and securely fastened before riding again.
Gather Tools and Prepare Your Electric Bike
Before removing the rear wheel, gather the right tools and prepare your electric bike. Start by collecting a set of Allen wrenches, a socket wrench, and a tire lever.
Check if your bike has quick-release levers or bolts so you know what to loosen. Make sure your work area is clean and well-lit to avoid losing small parts.
Use the kickstand if your bike has one to stabilize it. Remove any accessories or panniers from the rear to prevent damage. If your bike has a chain guard or mudguard, loosen or remove them if needed.
Having everything ready beforehand makes the process smoother and reduces the risk of damaging components while working.
Turn Off the Bike and Disconnect the Battery
To safely remove the rear wheel, start by turning off the bike completely. Make sure the power switch is off to prevent any accidental activation.
Turn off the bike completely to prevent accidental activation before removing the rear wheel.
If your bike has a removable battery, disconnect it next. Usually, you’ll need to open or unlatch the battery compartment, then carefully take out the battery.
This step is important to avoid electrical hazards and protect the bike’s electronics. If your e-bike has a built-in battery, turn off the main power switch on the frame or display panel.
Make sure the bike is fully powered down before moving on. Taking these precautions keeps you safe and helps prevent damage to your bike’s electrical parts during removal.
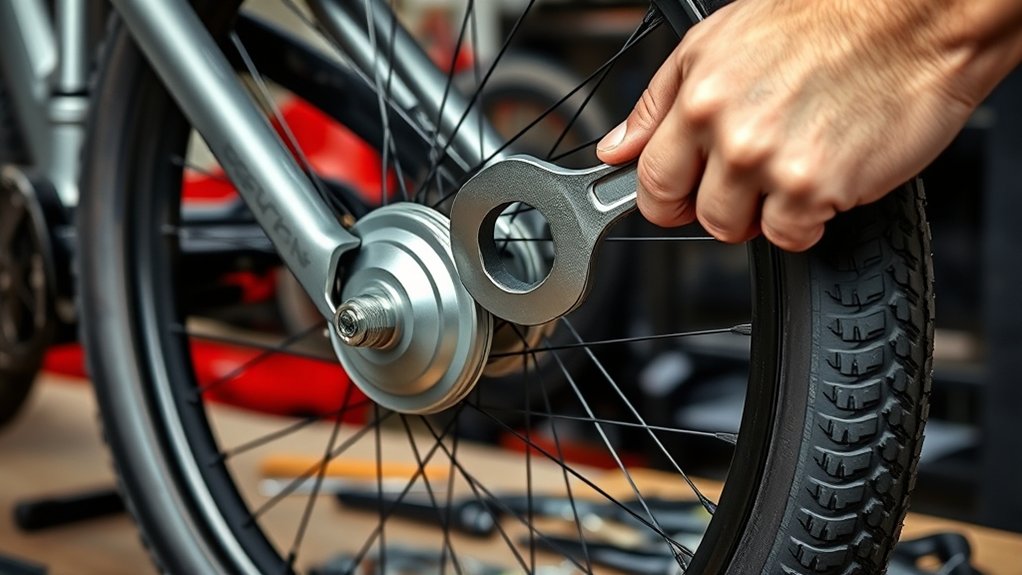
Loosen the Axle or Quick-Release Skewer
First, find the axle or quick-release skewer on your rear wheel. Then, loosen the quick-release lever or nut, making sure not to strip it.
Use the proper tool if needed to ensure it’s loosened enough for removal.
Locate Axle or Skewer
Locating the axle or quick-release skewer is your first step in removing the rear wheel. Start by checking the center of the wheel where it connects to the bike frame.
The axle runs through the hub and holds the wheel in place, while the quick-release skewer is a lever-operated rod that secures the wheel without tools. Look for a metal rod or lever on the left side of the bike.
If it’s a quick-release, you’ll see a small lever that’s either open or closed. The axle might be threaded or solid, depending on your bike model. Confirm its position by gently inspecting where the wheel connects to the frame.
Once you’ve identified the axle or skewer, you’re ready to loosen the securing mechanism and continue with removal.
Loosen Quick-Release Lever
Once you’ve found the quick-release lever or axle, it’s time to loosen the securing mechanism. Start by flipping open the lever, which is usually on one side of the wheel.
If your bike uses a skewer instead of a lever, turn the nut or bolt counterclockwise. Apply steady pressure to loosen it, but don’t take it all the way out yet.
The goal is to create enough slack so you can release the wheel from the fork or frame. Keep the lever open and the nut loose as you prepare to lift the wheel out.
If you feel resistance, double-check that the lever is fully open and the nut is sufficiently loosened. This step ensures the wheel can be removed easily without damaging your bike or the wheel.
Use Proper Tool for Tightness
After loosening the quick-release lever or skewer nut, make sure it’s fully loosened to prevent damage and make removal easier. Using the right tools helps you avoid stripping components or applying uneven pressure.
Use a compatible wrench or Allen key that fits snugly, so you don’t slip and damage the axle or skewer. Tighten or loosen slowly to keep control and prevent over-torquing.
Proper tool use also helps prevent unnecessary wear and tear on your bike parts, saving you money and time in the long run.
Make sure to use the correct-sized wrench or Allen key, not makeshift tools. Apply steady, even pressure without forcing it.
Double-check that the skewer or axle is fully loosened before you attempt removal.
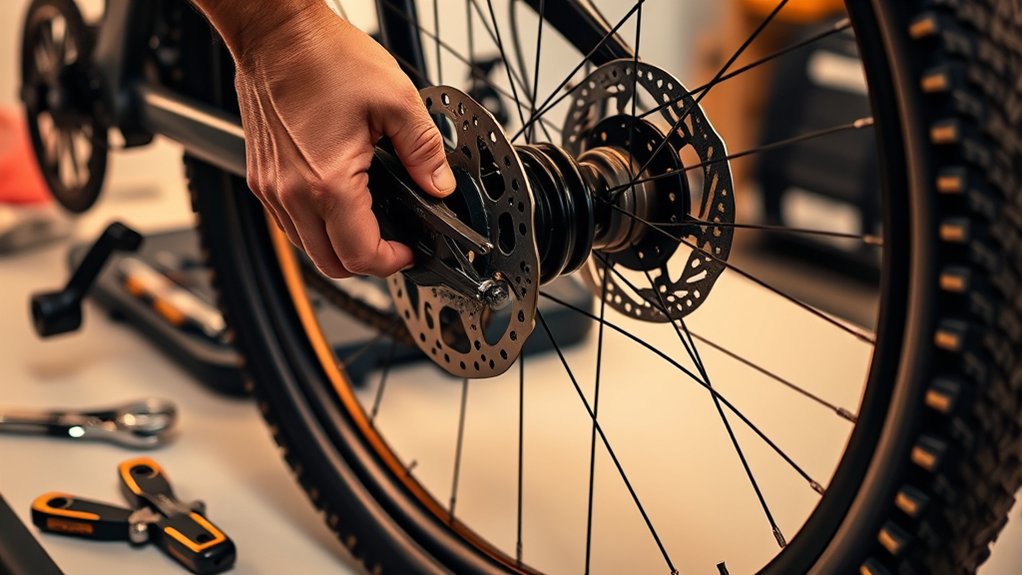
Carefully Detach the Rear Wheel From the Frame
Have you secured the bike on a stable surface before starting? Once it’s steady, loosen the axle nuts or quick-release lever if you haven’t already.
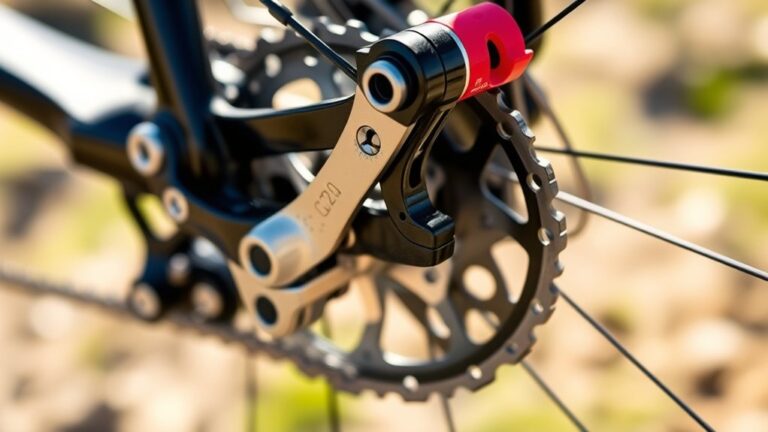
Carefully lift the rear of the bike to relieve tension on the chain and derailleur. Gently slide the rear wheel backward, making sure not to damage the brake rotor or disc.
If your bike has a derailleur, shift to the smallest gear to give the wheel more room to come out. Hold the frame steady as you pull the wheel free.
Be careful not to force it or bend any components. Take your time to avoid scratching the frame or damaging delicate parts.
With patience, you’ll detach the wheel smoothly and be ready for the next step.
Inspect and Service the Wheel and Hub Components
With the wheel removed, take a close look at the hub and surrounding components. Check for any visible damage, rust, or dirt that could affect performance. Spin the hub to see if it rotates smoothly or if you notice any grinding or wobbling, which signals issues needing attention.
Inspect the axle for bends or cracks, especially if the bike took a hit. Look at the bearings and seals; if they’re dirty or worn, they might need replacing. Also, examine the electrical connections if your rear wheel has a motor or sensor.
Clean dirt and debris from the hub and axle. Lubricate bearings if they’re in good condition. Replace damaged or worn-out seals and connectors.
Reinstall the Rear Wheel and Perform a Safety Check
Before reinstalling the rear wheel, make sure the axle and hub are properly aligned and securely seated. This helps ensure smooth operation and prevents damage.
Once aligned, tighten the axle nuts or quick-release lever firmly, but be careful not to overtighten, as this could warp parts.
After securing the wheel, do a safety check. Inspect the brakes to make sure they engage properly and verify that the wheel spins freely without rubbing.
Spin the wheel to check for wobble and look for any loose parts or misalignment. Use the checklist below to guide you.
| Step | Action |
|---|---|
| Axle alignment | Confirm hub is centered and straight |
| Nut tightening | Secure nuts evenly and firmly |
| Brake check | Ensure brakes engage properly |
| Wheel spin test | Spin wheel to check for wobble |
| Final inspection | Look for loose parts or misalignment |
Following these steps will make sure your bike is safe and ready to ride.
Test Your E-Bike Before Riding
Testing your e-bike thoroughly before riding is key to making sure everything works properly and safely. Before you head out, do a quick check to see if the rear wheel is installed securely and tightened.
Turn on your e-bike and gently test the motor to see if it responds smoothly. Check that the brakes are working well and listen for any weird noises. Also, make sure your tire pressure is right for your ride and that the chain or belt moves freely.
Take a short ride around your area to get a feel for how the bike handles and to spot any issues early. Keep an eye on the rear wheel, motor response, brakes, tire pressure, and overall stability to stay safe.
Frequently Asked Questions
Can I Remove the Rear Wheel Without Removing the Battery?
Yes, you can remove the rear wheel without taking out the battery, but it depends on your bike’s design.
If your bike’s battery is attached separately or easy to remove, you can leave it in place.
But if the battery is integrated or hard to disconnect, it’s safer to remove it first to avoid damage or accidental disconnection.
Always check your bike’s manual for specific instructions related to your model.
What Tools Are Essential for Removing the Rear Wheel?
You’ll need a few essential tools to remove the rear wheel. First, grab a bike-specific wrench or a socket wrench to loosen the axle nuts or quick-release skewer.
A Phillips or Allen wrench might be necessary for any disc brake caliper bolts. Having a tire lever helps if you need to deflate or remove the tire.
Make sure your tools are compatible with your bike’s components for a smooth process.
How Do I Realign the Rear Wheel After Reinstalling?
To realign the rear wheel after reinstalling, start by making sure the wheel is centered within the frame’s dropouts. Tighten the axle nuts evenly on both sides while keeping everything aligned.
Next, spin the wheel and watch for any wobbling. If you notice any, loosen the nuts slightly and shift the wheel until it looks straight.
If your derailleur isn’t shifting smoothly, use a derailleur hanger alignment tool to straighten it out.
Finally, take the bike for a test ride to make sure everything feels right and the wheel stays aligned.
Is It Necessary to Grease the Axle During Reinstallation?
Think of greasing the axle as giving your bike’s heart a protective oiling before a journey. It’s necessary because it prevents rust, reduces friction, and guarantees smooth rotation.
Applying a thin layer of grease during reinstallation acts like a lubricant’s hold, helping the parts move seamlessly. Skipping this step risks corrosion and uneven wear.
How Often Should I Check the Rear Wheel for Maintenance?
You should check your rear wheel for maintenance every 1 to 3 months, depending on how often you ride and the terrain you ride on. Regular inspections help catch issues like loose spokes, worn tire tread, or brake contact early.
During these checks, also look for dirt and debris, and make sure the axle and quick-release skewer are secure. Regular maintenance keeps your electric bike running smoothly and helps it last longer.
Conclusion
Remember, fixing your electric bike yourself can save you money and build your confidence.
As the saying goes, “A stitch in time saves nine.” By following these simple steps to remove your electric bike’s rear wheel, you’re preventing bigger issues later on.
Take your time, stay patient, and trust your skills. With a little effort, you’ll be back on the road feeling proud and ready for new adventures.
Happy riding!