How to Install a Rear Derailleur on a Mountain Bike in 8 Easy Steps
Installing a rear derailleur on your mountain bike might seem tricky at first, especially if you’re new to bike maintenance. Many riders struggle with getting smooth shifting and proper alignment, which can really put a damper on your ride.
But don’t worry—you’re not alone, and with a little guidance, you can handle this on your own.
To install a rear derailleur on your mountain bike, start by gathering the right tools and removing the old derailleur if needed. Then, clean your drivetrain and prepare it for the new part.
Install the derailleur, making certain it’s aligned and the hanger is straight. Adjust the limit screws and cable tension for smooth shifting.
Fine-tune your indexing and perform a test ride to guarantee it works perfectly. Keep going, and you’ll master all the key steps for a smooth setup.
Key Takeaways
- Gather all necessary tools, components, and clean the bike before starting the installation process.
- Remove the old derailleur by shifting to the smallest sprocket. Loosen its mounting bolt and take it off.
- Install the new derailleur, making sure it’s aligned parallel to the cassette. Check that the hanger is straight.
- Adjust the limit screws and cable tension for smooth shifting and accurate operation.
- Take the bike for a test ride to make sure everything is aligned properly. Verify the shifting performance.
- Make sure the chain doesn’t drop or get stuck. Fine-tune as needed for a smooth ride.
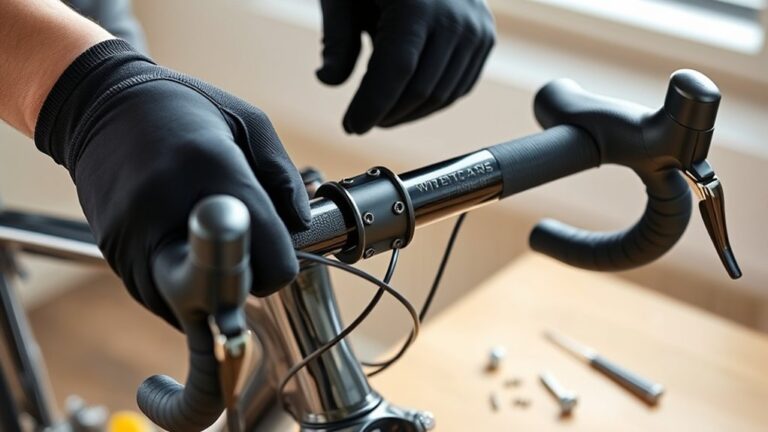
Gather the Right Tools and Parts for Rear Derailleur Installation
Before you start installing the rear derailleur, make sure you have all the tools and parts you need. You’ll want a new derailleur that’s compatible with your bike, plus a chain tool, and a set of Phillips or Allen wrenches.
A bike stand can make the job easier, but it’s not a must-have. Grab a cable cutter if you plan to replace the shift cable and housing, and keep a clean rag handy for wiping down components.
Don’t forget some bike grease to lubricate the derailleur’s pivot points. Check your derailleur’s specs to confirm it fits your bike’s gear range.
Having everything ready beforehand helps save time and avoids interruptions. Double-check you have the right tools for your specific components, making the installation smoother and more efficient.
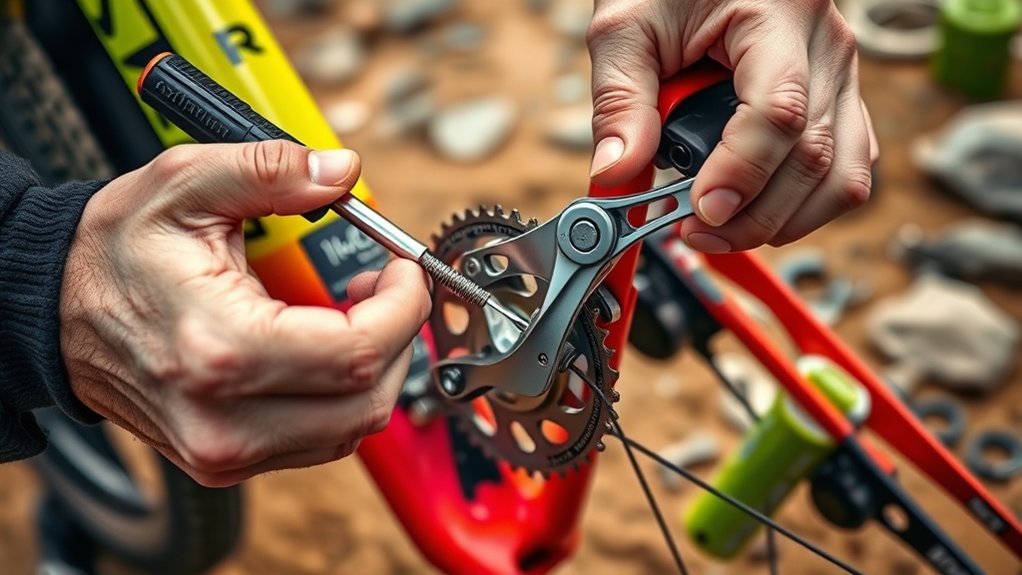
Remove Your Old or Damaged Rear Derailleur
Start by shifting your chain onto the smallest sprocket to loosen tension and make removal easier. Next, find the derailleur’s mounting bolt and use an Allen wrench or socket wrench to loosen and remove it.
Once the bolt is out, slide the derailleur off the hanger. If your derailleur is held with a bolt or pin, carefully detach it without forcing it.
Carefully detach the derailleur without forcing it if held with a bolt or pin.
Check for any debris or damage on the hanger and clean it if needed. If the derailleur is broken or damaged, remove it completely from the bike.
Keep all removed parts organized, especially mounting bolts, to make installing the new derailleur smooth. Removing the old derailleur properly prevents damage and makes installation easier.
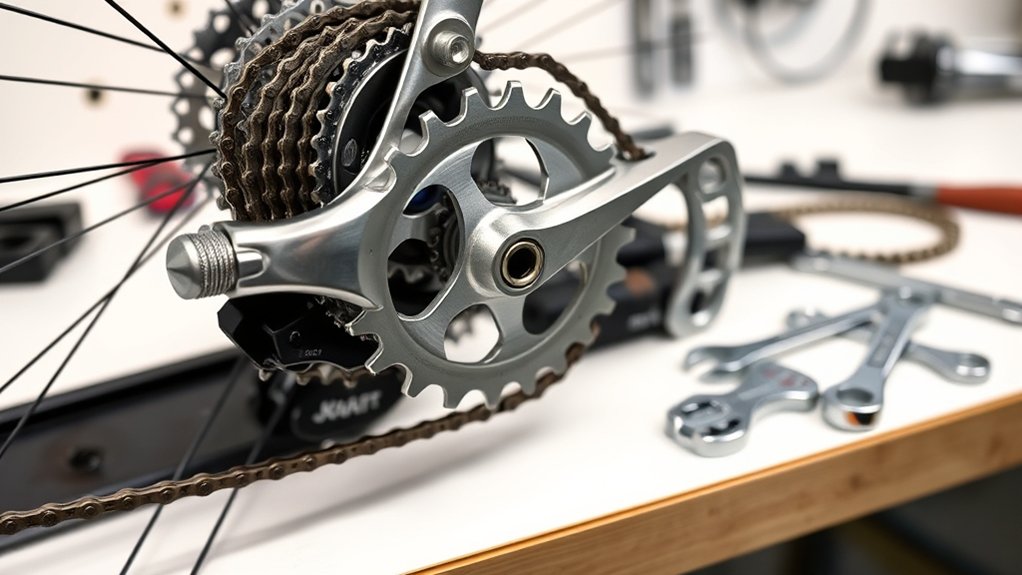
Prepare Your Bike’s Drivetrain for Installation
Before installing the new derailleur, you’ll want to prepare your drivetrain. Start by giving all the components a good cleaning to get rid of dirt and grime. This will help everything operate smoothly.
Next, check the cassette, chain, and derailleur hanger for any signs of wear or damage. If anything looks worn out, it’s best to replace those parts before moving forward.
Clean the Drivetrain Components
To make sure your new rear derailleur works smoothly, it’s really important to clean the drivetrain components thoroughly. Start by shifting to the smallest chainring and rear sprocket to loosen the chain.
Use a degreaser or a dedicated chain cleaner to remove dirt, grime, and old lubricant from the chain, cassette, and chainrings. Scrub each part with a brush or rag, paying close attention to the teeth and links.
Rinse everything with water and dry it thoroughly to prevent rust. A clean drivetrain reduces friction and helps ensure smooth shifting.
Once everything is dry, apply a light coat of lubricant to the chain, then wipe off any excess. Proper cleaning creates a solid foundation for installing the derailleur and helps you ride at peak performance.
Check for Wear and Damage
After cleaning your drivetrain, check each component for signs of wear or damage. Look at the chain for stretched links, rust, or bent plates. If it seems worn or damaged, replace it before installing the new derailleur.
Next, examine the cassette cogs for chipped or worn teeth, which can cause poor shifting. Make sure the derailleur hanger is straight and free of bends or cracks.
Inspect the derailleur itself for bent or broken jockey wheels and any damage to the cage. If you notice cracks, rust, or excessive wear, replace the affected parts.
Ensuring all components are in good shape helps your new derailleur work smoothly and keeps your drivetrain lasting longer. Don’t skip this step; it’s essential for reliable shifting.
Install the New Rear Derailleur Correctly
To install the new rear derailleur correctly, start by aligning it properly with the cassette using the right technique. Then, adjust the cable tension so shifting is smooth across all gears.
Taking these steps guarantees your derailleur functions perfectly and shifts reliably.
Proper Alignment Technique
Ensuring proper alignment of the new rear derailleur is key for smooth shifting and good bike performance. Start by positioning the derailleur so the cage is parallel to the rear cassette.
Gently adjust the derailleur hanger with your hands if needed, making sure it’s straight. Then, line up the derailleur’s guide and tension pulleys directly with the sprockets.
Check that the derailleur hanger isn’t bent, because a crooked hanger can cause misalignment. Tighten the mounting bolt securely, but avoid overtightening to prevent damage.
Once everything looks good, shift through the gears manually to make sure the derailleur moves smoothly and stays aligned with the sprockets. Proper alignment helps reduce shifting issues and extends your drivetrain’s lifespan.
Correct Cable Tension
Proper cable tension is essential for smooth shifting and ideal bike performance once your derailleur is aligned. If the tension is too tight, the chain won’t shift to larger sprockets smoothly. If it’s too loose, it’ll hesitate to shift to smaller ones.
To set the correct tension, start by pulling the derailleur cable firmly but gently. Then tighten the cable bolt securely. Use the barrel adjuster to fine-tune tension—turn it clockwise to increase tension or counterclockwise to decrease.
Test the shifting across all gears, making sure each shift is crisp and precise. Remember, small adjustments make a big difference. Proper tension not only improves shifting but also extends your drivetrain’s lifespan by reducing unnecessary strain.
Adjust Limit Screws and Cable Tension for Smooth Shifting
Start by adjusting the limit screws to set the derailleur’s range of motion. Turn the high-limit screw (usually marked H) so the derailleur’s top pulley lines up just outside the largest sprocket.
Next, turn the low-limit screw (L) so the pulley lines up with the smallest sprocket. This keeps the chain from falling off either end.
Once the limits are set, shift to the smallest sprocket and check the cable tension. If shifting isn’t smooth, slightly loosen or tighten the barrel adjuster to fine-tune it.
The goal is to have crisp, accurate shifts without the chain skipping or dropping off. Always make small adjustments and test each change before moving on to the next step.
Fine-Tune Indexing and Test Your Shifting
To fine-tune your derailleur’s indexing, shift through all the gears and watch how smoothly the chain moves from one sprocket to the next. If you notice hesitations or the chain jumps, you’ll need to make adjustments.
Use the barrel adjuster on your shifter or derailleur to tighten or loosen the cable tension a little at a time. Turn it clockwise to shift to higher gears and counterclockwise for lower gears.
Turn the barrel adjuster clockwise for higher gears, counterclockwise for lower, to fine-tune your derailleur’s tension.
Test the shifting again after each adjustment, making sure the chain moves smoothly without hesitation or overshoot. Aim for precise alignment across all gears.
Once you’re happy with the shifting, take your bike for a test ride. This helps confirm the derailleur responds well under real riding conditions.
Proper indexing ensures smooth, reliable gear changes and a more comfortable ride.
Maintain Your Rear Derailleur to Prevent Future Problems
Regularly maintaining your rear derailleur is key to keeping it working smoothly and avoiding costly repairs later on. Start by cleaning it with a degreaser to get rid of dirt and grime that can cause wear.
After cleaning, check the derailleur for any damage or bent parts, and replace worn components as needed. Keep the pivot points lubricated with bike-specific oil to ensure smooth movement.
Make sure to check the cable tension regularly and adjust it to prevent sluggish shifting or chain skipping. Tighten any loose mounting bolts and confirm that the derailleur hanger is straight.
Proper alignment and regular cleaning help reduce the risk of chain derailments and excessive drivetrain wear. Staying on top of maintenance will keep your bike shifting smoothly and extend the life of your rear derailleur.
Final Checks and Test Ride
Before taking your bike out for a ride, it’s important to do some final checks to make sure everything is properly assembled and working.
Start by inspecting the derailleur’s alignment and making sure the derailleur hanger is straight. Shift through all gears to see if the changes are smooth and check for any chain skipping or noise.
Adjust the limit screws if needed to stop the chain from dropping off the cassette. Also, confirm that the derailleur’s tension is correct—if it feels too loose or tight, tweak the barrel adjuster.
Spin the pedals and shift through all gears again to test for smooth, responsive changes. Once everything looks and feels good, take your bike for a test ride to make sure the derailleur performs well under real riding conditions.
Frequently Asked Questions
Can I Install a Rear Derailleur Without Professional Help?
Yes, you can install a rear derailleur yourself if you’re comfortable with bike maintenance. Just gather the right tools, follow clear instructions, and take your time.
Make sure to properly align the derailleur, attach it securely, and adjust the tension for smooth shifting. While it’s doable for many, if you run into difficulties or feel unsure, it’s best to seek professional help.
That way, you can be confident your bike will function safely and efficiently.
What Are Common Signs of a Damaged Derailleur?
You’ll notice your derailleur is damaged if your bike shifts gears poorly or skips gears unexpectedly.
If you hear grinding noises or see the derailleur hanging at an odd angle, it’s probably damaged.
Also, if the derailleur doesn’t move smoothly when you pedal or if the chain drops often, these are signs it needs a check-up.
Regular inspections help catch issues early, so your ride stays smooth and you avoid more damage.
How Often Should I Replace My Rear Derailleur?
You should replace your rear derailleur every 2,000 to 3,000 miles, since most derailleurs last around 2,500 miles.
If you notice slipping, mis-shifting, or strange noises, it’s a sign you might need to replace it sooner.
Regular maintenance can help it last longer, but eventually, wear and tear from riding will mean it’s time for an upgrade to keep your bike shifting smoothly.
Will a Different Brand Derailleur Fit My Bike?
Yes, a different brand derailleur can fit your bike, but you need to check compatibility first.
Look at your bike’s specifications, like the hanger type, gear range, and mounting style. Some brands make derailleurs that work across multiple systems, but others are brand-specific.
To avoid problems, do some research on your bike’s model and check your bike’s manual. You can also ask a bike shop to make sure it’s a proper fit.
How Do I Troubleshoot Shifting Issues After Installation?
Think of your bike’s shifting like tuning a musical instrument—you need the right tension and alignment.
To troubleshoot, start by checking the derailleur hanger for bends, then adjust the cable tension using the barrel adjuster.
Make sure the derailleur is properly aligned and that the limit screws aren’t restricting its movement.
Take a test ride and fine-tune the indexing until your shifts are smooth.
Small tweaks can make your gear changes as seamless as a well-played melody.
Conclusion
Now that you’ve got your new rear derailleur installed and fine-tuned, your mountain bike is ready to conquer any trail.
But the real adventure begins when you hit the dirt, shifting smoothly through every gear. Will your setup hold up under the pressure?
Only one way to find out — take that test ride, push your limits, and see if everything performs perfectly.
The trail awaits, and your next ride could be your best yet. With your rear derailleur properly installed, you’ll enjoy seamless gear changes and better control on every climb and descent.