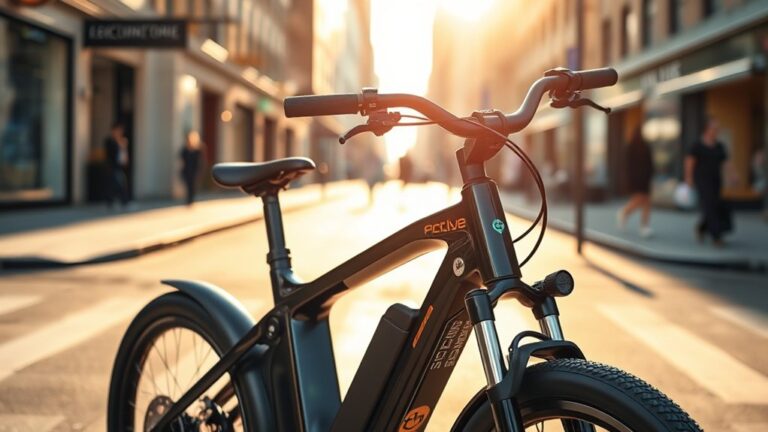
How to Replace Mountain Bike Pedals in 7 Easy Steps
Are you tired of squeaky, loose, or stubborn mountain bike pedals ruining your ride? You’re not alone—many cyclists struggle with replacing pedals, especially if they’re stuck or unfamiliar with the process.
But don’t worry, swapping out your pedals can be quick and easy once you know how.
To replace your mountain bike pedals, first gather a pedal wrench, lubricant, and safety gear, then secure your bike on a stand or padded upside down.
Identify the right and left pedals by their thread directions, loosen and remove the old pedals—using penetrating oil if stuck.
Clean and inspect the crank arms before greasing and installing new pedals correctly with proper torque.
Test their fit and keep them maintained for smooth rides.
Keep going to master every step with confidence.
Key Takeaways
- Secure the bike on a stand or turn it upside down on a padded surface. This will keep everything stable while you’re removing or installing pedals.
- Look for the “R” and “L” markings on each pedal. Remember, the right pedal loosens counterclockwise, and the left pedal loosens clockwise.
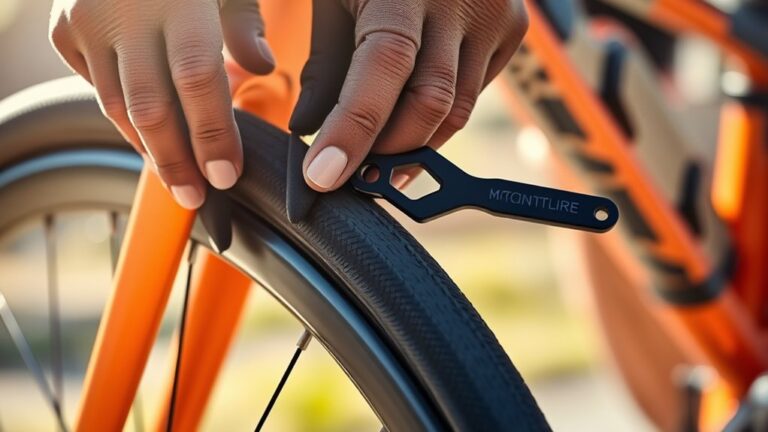
- Grab a pedal wrench or a 15mm wrench. Use it to loosen the old pedals. If they’re stubborn, applying some penetrating oil can help loosen them up.
- Clean the threads on the crank arm thoroughly. Then, apply a little grease before installing the new pedals. Make sure to align them correctly.
- Tighten the new pedals with a torque wrench to the recommended settings. This helps prevent cross-threading or over-tightening.
- Keep your pedals in good shape by checking their tightness regularly. Clean them, lubricate the threads, and store your bike in a dry place to avoid rust.
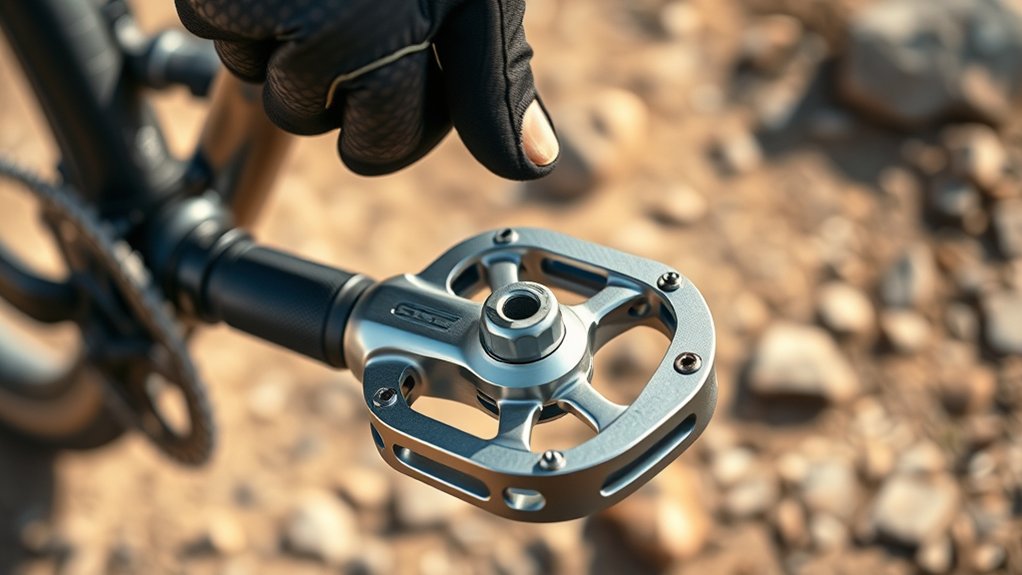
Pick the Right Tools and Pedals for Your Mountain Bike
Start by gathering the right tools and choosing pedals that fit your riding style and bike. You’ll need a pedal wrench or a 15mm open-end wrench, and sometimes a hex key, depending on your pedal type. Confirm the tools are the correct size to avoid stripping bolts.
When selecting pedals, think about whether you want flat pedals or clipless ones. Flat pedals are great for casual rides and technical trails, offering more foot freedom. Clipless pedals give you a secure connection, which improves pedaling efficiency, especially on longer rides.
Also, check the pedal axle size. Most mountain bikes use 9/16-inch threads, but some older or kids’ bikes might be different. Picking compatible pedals and tools upfront saves you frustration and makes the replacement process smooth.
Prepare Your Bike and Remove Old Pedals Safely
Before you start, make sure your bike is securely positioned so it doesn’t move around.
Take a moment to identify the pedal threads—remember, the left and right pedals loosen in opposite directions.
This will help you remove the old pedals without damaging the crank arms.
Secure Bike Properly
Although removing pedals might seem straightforward, securing your bike properly guarantees both safety and ease throughout the process.
Start by placing your bike on a stable surface or using a bike stand to keep it steady.
If you don’t have a stand, flip the bike upside down, resting it on the seat and handlebars, but protect these areas with padding to avoid scratches.
Make certain the bike won’t shift or tip as you work. Stabilizing your bike prevents accidents and gives you a better advantage when loosening pedals.
Before you begin, double-check the bike’s position and verify the drivetrain side is accessible.
Taking these simple steps will make removing old pedals safer and more efficient, setting you up for a smooth replacement.
Identify Pedal Threads
Two key facts about pedal threads will help you remove your mountain bike pedals safely: the right pedal tightens clockwise, while the left pedal tightens counterclockwise.
This means the right pedal loosens counterclockwise, and the left pedal loosens clockwise.
Before you start, check the pedals closely. You’ll usually find an “R” or “L” stamped near the spindle or on the pedal body, indicating which side it belongs to.
If you don’t see markings, remember the rule of thumb: the drive-side pedal (right) tightens clockwise, and the non-drive side (left) tightens counterclockwise.
Understanding this prevents you from stripping the threads or damaging your crank arms.
Once you identify the pedal sides and thread directions, you’re ready to safely remove the pedals without risking damage.
Remove Stubborn Pedals Without Damage
If your pedals won’t budge, try applying some extra force or using penetrating oil to loosen them up.
Always protect your crank arms with a cloth or tape to avoid scratching them while you’re working.
Taking these steps can help you remove stubborn pedals without causing any damage.
Loosening Techniques For Stuck Pedals
Stubborn pedals can test your patience, but you can loosen them without causing damage by using the right techniques. First, apply penetrating oil where the pedal threads meet the crank arm, and let it sit for 10-15 minutes. This helps break down rust or grime.
Next, position your wrench correctly. Remember, the right pedal loosens counterclockwise, and the left pedal loosens clockwise. Use a long-handled pedal wrench or a sturdy adjustable wrench for better leverage.
If it’s still stuck, try tapping the wrench gently with a rubber mallet to provide extra force without harming your bike. Avoid using excessive force that could strip threads or damage the crank.
With patience and these steps, you’ll loosen stuck pedals safely and be ready for replacement.
Protecting Crank Arms
While removing pedals, you need to protect your crank arms from scratches and damage. Start by wrapping the crank arms with a clean rag or painter’s tape around the area where you’ll apply force. This cushion helps prevent metal-on-metal contact if your wrench slips or hits the crank.
Use a pedal wrench or the correct size hex key to avoid applying uneven pressure, which can cause slips or gouges. When loosening stubborn pedals, apply steady, controlled force rather than sudden jerks. This helps maintain control and prevents damage to the crank arm surface.
If the pedal still won’t budge, consider using a penetrating lubricant and let it soak in before trying again. Taking these precautions guarantees your crank arms stay intact for smooth, safe riding.
Clean and Inspect Crank Arms Before Installing Pedals
Start by thoroughly cleaning the crank arms to remove dirt, grease, and old lubricant. Use a rag and degreaser to ensure a clean surface, which helps the pedals thread in smoothly and prevents damage.
After cleaning, inspect the threads for any signs of wear, stripping, or damage. Damaged threads can cause poor pedal attachment or even crank arm failure. Also, check the crank arms for cracks or bends, which can compromise safety.
| Step | What to Check |
|---|---|
| Clean Crank Arms | Remove grease, dirt, lubricant |
| Inspect Threads | Look for wear, stripping |
| Examine Crank Arms | Check for cracks, bends |
Taking these steps guarantees a solid foundation for your new pedals.
Install New Mountain Bike Pedals Correctly
Grab your new pedals and get ready to thread them onto the crank arms. First, find the left and right pedals—they’re usually marked with “L” and “R.” Remember, the right pedal tightens clockwise, while the left pedal tightens counterclockwise to prevent loosening during your ride.
Apply a thin layer of grease to the pedal threads to make future removal easier and to prevent seizing. Start threading each pedal by hand to avoid cross-threading, turning the right pedal clockwise and the left pedal counterclockwise.
Once they’re hand-tightened, use a pedal wrench or a suitable hex key to tighten the pedals securely. Make sure they’re snug but don’t over-tighten, as this can damage the crank arm threads.
With the pedals installed correctly, you’re all set for a safe and smooth ride.
Test Pedal Fit and Smooth Rotation
After securing your new pedals onto the crank arms, you should check that they fit properly and spin smoothly. First, give each pedal a firm spin by hand. They should rotate without resistance or wobbling.
After installing pedals, spin each by hand to ensure smooth, wobble-free rotation.
If you notice any grinding or stiffness, the pedals might not be threaded correctly or could need lubrication. Next, sit on your bike and place your feet on the pedals.
Make sure your feet feel stable and the pedals don’t shift under pressure. If they feel loose or misaligned, tighten them carefully with a wrench.
Proper fit and smooth rotation ensure efficient pedaling and help prevent premature wear. Taking a moment to test this now can save you from issues during your ride.
Maintain Your Mountain Bike Pedals for Longevity
Although replacing your pedals is important, maintaining them regularly will keep them working smoothly and help them last longer. Start by cleaning your pedals after every ride to remove dirt and grime that can cause wear.
Use a brush and mild detergent, then dry them thoroughly. Next, lubricate the pedal bearings with lightweight grease or oil to reduce friction and prevent rust. Check the pedal threads for damage and apply anti-seize compound before reinstalling to make future removal easier.
Inspect the pedal body and replace any worn or damaged parts promptly. Finally, tighten the pedals securely to avoid loosening during rides. By following these simple steps, you’ll keep your mountain bike pedals reliable and extend their lifespan, saving you time and money in the long run.
Frequently Asked Questions
What Type of Pedal Is Best for Downhill Versus Cross-Country Riding?
For downhill riding, flat pedals with a wide platform and aggressive pins are the way to go. They help keep your feet secure during rough descents and give you better control.
They also make it easier to quickly release your foot if needed. For cross-country, clipless pedals are ideal because they provide efficient power transfer and keep your feet locked in during long climbs and sprints.
Pick pedals that match your riding style to get the best performance and comfort on the trail.
How Do Clipless Pedals Improve Mountain Biking Performance?
You might think clipless pedals are complicated, but they actually boost your mountain biking performance by giving you better control and power transfer.
When your shoes lock into the pedals, you can pull up as well as push down, making climbs and technical sections easier.
Plus, they improve stability on rough trails, so you stay more balanced and confident.
Once you get used to clipping in, you’ll ride smoother and faster.
Can I Replace Pedals Without Removing the Bike Chain?
Yes, you can replace pedals without removing the bike chain. The chain isn’t directly involved in removing pedals, so you don’t have to mess with it.
Just flip your bike upside down or use a repair stand, then grab a pedal wrench or Allen key. Loosen and remove the pedals from there.
Keep in mind, the left pedal has a reverse thread. Turn it clockwise to loosen, while the right pedal loosens counterclockwise.
How Often Should Mountain Bike Pedals Be Replaced?
Think of your mountain bike pedals like the shoes on your feet—they wear down over time. You should replace them every 6,000 to 12,000 miles or whenever you notice excessive play, damaged threads, or worn-out grip.
If you feel slipping or hear creaking sounds, it’s a sign they need attention. Regular checks keep your ride smooth and safe, so don’t wait too long before swapping them out.
Are There Pedals Compatible With Both Flat Shoes and Cleats?
Yes, you can find pedals compatible with both flat shoes and cleats, called dual-sided or combo pedals. These pedals have a flat platform on one side for casual riding with sneakers and a clip-in mechanism on the other for cycling shoes with cleats.
They’re perfect if you want versatility without switching pedals. Just make sure to check the pedal’s specifications to confirm compatibility with your specific cleat system and shoe type.
Conclusion
Now that you’ve swapped out your mountain bike pedals, you’re all set to hit the trail with confidence. Think of yourself as a knight ready for action—only with better gear and no heavy armor.
Just remember to keep your pedals clean and check that they fit properly from time to time. This way, you’ll avoid any surprises while riding and keep everything running smoothly.
With these simple steps, you’ve ensured smooth pedaling and longer-lasting mountain bike pedals. So hop on, crank those legs, and enjoy every twist and turn your mountain adventure throws your way!