How to Build a Mountain Bike Track in 7 Easy Steps
Building a mountain bike track can seem overwhelming, especially if you’re new to trail design. Many riders and outdoor enthusiasts want to create their own custom trails but don’t know where to start. If you’re feeling stuck, you’re not alone—designing a safe, fun, and flowing track takes some planning but is definitely doable.
To build a mountain bike track in 7 easy steps, start by choosing a varied, firm location with good drainage.
Then, design your trail for smooth flow, matching skill levels with fun features like berms, jumps, and rollers.
Gather tools and durable materials, clear and shape your trail safely, and construct key features carefully.
Don’t forget regular maintenance and safety measures, including clear signage.
Keep following along to uncover tips that’ll make your track both thrilling and safe for riders.
Key Takeaways
- Select a varied terrain location with firm soil and good accessibility. Make sure to avoid environmentally sensitive areas to protect the local ecosystem.
- Design a trail layout that flows naturally and matches rider skill levels. Incorporate features like berms, rollers, and jumps to make the ride fun and challenging.
- Choose durable materials that are locally sourced whenever possible. Gather all essential tools and safety gear you’ll need for the construction process.
- Build and test the key features, making sure the takeoff and landing are smooth. Check the transitions between features and adjust as needed for safety and rider control.
- Perform regular maintenance to keep the trail in good shape. This includes repairing erosion, trimming vegetation, removing debris, and installing clear safety signage.
Find the Perfect Spot for Your Mountain Bike Track
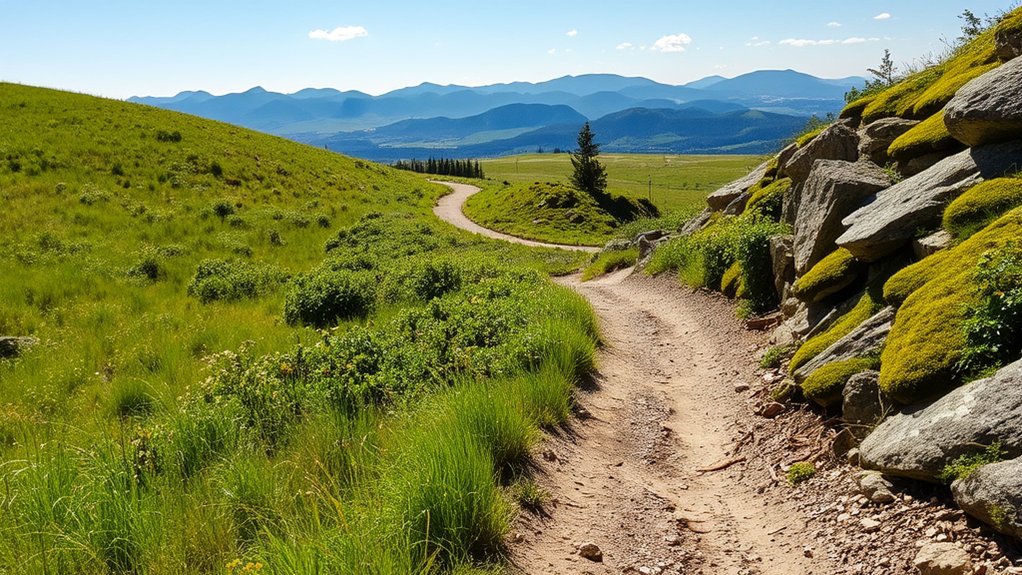
Where should you build your mountain bike track? Start by scouting a location with varied terrain—gentle slopes mixed with some steeper sections create natural challenges. Look for soil that’s firm but not rocky or sandy to guarantee good traction and easier maintenance.
Avoid places prone to flooding or excessive mud, as these can damage your track and frustrate riders. Check accessibility; you want a spot that’s easy to reach but still feels remote enough to enjoy nature.
Also, consider environmental impact—steer clear of protected areas or habitats to preserve wildlife. Finally, make sure you have permission from landowners or local authorities before you begin.
Choosing the right spot sets the foundation for a safe, fun, and sustainable mountain bike track.
Design Your Trail Layout for Smooth Flow and Rider Enjoyment
You’ll want to plan your trail layout to keep riders moving smoothly from start to finish.
Think about the natural terrain and pick flow patterns that match the skill levels of those who’ll use the track.
Balancing challenge and fun ensures everyone enjoys the ride.
Trail Flow Patterns
Although designing a mountain bike track involves many factors, mastering trail flow patterns is key to creating a smooth, enjoyable ride. You want your trail to guide riders naturally from one feature to the next without abrupt stops or confusing turns.
Focus on maintaining a consistent rhythm by alternating between climbs, descents, and technical sections that match your riders’ skill levels. Use gentle curves and banked turns to keep momentum going, avoiding sharp or awkward angles that break the flow.
Think about how each segment connects so riders can anticipate what’s coming and adjust smoothly. By designing flow patterns that feel intuitive, you’ll keep riders engaged and excited.
Terrain Selection Tips
Creating smooth trail flow relies a lot on choosing the right terrain that fits your design goals and rider skills. You want a landscape that naturally supports your trail’s rhythm, avoiding areas that are too steep or flat, which can break momentum.
Look for varied terrain to keep the ride interesting without forcing constant braking or pedaling. This balance makes for a fun and engaging experience.
Use this quick guide to evaluate your terrain options:
| Terrain Type | Best For |
|---|---|
| Rolling Hills | Natural flow, moderate speed |
| Forested Areas | Shade, technical features |
| Open Meadows | Visibility, beginner-friendly |
| Rocky Slopes | Challenge, skill-building |
Rider Skill Considerations
How can you design a mountain bike track that keeps riders engaged and safe? Start by evaluating the skill levels of your target riders. If the trail is too easy, advanced riders will get bored; if it’s too difficult, beginners may feel discouraged or unsafe.
Balance technical features like jumps, berms, and drops with smoother sections to maintain flow. Incorporate gradual progressions so riders can build confidence as they improve.
Use clear signage to warn about challenging sections and offer alternative routes for less experienced riders. Regularly test the trail yourself or with riders of different skill levels to make sure it’s fun and easy to navigate.
Select Materials and Tools for Building Your Mountain Bike Track
Choosing the right materials and tools sets the foundation for a successful mountain bike track. You’ll need durable materials like dirt, gravel, and wood to build features such as berms, jumps, and bridges.
Whenever possible, select natural, locally sourced soil to blend the track with its environment. For tools, gather essentials like shovels, rakes, wheelbarrows, and pickaxes to move and shape terrain efficiently.
A digging bar is helpful for breaking tough ground, while a tamper compacts surfaces for stability. Don’t forget safety gear—gloves, goggles, and sturdy boots—to protect you during construction.
If you’re building wooden features, bring a saw, drill, and screws. Having the right materials and tools ready ensures you work efficiently and create a durable, enjoyable mountain bike track.
Clear and Shape Your Trail Safely and Effectively
With the right materials and tools on hand, you can start clearing and shaping your trail to match your design. Begin by removing debris, rocks, and any vegetation that blocks your path, using hand tools or a chainsaw carefully. Remember to protect surrounding plants and wildlife as you work.
Next, use a shovel or an ATV with a rake attachment to shape the trail surface. Create a slight slope away from the center to ensure proper drainage. This helps keep your trail in good condition over time.
Shape the trail with a shovel or ATV, sloping it slightly for effective drainage and lasting quality.
After shaping, compact the soil with a tamper or roller to prevent erosion and improve durability. Always wear protective gear, work slowly, and avoid steep slopes to keep yourself safe.
Taking your time now will help you build a safe, smooth, and sustainable trail for your mountain biking adventures.
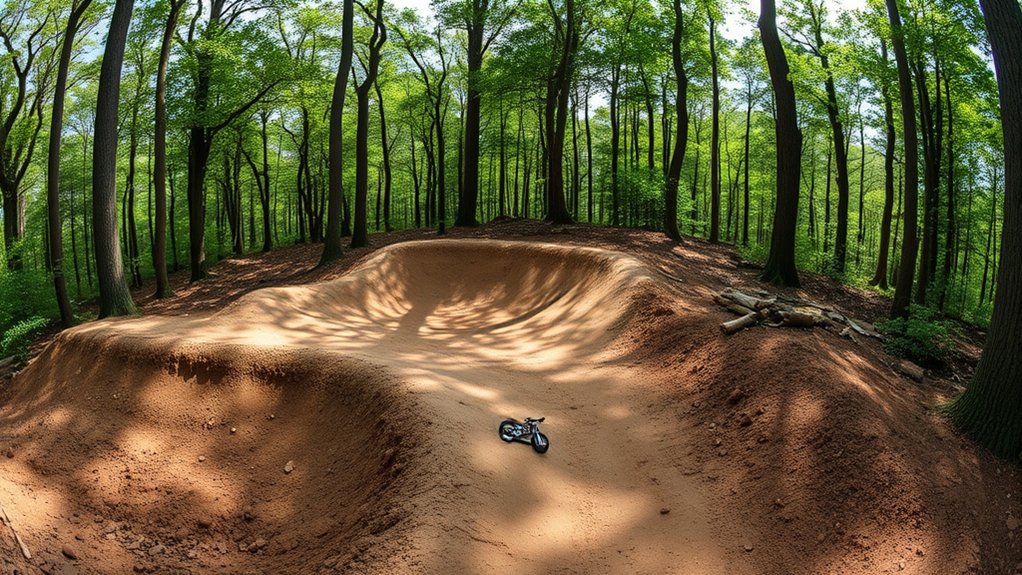
Build Jumps, Berms, and Rollers on Your Mountain Bike Track
Now it’s time to add jumps, berms, and rollers to your track to make it more exciting and challenging.
You’ll want to focus on designing safe jump features, shaping smooth berms for better cornering, and building rollers that flow well with your trail.
Getting these right will improve both your ride and your track’s overall flow.
Designing Safe Jump Features
Creating safe jump features on your mountain bike track takes careful planning and attention to detail. Start by designing jumps that match your skill level and the riders who’ll use the track.
Keep the takeoff and landing areas smooth and angled properly to help riders stay in control. Use gradual slopes instead of steep drops to reduce the risk of crashes.
Make sure the jump’s height and length align with the speed riders will approach it. Clear the landing zone of obstacles and keep it wide enough for safe landings.
Test each jump yourself before opening the track to others, and make adjustments as needed. Prioritize rider safety by building jumps that boost confidence without unnecessary risks.
Building Smooth Berms
Although building smooth berms takes careful shaping and compaction, mastering this skill will really boost your track’s flow and rider enjoyment. Start by choosing a turn where riders naturally need to keep their speed up.
Excavate the inside of the turn a little and pile the soil on the outside to form a banked corner. Use a shovel and rake to shape the berm with a smooth, even slope that matches the turn’s curve.
Make sure to compact the soil well with a tamper or by riding over it repeatedly. This helps prevent erosion and keeps the berm stable.
Finally, add a layer of crushed stone or gravel on top for better traction. Building smooth berms helps riders keep their momentum and confidence, making your track more fun and challenging.
Constructing Effective Rollers
Once you’ve mastered building smooth berms to keep your speed through turns, it’s time to focus on making effective rollers. Rollers are a series of small, rounded mounds that help you maintain momentum and improve rhythm on the track.
Start by shaping each roller with a smooth, gentle incline and a rounded crest. This helps prevent harsh impacts and keeps the ride smoother. Space them evenly so you can pump through without pedaling, keeping your flow consistent.
Use compacted soil or dirt to ensure they’re durable. Avoid loose surfaces that could cause slips or make the rollers less stable. Test each roller by riding over it, then adjust height and spacing as needed to match your skill level.
With well-built rollers, your track becomes more dynamic and fun. They encourage riders to develop better bike handling and maintain a smooth flow.
Maintain Your Mountain Bike Track for Long-Term Fun
To keep your mountain bike track safe and enjoyable, you’ll need to perform regular maintenance. Check for erosion, especially after heavy rain, and fill in any washed-out sections to prevent hazards.
Inspect rollers, berms, and jumps for wear or damage, repairing or reshaping them as needed to keep rides smooth. Trim overgrown vegetation to keep the trail clear and improve visibility.
Remove debris like fallen branches and loose rocks that could cause accidents. Compact loose soil periodically to preserve trail integrity and reduce mud.
Add Safety Features and Install Clear Trail Signage
Because safety is essential, you should add protective features and clear signage to your mountain bike track. Start by installing barriers or padding around sharp turns, steep drops, or hazardous obstacles to reduce injury risks. Use durable materials that can withstand weather and impact.
Next, place clear trail signs at key points—entrances, junctions, and difficult sections—to guide riders and prevent confusion. Include directional arrows, difficulty ratings, and warnings about upcoming features. Make sure signs are visible and easy to read from a distance.
Regularly inspect these safety elements and replace or repair damaged parts promptly. By prioritizing safety features and clear signage, you’ll create a safer, more enjoyable experience that encourages riders to return and respect your track.
Frequently Asked Questions
What Type of Mountain Bike Is Best for Beginner Tracks?
You’ll want a hardtail mountain bike for beginner tracks since it’s lightweight and easier to handle. These bikes have front suspension only, which helps smooth out bumps without making things too complicated.
Look for one with a sturdy frame, reliable brakes, and wide tires for better grip. It’s also good to choose a bike with multiple gears so you can easily adjust to different trail conditions as you build your confidence.
How Do Weather Conditions Affect Trail Building Timelines?
Weather conditions directly impact your trail building timelines. If it’s rainy or the ground’s wet, you’ll need to pause to avoid damaging the soil and causing erosion.
Dry, stable weather lets you work faster and more efficiently. Extreme heat can slow you down too, since you’ll need more breaks.
Can I Build a Mountain Bike Track on Public Land Legally?
You usually can’t build a mountain bike track on public land legally without permission.
You’ll need to check with local government or land management agencies to get the proper permits.
Unauthorized trail building can lead to fines or trail closures.
Instead, reach out to community groups or park officials. They often support trail projects if you follow the rules and help maintain the land responsibly.
Always get approval first to avoid trouble.
What Are the Environmental Impacts of Building a Bike Track?
Building a bike track can cause soil erosion, disturb wildlife habitats, and damage vegetation if you’re not careful. You’ll also increase runoff, which might pollute nearby water sources.
But you can reduce these impacts by choosing sustainable trail designs, avoiding sensitive areas, and using erosion control measures. Planning and maintaining the track responsibly helps protect the environment while you enjoy your ride.
Are There Any Recommended Apps for Designing Mountain Bike Trails?
Of course, you could just sketch your dream trail on a napkin like a true pioneer, but if you want to get serious, try apps like Trailforks and MTB Project. They let you design, map, and share trails with a tap because who doesn’t want the internet’s approval before breaking ground?
With these tools, you’ll save time, avoid environmental disasters, and maybe even impress your riding buddies.
Conclusion
Building your mountain bike track is a rewarding project that combines creativity and outdoor fun. Did you know that mountain biking has grown by over 20% worldwide in the last five years?
With your trail, you’re joining a vibrant community of riders who value well-designed, safe, and enjoyable tracks. Keep your trail maintained, add clear signage, and watch your creation become a favorite spot for adventure and excitement.
Get ready to ride and share the thrill of your very own mountain bike track!