Tighten Mountain Bike Disc Brakes in 7 Easy Steps
Are you tired of struggling with sluggish or squeaky mountain bike disc brakes? You’re not alone—many riders find brake adjustments frustrating, especially when they need a quick fix before hitting the trails.
Luckily, tightening your mountain bike disc brakes is easier than you think.
To tighten your mountain bike disc brakes in 7 simple steps, start by inspecting the pads and rotor for wear or damage.
Loosen the caliper bolts, then realign the caliper with the rotor.
Squeeze the brake lever to center the caliper, and tighten the bolts securely.
Check the lever feel and guarantee the brake responds smoothly.
If you want to master a quick, effective adjustment process, keep following along for more detailed tips.
Key Takeaways
- First, check the brake pads and rotor for any wear or damage. Make sure everything looks good before you start tightening.
- Next, carefully loosen the caliper bolts. Be gentle so you don’t accidentally misalign the caliper.
- Then, align the caliper with the rotor. You want it to sit smoothly and make even contact.
- Squeeze the brake lever to help center the caliper. This also ensures the pads are in the right position.
- Finally, tighten the caliper bolts securely while holding the brake lever. This keeps everything aligned as you secure it in place.
How Do Mountain Bike Disc Brakes Work?
Mountain bike disc brakes work by using hydraulic or mechanical systems to create friction that slows down or stops the wheel. When you squeeze the brake lever, the system activates.
In hydraulic brakes, fluid pressure pushes pistons inside the caliper, pressing brake pads against the rotor. Mechanical brakes use a cable connected to the lever, pulling on a mechanism that pushes the pads inward.
Hydraulic brakes use fluid pressure to push pistons, while mechanical brakes rely on cables to activate the pads.
The friction between the brake pads and the rotor converts the bike’s kinetic energy into heat, slowing your wheel. This design provides strong, reliable stopping power even in wet or muddy conditions.
You can adjust the brake lever for comfort and responsiveness. Understanding this process helps you maintain and troubleshoot your brakes effectively, ensuring safe and efficient stopping whenever you ride.
Signs Your Mountain Bike Disc Brakes Need Tightening
If your disc brakes aren’t responding as quickly or smoothly as they used to, it might be a sign they need tightening. You may notice your brakes feel less powerful, requiring more effort to stop.
You might also hear squealing or grinding sounds, which can mean the pads aren’t aligned properly. If your brake lever feels spongy or sinks closer to the handlebar, that’s a clear warning of slack in the system.
Furthermore, if your bike takes longer to stop or feels inconsistent during rides, tightening could be the fix.
Signs include squealing when braking, signaling misalignment. Longer stopping distances also indicate reduced braking power.
If the brake lever feels soft or sinks inward, it’s another sign something’s off. Uneven pad contact can cause vibrations and uneven braking.
Finally, if your stopping power feels diminished during rides, it’s time to check those brakes.
Gather Your Tools and Prepare Your Bike
Before you start tightening your disc brakes, gather all the necessary tools and make sure your bike is ready. You’ll need a few essential items to do the job effectively.
Check that your bike is clean and stable, preferably on a stand or flat surface. Gather tools like Allen wrenches, a torque wrench, and possibly a screwdriver.
Here’s a quick overview:
| Tool | Purpose |
|---|---|
| Allen wrenches | Adjust calipers and brake pads |
| Torque wrench | Ensure proper tightening |
| Screwdriver | Fine adjustments if needed |
Having everything prepared helps prevent interruptions and makes the process smoother. Confirm your bike’s condition and gather all tools before you start to save time and avoid missing important steps.
Step-by-Step Guide to Tightening Your Disc Brakes
To tighten your disc brakes correctly, start by inspecting the brake pads and rotor for wear or damage. Make sure everything looks good before proceeding.
Next, loosen the caliper bolts carefully to avoid misalignment. This helps keep everything aligned when you tighten them again.
Then, align the caliper properly and tighten the bolts securely. This ensures your brakes are responsive, secure, and safe to ride.
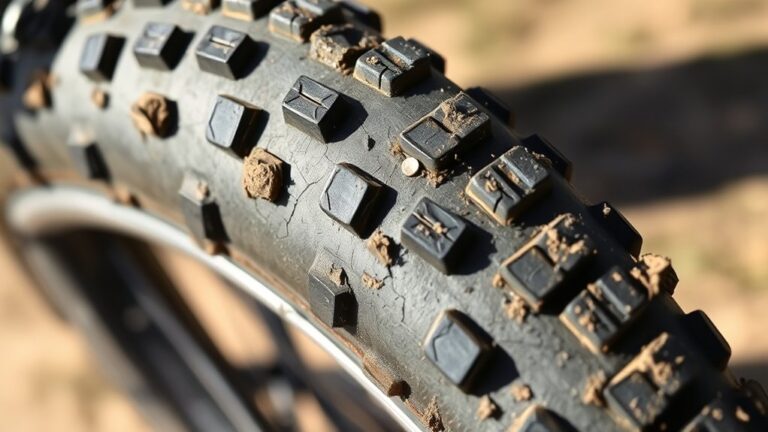
Inspect Brake Pads and Rotor
Inspecting your brake pads and rotor is an important first step to ensure your disc brakes work properly. Start by checking the brake pads for wear; if they’re thin or uneven, they need to be replaced.
Next, examine the rotor for warping, cracks, or deep grooves. These issues can reduce braking power and should be addressed. Feel the rotor for hotspots or excessive heat, which can point to problems.
Here’s what to keep an eye out for:
- Worn or uneven brake pads that lessen stopping ability
- Deep grooves or scoring on the rotor’s surface
- Warping or bending of the rotor
- Cracks or fractures in the rotor material
- Excessive heat buildup during braking
Fixing these issues early helps your brakes perform reliably when you need them most, keeping you safe on every ride.
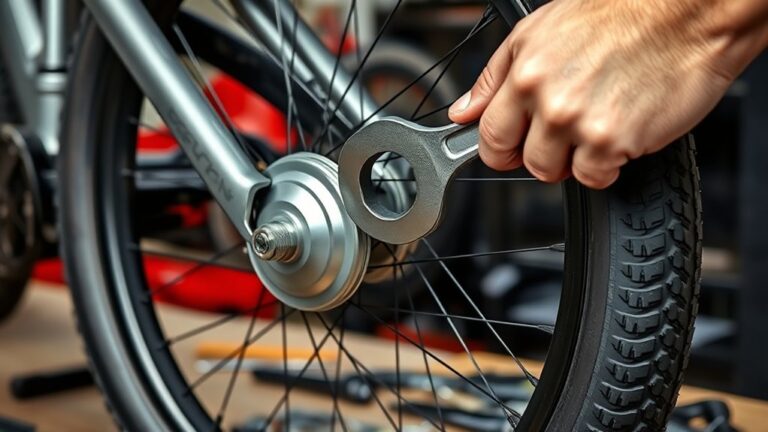
Loosen Caliper Bolts Carefully
Start by carefully loosening the caliper bolts to free the brake assembly. Use the right Allen wrench or socket tool to turn the bolts counterclockwise.
Don’t remove them completely; just loosen enough so the caliper can move freely. This helps prevent stripping the bolts or damaging the brake parts.
Keep a firm grip on the caliper as you loosen the bolts to avoid sudden shifts. If it feels stuck, gently wiggle it back and forth to loosen debris or corrosion.
Be careful not to force or overtighten the bolts when you put them back later. Loosening the caliper bolts carefully ensures you won’t damage the mounting points and prepares you for proper brake adjustment.
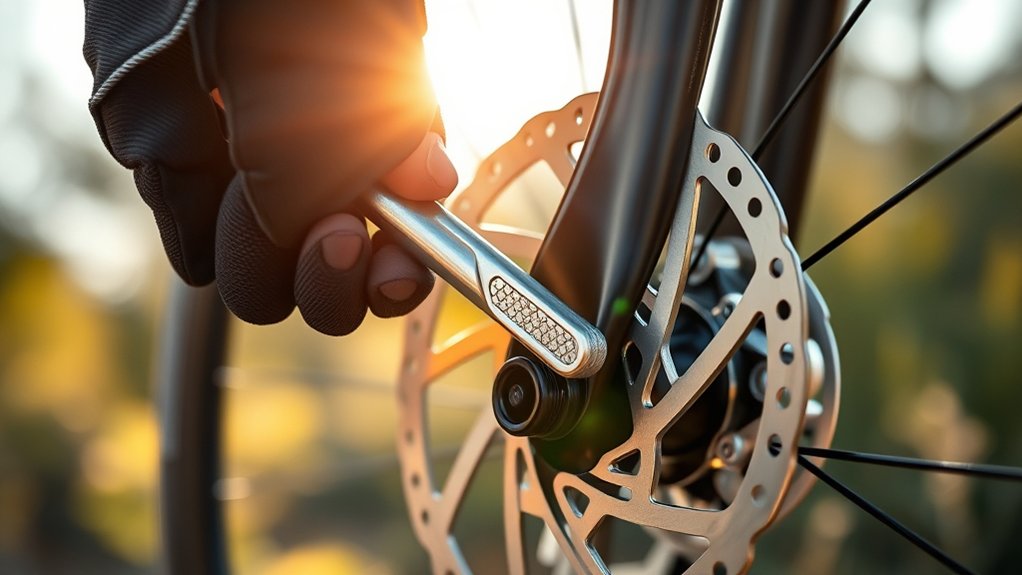
Align and Tighten Properly
Once the caliper is loose enough to move freely, carefully align the brake rotor within the caliper housing. This step ensures smooth braking and prevents rubbing or squealing.
Gently squeeze the brake lever to center the caliper around the rotor. Then, tighten the mounting bolts just enough to hold everything in place.
Double-check that the rotor spins freely without contact or wobbling. Proper alignment gives you confident, responsive braking when you need it most.
Feel the satisfaction of a perfect setup and smooth stops. Experience the thrill of precise control and enjoy quieter, smoother rides.
You can ride with peace of mind, knowing everything is just right. Revel in the satisfaction of a job well done and trust your bike’s performance.
How to Check If Your Brakes Are Properly Tightened
To make sure your disc brakes are properly tightened, you should test how they respond and feel. First, spin the wheel and gently squeeze the brake lever. The brake should engage smoothly without too much lever travel or feeling spongy.
If the lever feels soft or sinks toward the handlebar, your brake isn’t tight enough or there’s air in the hydraulic system. On the other hand, if the lever is hard and hard to pull back easily, your brake might be too tight, which can cause unnecessary pad wear.
Check for consistent contact between the pads and rotor when you squeeze the lever. You should notice firm resistance and an immediate response. Regularly testing your brakes helps ensure they’re properly tightened and working well for safe riding.
Common Issues After Tightening and How to Fix Them
After tightening your disc brakes, some common issues might still pop up, affecting how well they work and how safe you are. You may notice squealing, uneven braking, or a spongy feeling when you pull the lever. These problems can be pretty frustrating and even dangerous if you don’t fix them quickly.
Here are some issues you could run into: Squealing or squeaking during braking, reduced stopping power, a lever that feels soft or sinks to the handlebar, brake pads rubbing against the rotor, or vibration and pulsing when braking.
Don’t ignore these signs. Simple adjustments like aligning the calipers, replacing worn pads, or bleeding the brake lines can get everything working smoothly again. Fixing these problems fast helps keep your ride safe, smooth, and enjoyable.
Tips for Long-Term Maintenance of Your Disc Brakes
Maintaining your disc brakes regularly is key to making sure they work well and last a long time. Start by inspecting your brake pads for wear and replace them when they get thin.
Clean the rotors with isopropyl alcohol to remove dirt and oil that can cause squealing or reduce braking power. Check the calipers and make sure they’re aligned correctly; misalignment can cause uneven wear.
Keep the brake fluid level topped up and flush the system now and then to prevent contamination. Tighten bolts and screws as needed so nothing gets loose and affects braking efficiency.
Store your bike in a dry place to prevent rust and corrosion. Lastly, schedule routine professional check-ups, especially before long rides or races, to catch any issues early and keep your brakes in top shape.
Frequently Asked Questions
Can I Tighten My Disc Brakes Without Specialized Tools?
Yes, you can tighten your disc brakes without specialized tools. First, find the caliper bolts and use an Allen wrench or a socket wrench if you need to.
Tighten the bolts gradually, making sure the caliper stays centered over the rotor. Check the brake lever to see if it feels firm and test the brake by spinning the wheel.
If the brakes still feel loose, it’s best to visit a bike shop for proper adjustment.
How Often Should I Check My Disc Brake Tension?
You should check your disc brake tension at least once a month or before every long ride. Regular inspections help make sure your brakes work well and stay safe.
Look for any wobbling or uneven contact with the rotor, and listen for squeaking or grinding sounds. If you notice anything off, tighten or adjust the calipers right away.
Staying on top of maintenance keeps your brakes responsive and helps avoid costly repairs later on.
Is It Safe to Ride After Tightening the Brakes?
Yes, it’s safe to ride after tightening your disc brakes, as long as you did it the right way. Make sure the brake lever feels firm and that the brake engages smoothly without pulling too far.
Test your brakes in a safe area before hitting rough trails. If you hear squealing, notice uneven stopping, or if the brake lever feels soft, double-check your adjustments or get professional help.
Safety always comes first.
What’s the Difference Between Tightening and Adjusting Disc Brakes?
Tightening disc brakes is all about securing the brake components so they don’t move around. Adjusting, on the other hand, fine-tunes how the brake feels when you pull the lever and makes sure the pads are aligned properly for the best performance.
Did you know that if you don’t adjust your brakes correctly, you could lose up to 30% of your braking power? When you tighten, you’re mainly making sure parts stay in place. Adjusting helps your brakes respond smoothly and effectively.
Both tightening and adjusting are super important for safe, reliable stopping. But remember, they serve different purposes—tightening keeps everything secure, while adjusting makes sure your brakes work just right.
Can Improper Tightening Cause Brake Failure?
Yes, improper tightening can cause brake failure. If you over-tighten, you might warp the rotor or damage the caliper, which can reduce braking effectiveness.
Under-tightening can lead to loose brakes that don’t engage properly, risking safety. Always tighten disc brake components to the manufacturer’s recommended torque specs.
Make sure to regularly check your brakes after adjustments to confirm they’re secure and working correctly. This helps prevent potential accidents and keeps your stopping power reliable.
Conclusion
Now that you’ve mastered tightening your mountain bike disc brakes, you can confidently tackle any trail without worry. Regular maintenance keeps your brakes responsive and reliable, much like a well-oiled clock from yesteryear’s workshop.
Remember, a little attention goes a long way in ensuring safety and performance. Keep your tools handy, stay vigilant, and enjoy every ride. Your trusty steed will thank you for it.
By properly tightening your mountain bike disc brakes, you’ll enjoy smoother, safer rides every time. Happy cycling!