How to Change a Road Bike Tire in 10 Easy Steps
Changing a road bike tire can feel like a daunting task, especially if you’re new to cycling or have ever been stranded with a flat. Many riders struggle with getting the tire off or putting the tube back in smoothly. Don’t worry—you’re not alone, and with a little practice, it becomes a quick and easy fix.
To change your road bike tire in 10 easy steps, first gather essential tools like tire levers, a spare tube, and a pump. Remove the wheel by releasing brakes and quick-release levers.
Fully deflate the tire, then use tire levers to pry it off the rim. Carefully remove the inner tube, insert a new or patched one, and reseat the tire evenly.
Inflate to the correct pressure, reinstall the wheel, and double-check safety.
Follow these steps, and you’ll be ready to ride confidently with more helpful tips.
Key Takeaways
- Deflate the tire completely by pressing the valve to release all the air before removal.
- Use tire levers to carefully pry the tire bead off the rim, starting near the valve. Take your time to avoid damaging the rim or the tire.
- Slightly inflate the new inner tube. Then, insert it into the tire, making sure the valve lines up with the hole in the rim.
- Fit the second side of the tire onto the rim evenly. Check for any pinched parts of the tube or uneven seating as you go.
- Reattach the wheel to the bike. Secure the axle properly, and double-check that the brakes are aligned correctly.
- Finally, inflate the tire to the recommended pressure. Give everything one last look to make sure it’s all set.
Gather Essential Tools and Materials
Before you start changing your road bike tire, gather all the essential tools and materials. You’ll need a tire lever or two to help pry the tire off the rim without damaging it.
Bring along a spare inner tube that matches your tire size, just in case you find a puncture. A portable bike pump or CO2 inflator is vital for reinflating the tire once the new tube is in place.
It’s smart to have a patch kit on hand too for quick repairs. Don’t forget a small wrench if your bike requires one to remove the wheel, though many road bikes use quick-release levers.
Having these items ready will save you time and frustration when you get started.
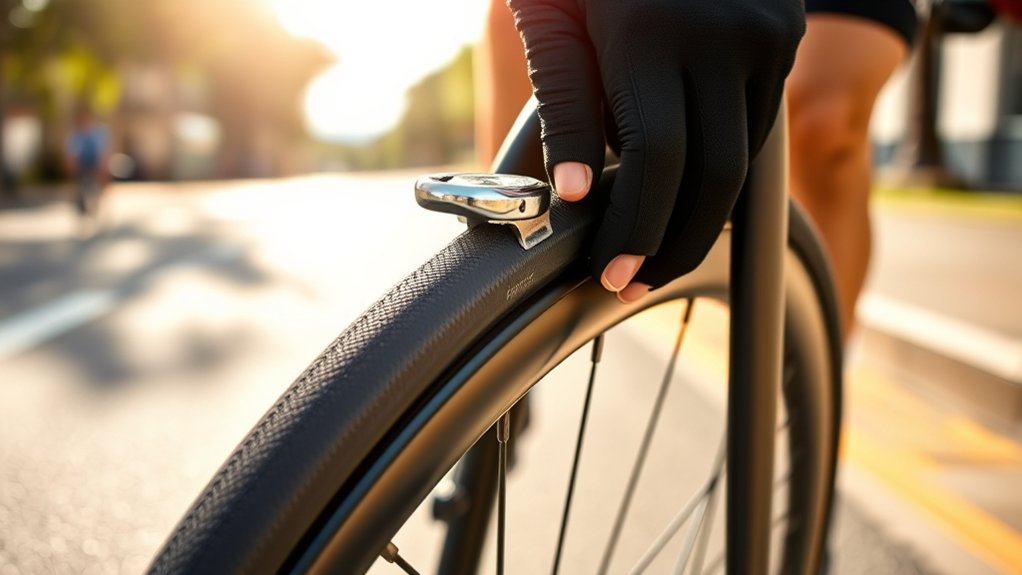
Remove the Wheel From Your Road Bike
Start by flipping your bike upside down so it rests securely on the handlebars and seat. This gives you easy access to the wheels. If your bike has quick-release levers, open the lever by pulling it outward.
Flip your bike upside down for easy wheel access, then open quick-release levers by pulling outward.
For wheels with axle nuts, use a wrench to loosen them. Once loosened, lift the wheel out of the dropouts carefully. For the rear wheel, shift your chain onto the smallest cog to make removal easier.
Lift the wheel slightly to clear the chain and pull it away from the frame. Be mindful of brake calipers. If your bike uses rim brakes, you may need to release the brake quick release to create enough clearance.
After removing the wheel, place it on a clean surface to avoid damage while you work on the tire.
Deflate the Road Bike Tire Completely
First, find the valve stem on your tire. Then, press down or unscrew the valve to release all the air inside.
Make sure the tire is completely deflated before moving on. This way, it’s easier to handle or remove the tire if needed.
Locate Valve Stem
One key step in changing your road bike tire is locating the valve stem, which is essential for deflating the tire completely. The valve stem is a small metal or rubber tube sticking out from the wheel’s rim. You’ll find it near the tire’s center, and it’s your access point to release air. Identifying it quickly makes the process smoother and prevents frustration.
Here’s how finding the valve stem feels at each step:
| Feeling | Description |
|---|---|
| Relief | Spotting the valve stem quickly |
| Confidence | Knowing where to start deflating |
| Satisfaction | Ready to move on without delay |
Locating the valve stem sets you up for an easy, stress-free tire change.
Release All Air
Before you remove the tire, you’ll need to release all the air from the tube. Start by locating the valve stem, then press down on the valve core to let the air escape.
If your valve has a cap, unscrew it first. For Presta valves, loosen the small knurled nut at the top and press it gently to release air.
For Schrader valves, simply press the pin in the center. Keep pressing until you no longer hear air escaping and the tire feels fully deflated.
This step is essential because a deflated tire makes it much easier to unseat the tire from the rim without damaging the tube or the tire itself. Once fully deflated, you’re ready to move on to removing the tire.
Use Tire Levers to Pry the Tire Off the Rim
Use tire levers to pry the tire off the rim.
Grab your tire levers and slide the curved end under the tire bead, close to the rim. Pry gently upward to lift the bead off the rim. Hook the lever onto a spoke to hold it in place.
Slide the curved end of the tire lever under the bead and gently pry it off the rim.
Use a second lever a few inches away to keep prying the tire off. Move along the rim until one side is free. Be patient and avoid forcing the tire, which can damage the rim or tire.
Start near the valve stem when inserting the lever. Pry gently without using sharp or excessive force. Secure the lever on a spoke to keep it steady.
Work in small sections with the second lever as you go. The tire bead should pop off easily once enough of it is loosened.
Remove the Inner Tube Carefully
Gently pull the inner tube out from under the tire, starting near the valve stem to avoid damage. Grip the valve stem firmly and wiggle it free from the rim hole. This gives you better control as you continue removing the tube.
Work your way around the rim, lifting the tube carefully without forcing it. If you feel resistance, check that the tire bead is fully off the rim to prevent pinching the tube.
Once the tube is free, inspect the valve stem to make sure it’s intact, as damage here can cause leaks. Set the inner tube aside on a clean surface so it won’t get punctured or dirty while you prepare to install the new one.
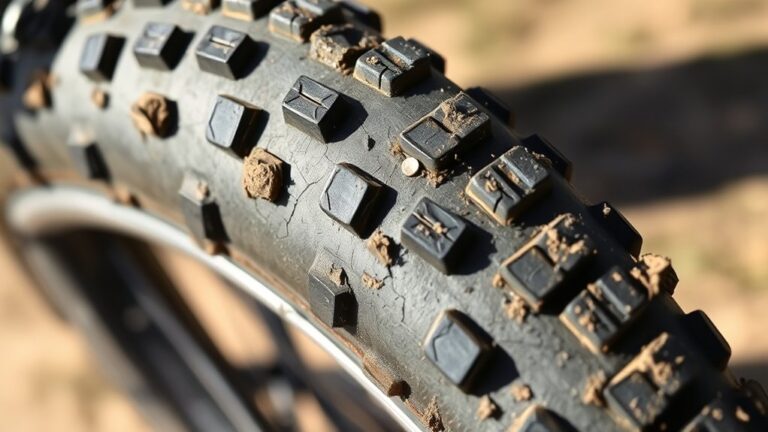
Inspect the Road Bike Tire and Rim for Damage
Carefully examine both the tire and rim for any signs of damage that could affect your ride. Look closely for cuts, cracks, or embedded debris in the tire that might cause future flats.
Check the tire sidewalls for any bulges or weak spots, which mean the tire needs replacing. Next, inspect the rim for dents, cracks, or sharp edges that could harm the new tube.
Run your fingers along the rim strip to confirm it’s properly seated and not torn, as this protects the tube from spoke holes. If you spot any damage, address it before proceeding.
A damaged rim or tire compromises safety and performance, so take your time to verify everything is in good condition before moving on to installing the new inner tube.
Insert a New or Patched Inner Tube
Start by slightly inflating the new or patched inner tube to give it shape, making it easier to insert into the tire.
Begin by gently inflating the inner tube to shape it for smoother installation into the tire.
Follow these steps to get it right:
- Align the valve stem with the hole in the rim, making sure it fits snugly without forcing it.
- Carefully tuck the tube inside the tire, starting opposite the valve, and work your way around.
- Avoid twisting or pinching the tube, as this can cause punctures or uneven seating.
- Double-check that the tube sits evenly and isn’t caught between the tire bead and rim.
Reseat the Tire Evenly Onto the Rim
Push the tire bead evenly onto the rim, working your way around the wheel to make sure it seats properly. Start opposite the valve and use your thumbs to press the tire’s edge into the rim’s hook.
Move slowly and check as you go to avoid pinching the tube between the tire and rim. If you hit a tight spot, don’t force it—just adjust the tire slightly and try again.
Once the bead is seated all around, run your fingers along both sides of the tire to verify it sits evenly without bulges or dips.
This careful reseating guarantees a smooth ride and helps prevent the tire from slipping or causing flats later on. Take your time here—proper seating is key to safe cycling.
Inflate the Road Bike Tire to the Correct Pressure
Check the recommended pressure printed on the sidewall of your tire before inflating. Getting the pressure right guarantees a smooth ride and helps protect your new tube from damage.
Here’s how to inflate your road bike tire correctly:
- Attach your pump securely to the valve, whether it’s Presta or Schrader.
- Pump air slowly, pausing occasionally to check the pressure with a gauge.
- Inflate until you reach the recommended PSI range printed on the tire sidewall.
- Detach the pump carefully, and if it’s a Presta valve, close the valve nut to prevent air leaks.
Reinstall the Wheel and Double-Check Safety
Once you’ve properly seated the tire and inflated it, carefully reinstall the wheel onto your bike frame. Make sure it fits securely in the dropouts or thru-axle mounts.
Align the axle correctly, then tighten the quick-release lever or thru-axle to hold the wheel firmly in place. Spin the wheel to check that it’s centered and clears the brake pads.
Reattach the brakes if you removed them, making sure they engage the rim properly. Give the tire a quick spin to confirm it rolls smoothly without wobbling.
Finally, double-check all components—axle tightness, brake function, and tire pressure—before you ride. Taking these steps guarantees your safety and a hassle-free ride after changing your road bike tire.
Frequently Asked Questions
How Often Should I Change My Road Bike Tire?
You should change your road bike tire every 2,000 to 3,000 miles, depending on how often you ride and the conditions you face.
Check for signs like worn tread, frequent flats, or visible damage. If you notice cracks or the tire feels thin, it’s time to replace it.
Regularly inspecting your tires helps you avoid unexpected blowouts and keeps your rides safe and smooth.
What Type of Tire Pressure Is Best for Different Terrains?
You’ll want higher tire pressure, around 80-120 psi, for smooth roads to reduce rolling resistance.
On rough or gravel terrain, lower it to 60-80 psi to improve traction and comfort.
For wet or slippery surfaces, dropping pressure slightly helps grip better.
Just avoid going too low, or you risk pinch flats.
Adjust based on your weight and bike type, and don’t be afraid to experiment to find what feels best.
Can I Use Any Inner Tube With My Road Bike Tire?
You can’t just use any inner tube with your road bike tire. You need one that matches your tire’s diameter and width.
Using the wrong size causes poor fit, leaks, or blowouts. Check your tire’s sidewall for size specs, then pick an inner tube within that range.
Also, valve type matters. Presta valves are common on road bikes, so make sure your tube matches your rim’s valve hole.
How Do I Prevent Frequent Flats on My Road Bike?
Think of your tires as your bike’s shoes—you wouldn’t run in worn-out ones, right? To prevent frequent flats, keep your tires properly inflated and avoid riding over sharp debris.
Regularly inspect your tires for cuts or embedded glass. Using puncture-resistant tires or liners can give you extra protection.
Also, check your inner tubes for wear and replace them when needed. These simple steps will help keep you rolling smoothly and flat-free.
What Are Signs That My Tire Needs Replacement?
You’ll know your tire needs replacement when you see visible cracks, cuts, or bald spots on the tread.
If the tire frequently loses air pressure or you experience more flats than usual, that’s a warning sign.
Also, if the sidewalls feel weak or you notice the casing showing through, it’s time to swap it out.
Don’t wait—riding on worn tires risks safety and performance.
Conclusion
Now that you’ve swapped your tire like a pro, your road bike is ready to hit the pavement smoother than ever. Changing a tire might seem tricky at first, but with these easy steps, you’ll breeze through it every time.
Think of it as giving your bike a fresh pair of shoes—simple, quick, and totally worth it. Keep practicing, and soon you’ll handle any flat with confidence and speed.
With your new skills, fixing a flat tire on your road bike will become second nature. Enjoy your rides, knowing you can tackle any tire trouble that comes your way. Happy riding!