Reset Electric Bike Controller in 7 Easy Steps
Many electric bike owners find themselves frustrated when their controllers act up or stop working properly. You’re not alone—these issues happen more often than you’d think, and figuring out how to reset the controller can seem complicated.
To reset your electric bike controller in 7 easy steps, first turn off your bike and disconnect the battery carefully. Locate the controller and find the reset point, which might be a small hole or switch. Use a paperclip or small tool to press the reset switch or simply turn the power off and on.
You can also disconnect and reconnect cables for a manual reset. Reassemble everything, power up your bike, and confirm it runs smoothly; more tips follow if needed.
Key Takeaways
- Turn off the bike and disconnect the battery to make sure everything’s safe before you start resetting.
- Find the controller — check your manual or look for markings to spot the reset point, switch, or hole.
- Use a paperclip or a small tool to press or toggle the reset switch or hole.
- Wait a few seconds, then reconnect the battery securely and turn the bike back on.
- Check the system and display to make sure everything’s working properly before you ride.
Why and When to Reset Your Electric Bike Controller
Resetting your electric bike controller can fix various issues and help it run smoothly again, but it’s important to know when to do it.
You should consider resetting if your bike isn’t responding properly, shows error messages, or if you notice a sudden loss of power.
Sometimes software glitches or small electrical problems cause these issues, and a reset can clear them up.
It’s also a good idea to reset after installing new parts or updating your firmware.
But don’t reset your controller unnecessarily—doing it too often might hide underlying issues or cause new problems.
Only reset when you’ve identified a specific problem or after trying other troubleshooting steps.
Knowing the right time to reset helps keep your bike efficient and avoids unnecessary resets that could make repairs more complicated.
Prepare Your Bike and Disconnect the Battery Safely
Before you start the reset process, it’s important to prepare your bike properly and ensure safety by disconnecting the battery. Turn off the bike and find the battery, usually mounted on the frame or rear rack.
Carefully disconnect the power connector, handling it gently to avoid damage. If your bike has a lock or latch securing the battery, disengage or release it first.
Always wear gloves if possible to protect against accidental shocks or sharp edges. Once the battery is disconnected, set it aside in a safe, dry place, away from any conductive materials.
This step prevents electrical shorts or injuries during the reset. Taking these precautions keeps you safe and protects your bike’s components during the process.
Locate the Controller and Find the Reset Point
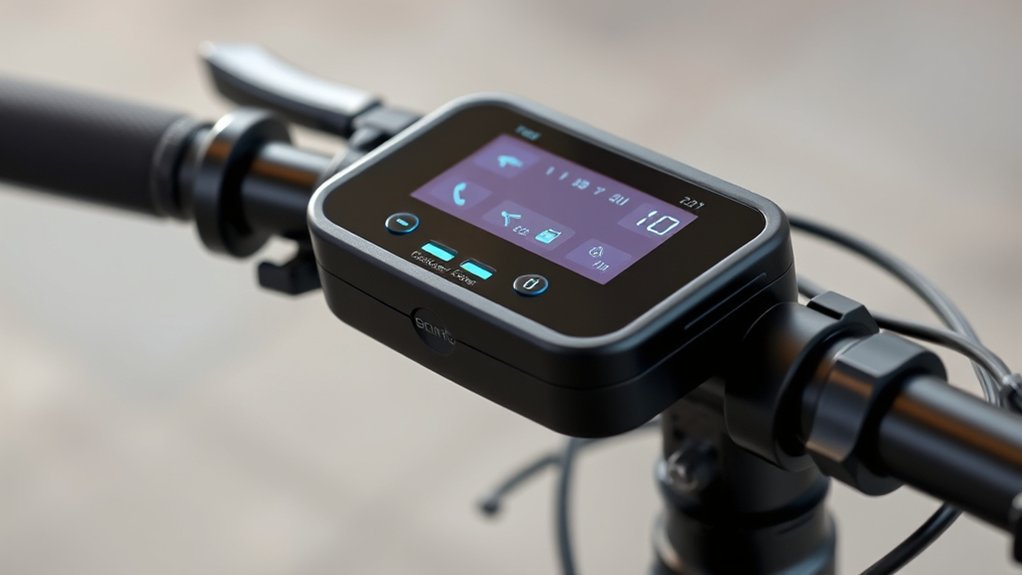
To begin, locate the controller, which is usually mounted on the frame or near the handlebars of your electric bike. Once you find it, look for a small reset point, often a tiny hole or switch.
This reset point is typically marked “Reset” or “Restart.” Use a paperclip or a small tool to press or toggle the reset switch. Some controllers have a dedicated reset button, while others require pressing a pinhole.
Here’s a quick guide:
| Step | Location | Reset Method |
|---|---|---|
| 1 | On the frame or near handlebars | Push button or toggle |
| 2 | Inside a small hole | Use a paperclip |
| 3 | On the control panel | Press and hold |
| 4 | Near wiring connections | Check for a reset switch |
| 5 | Consult manufacturer manual | For specifics |
Finding the reset point is important before you proceed with resetting your controller.
Reset the Controller Using the Power Button or Reset Switch
You can reset your electric bike controller easily with the power button or reset switch.
Just press the power button for a few seconds to restart the system. Using the reset switch offers a more direct reset.
Both methods are quick and simple, making it easy to troubleshoot common issues efficiently.
Power Button Reset
If your electric bike’s controller isn’t responding properly, resetting it with the power button or reset switch is usually the easiest fix.
First, turn off the bike completely by pressing and holding the power button until it powers down. Wait about 10 seconds to make sure the system fully shuts off.
Then, press the power button again to turn the controller back on. This quick reset helps clear minor glitches or temporary software issues.
Make sure your battery is fully charged before doing this, since low power can affect the reset process.
If the controller still doesn’t respond after restarting, you might need to try other troubleshooting methods.
But in most cases, a simple power cycle refreshes the system and gets your bike back in gear.
Reset Switch Method
When a simple power cycle doesn’t fix your controller problems, using the reset switch or the power button directly can often help. Many electric bike controllers have a dedicated reset switch, usually a small button or pinhole.
To use it, turn off your bike first. Then, find the reset switch, which might be near the controller or battery compartment. Press and hold the reset button for a few seconds, then release.
Sometimes, you need to turn the bike off, press the reset button, and then turn it back on while holding the button. This helps clear minor glitches or faults and get things back to normal.
Always check your bike’s manual for specific instructions, since reset procedures can vary between models.
Manually Reset the Controller by Disconnecting Power Cables
To manually reset the controller, start by disconnecting the power cables that supply it with electricity. Carefully locate the connection points on your bike’s controller.
Disconnect the power cables from your bike’s controller to safely reset it.
Once you’ve found them, gently unplug the cables to cut off power. This helps ensure the controller fully resets without any residual charge.
As you do this, picture the cables detaching smoothly from the controller ports, your bike’s electrical system becoming silent and inactive, and the controller losing power, ready for a fresh start.
Make sure you handle the cables gently to avoid any damage. Wait about a minute after disconnecting to let all residual power drain.
This step clears temporary faults and prepares the controller for the next stage of reinitialization.
Reconnect the Battery and Power on Your Bike
Once you’ve disconnected the power, it’s time to reconnect the battery and power on your bike. Carefully reattach the battery connectors, making sure they’re snug and secure so nothing comes loose.
Double-check that all cables are properly aligned and fit tightly. After reconnecting, turn on the main power switch or ignition.
Some bikes might have a reset button or require a specific sequence to turn on. If you’re unsure, check your manual for guidance.
Once powered up, look at the dashboard or display panel to make sure everything is working properly. If the bike starts smoothly and the display shows normal readings, you’ve successfully reconnected your battery and reset the controller.
Now you’re ready to ride or continue testing your bike as needed.
Test Your Bike and Troubleshoot Further if Needed
After reconnecting the battery and turning on your bike, it’s important to test how everything works. Take a short ride and pay attention to how the motor responds, the brakes, and the display panel.
Look out for any strange noises, sluggish acceleration, or odd signals on the screen. If something feels off, troubleshoot further by checking connections or resetting the controller again.
Watch for unusual noises, slow response, or screen warnings; troubleshoot connections or reset the controller if needed.
Try testing the throttle and pedal assist to see if they accelerate smoothly. Keep an eye on the display for error messages or warning lights.
Listen for any unusual sounds coming from the motor or controller area. If issues continue, double-check the wire connections or refer to your bike’s manual for specific troubleshooting tips.
This will help ensure your bike is working properly before going on a full ride.
Frequently Asked Questions
Can Resetting Damage My Electric Bike’s Electronics?
Resetting your electric bike’s controller usually won’t damage its electronics if you do it the right way. It’s a common way to troubleshoot issues like unresponsiveness or error messages.
That said, if you reset it improperly or do it too often, it could cause some wear over time. But overall, damage is unlikely. Just be sure to disconnect the power properly and avoid unnecessary resets.
If you’re unsure, it’s a good idea to check the bike’s manual or ask a professional technician for guidance.
How Often Should I Reset My Electric Bike Controller?
You should reset your electric bike controller only when necessary, like after troubleshooting issues or updating firmware.
Frequent resets aren’t recommended because they can cause wear on the system components over time.
Usually, resetting once every few months or when you notice performance problems is enough.
Always follow the manufacturer’s guidelines to avoid unnecessary wear, and only reset when you’re sure it’s needed to keep your bike running smoothly.
Will Resetting Erase My Bike’s Settings or Data?
Resetting your bike’s controller won’t erase your settings or data. It’s like hitting a refresh button, so everything stays intact.
You might worry about losing your customizations, but a reset only clears temporary glitches or errors. Your ride data, like speed and battery info, stays safe.
Think of it as giving your bike a quick nap—restoring performance without losing any of your personalized settings.
Is Professional Help Necessary for Resetting the Controller?
You don’t necessarily need professional help to reset your electric bike controller, especially if you’re comfortable with basic troubleshooting. Many controllers have user-friendly reset procedures you can follow in the manual or online guides.
However, if you encounter complex issues, are unfamiliar with electrical systems, or if the reset doesn’t fix your problem, it’s a good idea to seek professional assistance. This helps avoid damaging your bike or voiding warranties.
What Are Signs That My Controller Needs Resetting?
Think of your controller like a tired conductor needing a reset to keep the orchestra in harmony. Signs include your bike suddenly losing power, erratic acceleration, or the display flickering unexpectedly.
If you notice these issues, it’s like the system hitting a sour note—it might just need a quick reset. While DIY fixes work for minor problems, seek professional help if issues persist to avoid further damage.
Conclusion
By following these simple steps, you can gently reset your electric bike controller whenever it’s feeling a bit off. Think of it as giving your ride a calming breath, restoring its rhythm without much fuss.
With a little patience and care, you’ll keep your bike humming smoothly and ready for your next adventure. Sometimes, a quiet reset is all it takes to bring back the joy of riding — smoothly and effortlessly.
Remember, resetting your electric bike controller is a quick fix that can make a big difference. It’s a simple way to ensure your ride stays reliable and enjoyable every time you hit the road.