How to Ride a Road Bike in 8 Simple Steps
Riding a road bike can seem intimidating at first, especially if you’re new to cycling or unsure where to start. You’re not alone—many people struggle with knowing how to get going confidently and safely.
Luckily, with a little guidance, you can master the basics and enjoy the ride.
To ride a road bike in 8 simple steps, start by choosing a lightweight bike that fits your height and style, plus essential gear like a helmet and gloves.
Adjust the saddle and handlebars for comfort. Learn your bike’s controls—brakes and gears—and practice starting, stopping, and shifting smoothly.
Focus on proper posture and pedaling technique. Build confidence with handling drills and stay safe by maneuvering through traffic carefully.
Keep your bike maintained for smooth rides. Investigate these steps further to improve your cycling skills.
Key Takeaways
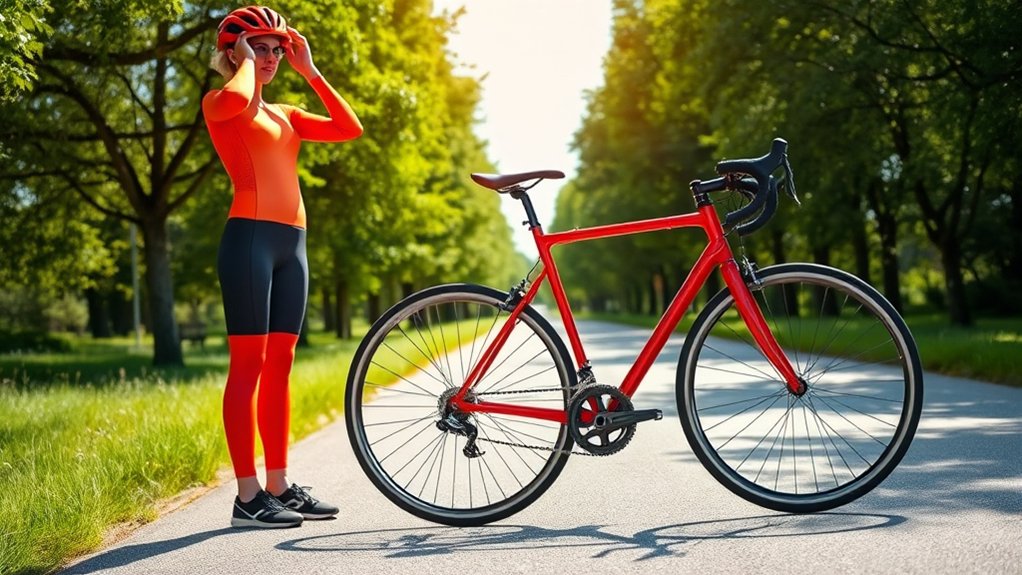
- Choose a lightweight road bike that fits your height and riding style. Make sure to wear essential gear like a helmet and padded shorts for safety and comfort.
- Adjust the saddle height so your leg fully extends when your heel is on the pedal. Set the handlebar height to suit your comfort and provide good control.
- Learn the bike controls by practicing braking and gear shifting while pedaling lightly. Try using different grip styles to see what feels best for you.
- Improve your technique by keeping a relaxed posture. Focus on smooth, circular pedaling and aim for a cadence around 80-90 RPM.
- Practice handling drills like slow riding, figure eights, and emergency stops. Always follow safe riding practices and perform basic bike maintenance regularly.
Choose the Right Road Bike and Essential Gear for Beginners
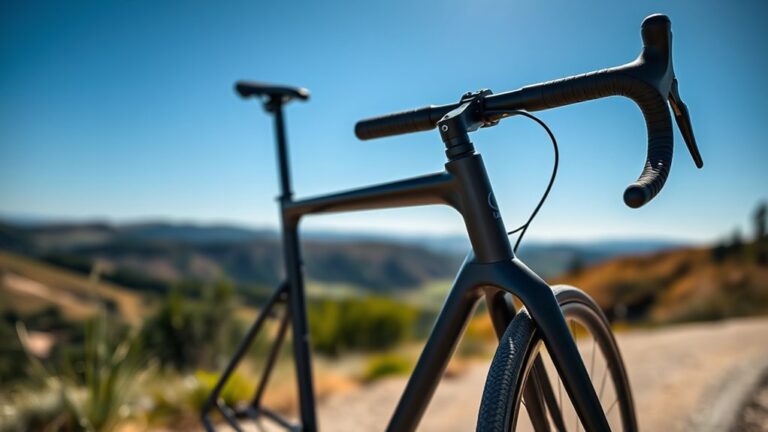
Before you hit the road, you need to pick the right bike and gear that suit your skill level and riding style. Start by choosing a road bike with a lightweight frame and reliable components to make your rides smoother and faster.
Look for a bike that fits your height and reach comfortably, so you can control it easily. Next, invest in essential gear: a well-fitted helmet to protect your head, padded cycling shorts for comfort, and gloves to improve grip and reduce hand fatigue.
Don’t forget cycling shoes compatible with clipless pedals if you want better power transfer. Finally, carry basic tools and a spare tube for quick fixes. With the right bike and gear, you’ll enjoy your road cycling experience from the start.
Adjust Your Bike for a Comfortable Fit
To ride comfortably, you’ll need to adjust your bike’s fit carefully. Start by setting your saddle height, then fine-tune the handlebar position to match your riding style.
Saddle Height Adjustment
Finding the right saddle height can turn your ride from uncomfortable to enjoyable. To adjust, sit on your bike and place your heel on the pedal at its lowest point. Your leg should be fully extended without locking your knee.
When you pedal normally with the ball of your foot, your knee will have a slight bend. This helps prevent strain and makes pedaling more efficient.
Use the chart below to check your saddle height:
| Observation | Adjustment Needed |
|---|---|
| Knee too bent | Raise the saddle |
| Knee fully extended | Lower the saddle |
| Hip rocking side to side | Lower the saddle slightly |
Make small adjustments and test each one by riding a short distance. Keep fine-tuning until you feel comfortable and efficient.
Handlebar Positioning Tips
Three key adjustments can improve your handlebar position and make your road rides more comfortable. First, set the handlebar height to match or slightly lower than your saddle. This helps keep a balanced posture and reduces strain on your back and shoulders.
Next, adjust the reach by moving the handlebars closer or farther away. You want your elbows slightly bent and shoulders relaxed, avoiding overstretching. Small changes here can make a big difference.
Finally, check the handlebar tilt. Angle the drops and tops to keep your wrists in a neutral, comfortable position. These tweaks can prevent numbness and fatigue.
Frame Size Importance
Adjusting your handlebar setup can make your ride more comfortable, but it won’t fix issues caused by an ill-fitting frame. The frame size is the foundation of your road bike fit and impacts your posture, control, and overall experience.
If the frame is too big, you’ll struggle to reach the handlebars, leading to discomfort and inefficient pedaling. If it’s too small, you’ll feel cramped and might develop knee or back pain.
To find the right frame size, measure your inseam and compare it to the manufacturer’s size chart. When you’re on the bike, your leg should nearly fully extend at the bottom of the pedal stroke. You should also reach the handlebars without stretching or collapsing your upper body.
A proper frame size keeps your ride comfortable and efficient every time you hit the road.
Get to Know Your Road Bike Controls
Now that your bike fits just right, it’s time to get familiar with the controls. You should know how the brake levers work, how to shift gears smoothly, and the different types of handlebar grips.
Getting comfortable with these basics will make your ride safer and more enjoyable. Mastering them now will help you ride with confidence and have more fun out there.
Brake Lever Functions
Understanding how your brake levers work is key to riding safely and confidently on the road. Your brake levers are on the handlebars, within easy reach of your fingers. This lets you quickly slow down or stop when you need to.
When you squeeze a lever, it pulls a cable connected to your brakes. This causes the pads to clamp onto the wheel rims or discs, creating friction that slows your bike down. Most road bikes have two brake levers—one for the front brake and one for the rear.
Typically, the left lever controls the front brake, and the right controls the rear. But this can vary depending on where you are. Practice gently squeezing the levers to get a feel for how responsive they are.
Avoid sudden, harsh braking. Gentle pressure helps you stay in control and prevents skidding.
Gear Shifter Basics
Your gear shifters are key to controlling how smoothly and efficiently you ride across different terrains. Knowing how to use them makes maintaining a comfortable cadence and conserving energy much easier.
Here’s what you need to focus on:
- Location: On road bikes, gear shifters are usually integrated with your brake levers. Use your index finger or thumb to shift without moving your hand from the bars.
- Function: One shifter moves your chain to a larger sprocket for easier pedaling, which is your lower gear. The other shifts to a smaller sprocket for harder pedaling, your higher gear.
- Timing: Shift gears while pedaling lightly, never under heavy load, to avoid damaging your drivetrain.
Master these basics to make your rides smoother and more enjoyable.
Handlebar Grip Types
Handlebar grips come in several styles, each designed to give you better control and comfort while riding. The most common type on road bikes is the tape wrap, which offers a cushioned grip and absorbs vibrations from the road. You’ll find different materials like cork, foam, or synthetic blends to suit your preference.
Another option is rubber grips, which provide a firm hold and are easy to clean. Some riders prefer ergonomic grips with shaped padding to reduce hand fatigue on long rides. When choosing grips, consider your riding style and hand size—comfort is key.
Proper grip choice helps you steer precisely and maintain control, especially during fast descents or sharp turns. Try different types to find what feels best for your ride.
Master Starting, Stopping, and Shifting Gears on Your Road Bike
Mastering the basics of starting, stopping, and shifting gears will make your rides smoother and safer. First, when starting, place one foot on a pedal in the 2 o’clock position and push off while clipping in if you use clipless pedals.
Second, to stop safely, gradually squeeze both brake levers evenly. Brake with the front brake first to avoid skidding or tipping over.
Finally, shifting gears lets you adjust to different terrains without losing momentum. Follow these tips:
- Shift to a lower gear before climbing hills to keep a steady cadence.
- Shift to a higher gear on flat or downhill sections for speed.
- Avoid shifting under heavy pedal pressure to prevent drivetrain wear.
Practicing these skills builds confidence and control on every ride.
Practice Proper Road Bike Riding Position and Pedaling Technique
Once you’ve got starting, stopping, and shifting down sorted, focus on your riding position and pedaling technique to boost efficiency and comfort. Keep your back flat and relaxed, and bend slightly at the elbows to absorb bumps and stay in control.
Hold the handlebars lightly, switching between the brake hoods and drops for comfort and aerodynamics as needed. When pedaling, aim for smooth, circular motions instead of just pushing down.
Imagine scraping mud off your shoe on the upstroke—that helps engage more muscles evenly. Keep a steady cadence around 80-90 RPM to reduce fatigue.
Practicing these techniques will help you ride longer distances with less strain and better control. It sets a solid foundation for more enjoyable and effective cycling sessions.
Build Confidence With Simple Road Bike Handling Drills
Although riding comfortably is important, building your confidence through simple handling drills will make you a safer and more skilled cyclist. Start by practicing these drills in a quiet, open space:
- Slow Riding: Ride as slowly as possible while keeping your balance. This helps improve your control and focus on how the bike responds.
- Figure Eights: Trace large figure eights to practice smooth turning and how to distribute your weight properly.
- Emergency Stops: Practice quick stops by braking firmly but in a controlled way. This prepares you for unexpected obstacles.
These drills help you get comfortable with your bike’s responsiveness and handling in different situations. As you repeat them, you’ll notice more stability and confidence.
Don’t rush it—mastery takes patience and consistent practice. Soon, these skills will become second nature, making every ride safer and more enjoyable.
Navigate Common Road and Traffic Situations Safely
Building your confidence with bike handling drills helps create a strong foundation for riding in real-world situations. When you’re on the road, stay alert and think ahead about what drivers and pedestrians might do.
Always use hand signals to show your intentions—signal turns and stops clearly. Stay on the right side of the lane, but avoid riding too close to the curb or parked cars to prevent dooring accidents.
At intersections, obey traffic signals and try to make eye contact with drivers whenever you can. This helps ensure they see you. When sharing the road with cars, keep a predictable line and avoid sudden movements.
Use bike lanes when available, but stay cautious of pedestrians and vehicles crossing. Wearing bright clothing and using lights makes you more visible and helps you stay safe in all traffic situations.
Simple Maintenance for Your Road Bike to Keep It Riding Smoothly
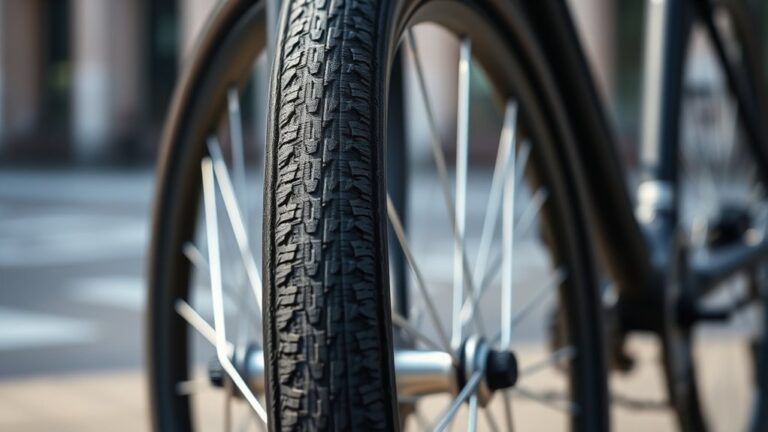
Keeping your road bike in top condition requires regular, simple maintenance that you can do yourself. This helps prevent breakdowns and keeps your ride smooth and safe. Start by checking your tires for proper pressure and any signs of wear or damage.
Next, keep your chain clean and lubricated to guarantee efficient pedaling and prevent rust. Finally, inspect your brakes to make sure they’re responsive and the pads aren’t worn down.
Here are three easy maintenance steps to follow:
- Check tire pressure before every ride.
- Clean and lubricate the chain weekly or after wet rides.
- Test brakes and replace pads if they’re thin or unresponsive.
Stick to this routine, and your road bike will stay ready for every ride.
Frequently Asked Questions
What Type of Clothing Is Best for Long Road Bike Rides?
For long road bike rides, you’ll want moisture-wicking, breathable clothing to stay dry and comfortable. Pick clothing that pulls sweat away from your skin so you don’t feel sticky or chilled.
Choose padded cycling shorts to reduce saddle soreness and a fitted jersey with pockets for essentials. Having everything within reach makes your ride smoother and more enjoyable.
Don’t forget gloves to protect your hands and cycling shoes that clip into pedals for efficiency. They’ll help you stay comfortable and maximize your power on the bike.
Layer with a lightweight jacket if it’s cool, and wear sunglasses to shield your eyes. This way, you stay prepared no matter the weather or sunlight.
Comfort and functionality should guide your clothing choices, making your long ride more fun and less tiring.
How Do I Train for Road Bike Endurance Events?
Did you know that endurance cyclists can burn up to 6,000 calories during a long ride? To train for road bike endurance events, you should gradually increase your weekly mileage and include long, steady rides to build stamina.
Mix in interval training for power and hill climbs to strengthen your muscles. Don’t forget rest days—they’re really important for recovery.
Consistency is key, so stick to a schedule, fuel properly, and track your progress to improve steadily.
What Are the Best Nutrition Tips for Road Cyclists?
You should focus on balanced meals rich in carbs, lean proteins, and healthy fats to fuel your rides. Stay hydrated before, during, and after cycling.
Snack on energy bars or bananas during long rides to keep your energy steady. Don’t skip recovery nutrition—consume protein and carbs within 30 minutes after your ride.
Also, listen to your body’s hunger cues and avoid heavy, greasy foods that can weigh you down while riding.
How Can I Prevent Common Biking Injuries?
You might think injuries just happen, but you can prevent most common biking injuries by warming up properly and stretching before rides.
Make sure your bike fits you well to avoid strain. Don’t push too hard too fast. Gradually increase your intensity.
Wear a helmet and padded gloves for protection. Also, listen to your body. If you feel pain, rest and recover.
Staying consistent with these habits will keep you riding strong and injury-free.
What Apps or Tools Help Track Road Biking Performance?
You can use apps like Strava, Garmin Connect, and Komoot to track your road biking performance. They record your speed, distance, elevation, and route, giving you detailed insights.
Pairing these apps with a GPS bike computer or a heart rate monitor can boost accuracy. These tools also let you set goals, analyze your progress, and connect with other riders.
All of this helps keep you motivated and improves your cycling experience.
Conclusion
Riding a road bike can feel as smooth as gliding on silk once you’ve got the basics down. Choosing the right bike, adjusting it to fit you, mastering controls, and practicing safe riding will help you gain confidence quickly.
Remember, like any skill, riding takes time and patience. Keep practicing, and you’ll improve faster than you think. Regularly doing simple maintenance will keep your bike reliable and ready to go.
Soon, you’ll enjoy every ride, feeling free and in control on the open road. Learning how to ride a road bike is all about enjoying the journey and building your skills step by step.