7 Easy Steps to Clean a Mountain Bike
Many mountain bikers know the struggle of keeping their bikes clean after an epic ride. It can feel like a never-ending chore, especially when dirt and grime seem to cling to every nook and cranny.
But don’t worry—you’re not alone, and with a simple, step-by-step routine, you can make the process easier and keep your bike in top shape.
To clean your mountain bike, first secure it on a stand and gather supplies like bike cleaner, brushes, and degreaser. Rinse off loose dirt gently, then focus on the drivetrain by scrubbing the chain, cassette, and gears with degreaser.
Next, wash the frame and wheels with soapy water, and clean suspension and tight spots carefully. Dry the bike thoroughly, then lubricate the chain and moving parts.
Follow these steps, and you’ll keep your bike performing at its best. There’s more on each step to help you master the process.
Key Takeaways
- Stabilize the bike and gather your cleaning supplies like bike-specific cleaner, brushes, degreaser, and microfiber towels before you start.
- Begin by cleaning the drivetrain. Apply degreaser, then scrub the chain and gears thoroughly. Rinse everything carefully and let it dry before lubricating.
- Next, wash the frame and wheels with low-pressure water and soapy water. Focus on areas with mud buildup. After washing, rinse well and dry the bike completely.
- Use soft brushes for suspension components and hard-to-reach spots. Avoid using high-pressure water on sensitive parts to prevent damage. Dry everything thoroughly to prevent rust.
- Remember to lubricate the chain regularly after rides in wet conditions or every 100-150 miles in dry weather. While doing this, check for wear and keep up with consistent maintenance.
Get Your Mountain Bike Ready and Gather Supplies
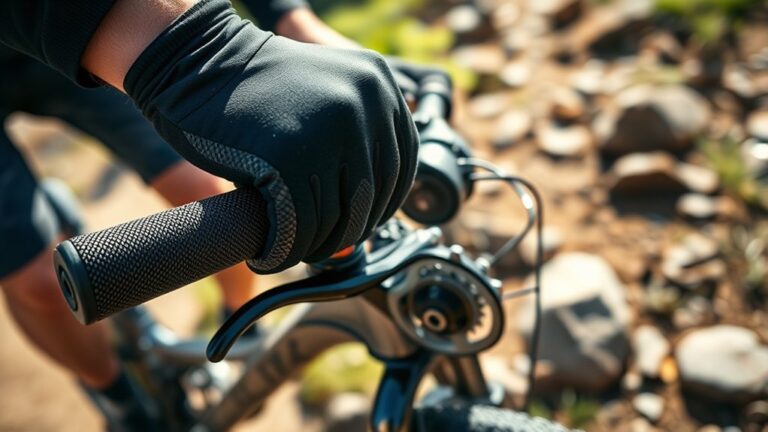
Before you start cleaning your mountain bike, make sure it’s in a stable position. You can flip it upside down resting on the seat and handlebars or secure it in a bike stand. This keeps your bike steady and makes all parts easy to access.
Next, gather all the supplies you’ll need so you don’t have to stop in the middle. Grab a bucket filled with warm water and bike-specific cleaner or mild soap.
You’ll also want soft brushes for scrubbing the frame and parts, a sponge for gentle cleaning, and an old toothbrush for hard-to-reach spots like gears and brakes.
Don’t forget a chain cleaner or degreaser to tackle grime on the drivetrain. Finally, keep some clean rags or microfiber towels nearby for drying and wiping away stubborn dirt.
Having everything ready upfront makes the process easier and saves you time.
Gently Rinse Off Loose Dirt and Mud
Start by using low-pressure water to avoid damaging your bike’s components. Focus on rinsing off the areas with the most mud and dirt buildup.
This gentle approach helps loosen debris without causing harm.
Use Low-Pressure Water
One of the easiest ways to remove loose dirt and mud from your mountain bike is by using low-pressure water. Avoid high-pressure sprays because they can force water into bearings and delicate components, which can cause damage.
Instead, use a gentle stream from a hose or a bucket of water with a soft sponge or brush. This helps loosen dirt without harming seals or sensitive parts.
Start by rinsing the frame and wheels, letting the water carry away mud and dust. Keep the nozzle at a safe distance to maintain a gentle flow.
Using low-pressure water ensures you clean effectively without risking mechanical issues. This careful rinsing sets you up perfectly for more detailed cleaning steps later on.
Focus On Muddy Areas
After loosening dirt with low-pressure water, focus on the muddiest spots on your bike. These usually include the tires, frame, fork, and chainstay. Use a gentle spray to rinse off loose mud without forcing water into sensitive parts like bearings or the bottom bracket.
If mud sticks stubbornly, let the water soak for a few seconds before rinsing again. Avoid high pressure, which can damage components or push dirt deeper into places you don’t want it. Pay special attention to the drivetrain, as mud here can cause wear and poor shifting.
You can also use a soft brush to help remove caked-on grime from these areas. Taking your time during this step ensures your bike stays clean and runs smoothly on your next ride.
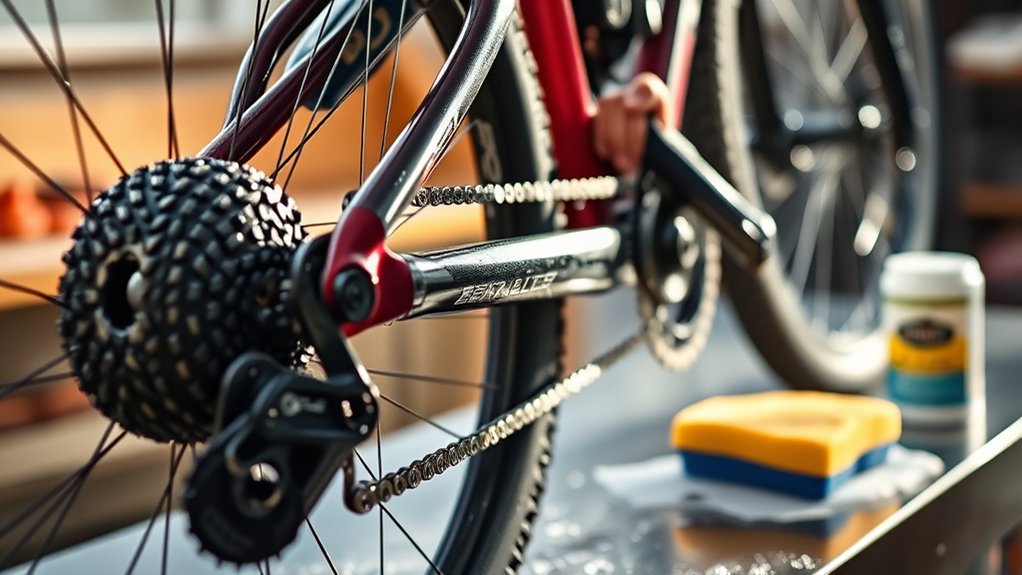
Clean Your Mountain Bike Drivetrain
Focus on your mountain bike’s drivetrain to keep it running smoothly and efficiently. Start by shifting your gears to the smallest chainring and sprocket to expose the entire drivetrain.
Use a degreaser spray or a brush dipped in degreaser to remove built-up grime and old lubricant from the chain, cassette, chainrings, and derailleur pulleys. Scrub gently but thoroughly, making sure to get between the cassette cogs and the chain links.
Rinse off the degreaser with water, but avoid soaking the bearings. After drying the drivetrain with a clean cloth, lubricate the chain evenly with bike-specific chain lube. Wipe off any excess lubricant to prevent dirt from sticking.
Regular cleaning extends your drivetrain’s life and improves shifting performance. It also saves you from costly repairs and frustrating rides.
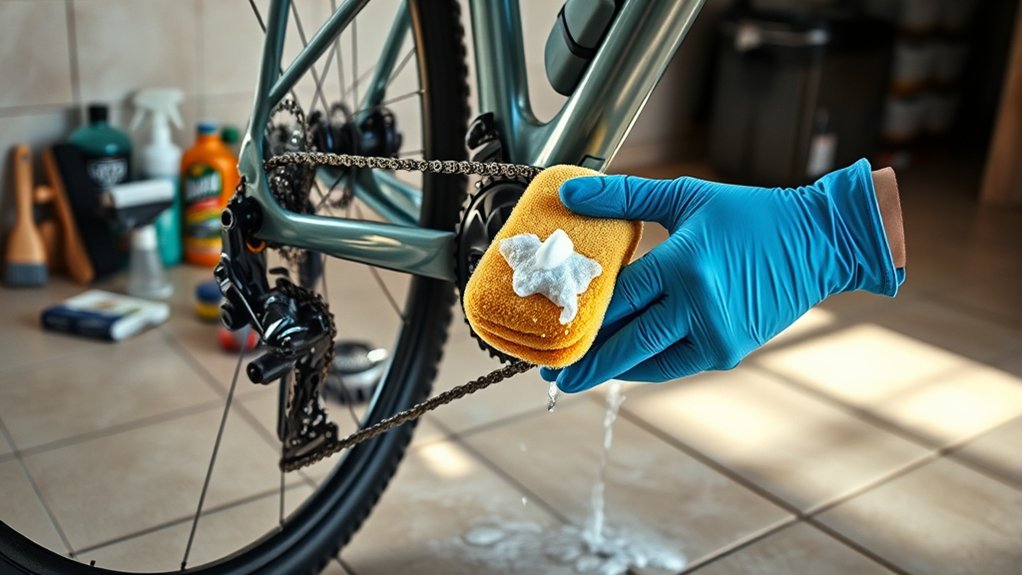
Wash Your Mountain Bike Frame and Wheels
Grab a bucket of warm, soapy water and a soft sponge or brush to gently wash your mountain bike frame and wheels. Start by rinsing off loose dirt with a hose or spray bottle.
Then, dip your sponge or brush into the soapy water and carefully scrub the frame, focusing on areas with mud or grime buildup. Use circular motions to avoid scratching the paint.
Move on to the wheels, cleaning the rims and spokes thoroughly, as dirt often collects there. Be sure to rinse the sponge frequently to prevent spreading dirt.
Once you’ve cleaned the entire frame and wheels, rinse everything with clean water to remove soap residue. Dry your bike with a microfiber cloth to prevent water spots and prepare it for the next cleaning step.
Scrub Your Suspension and Hard-to-Reach Spots
Once your frame and wheels are clean and dry, focus on the suspension and those tricky spots that are easy to miss. Use a soft brush or toothbrush to gently scrub the suspension forks and rear shocks, paying special attention to seals and stanchions where dirt tends to build up.
Avoid using high-pressure water here, as it can force grime into the suspension components. For hard-to-reach areas like under the bottom bracket, around the derailleur, and inside cable housings, a small brush or cotton swabs work really well.
Take your time to remove all the grime without damaging delicate parts. Regular cleaning of these spots helps keep your suspension running smoothly and extends the life of your components.
Dry Your Mountain Bike Thoroughly to Prevent Rust
Although cleaning removes most dirt and grime, you’ll need to dry your mountain bike thoroughly to prevent rust from forming on metal parts. Water left on your bike can cause corrosion, damaging components and shortening their lifespan.
Follow these steps to dry your bike effectively:
- Use a clean, absorbent cloth to wipe down the frame, wheels, and components, paying close attention to crevices and joints.
- Blow compressed air or use a leaf blower to remove water from hard-to-reach areas like the cassette, derailleur, and suspension pivots.
- Let your bike air dry in a shaded, well-ventilated area to avoid water spots and ensure all moisture evaporates completely.
Drying your bike properly keeps it in top shape and ready for your next ride.
Lubricate Your Chain and Moving Parts
Now that your bike is dry, it’s time to pick the right lubricant for your chain and moving parts.
Be careful when applying it so you don’t attract dirt or grime.
Regular lubrication helps keep your bike running smoothly, so remember to do it often enough to stay on top of maintenance.
Choosing The Right Lubricant
Choosing the right lubricant can make a big difference in how smoothly your mountain bike runs and how long its parts last. When picking a lubricant, think about these key factors:
- Type of Riding Conditions: Use wet lubricants for muddy, rainy environments and dry lubricants for dusty, dry trails. Wet lubes stick better in moisture but tend to attract dirt, while dry lubes repel dirt but can wash away easily in wet conditions.
- Component Compatibility: Pick lubricants made specifically for bike chains and moving parts to avoid damage or buildup.
- Viscosity and Penetration: Thinner lubricants get into tight spots better but may need more frequent reapplication. Thicker lubes last longer but can attract more grime.
Choosing the right lubricant for your riding style and environment helps your bike perform at its best and keeps it in good shape longer.
How To Apply Lubricant
Start by placing your bike on a stand or flipping it upside down for easy access to the chain and moving parts. Spin the pedals backward slowly while applying lubricant sparingly to each link of the chain.
Focus on the rollers and inner surfaces where metal contacts metal. Then, target other moving parts like derailleur pivots, brake levers, and cables.
Use a dropper or nozzle to control the amount precisely, avoiding excess that can attract dirt. After applying, let the lubricant sit for a few minutes to penetrate.
Finally, wipe off any excess with a clean rag to prevent grime buildup. This will keep your drivetrain running smoothly and extend the life of your components without making a mess.
Frequency Of Lubrication
After applying lubricant carefully to your chain and moving parts, you’ll want to know how often to do it again to keep your bike running smoothly. The right frequency depends on your riding conditions and habits.
Here’s a simple guide:
- After Every Ride in Wet or Muddy Conditions: Water and dirt wash away lubricant quickly, so reapply right away to prevent rust.
- Every 100-150 Miles in Dry Conditions: Even if it looks fine, regular lubrication keeps shifting smooth and reduces wear.
- Whenever You Hear Squeaks or Notice Stiffness: These are signs your chain or components need some attention.
Frequently Asked Questions
How Often Should I Clean My Mountain Bike?
You should clean your mountain bike after every few rides, especially if you’ve been on muddy or dusty trails. If you ride weekly, aim for a thorough cleaning at least once a month. Regular cleaning keeps your bike running smoothly and prevents wear.
After wet or rough conditions, a quick wash can save you from costly repairs. Staying on top of this helps your bike last longer and perform better.
Can I Use a Pressure Washer Safely on My Bike?
You shouldn’t blast your bike with a pressure washer. It’s like using a fire hose on delicate flowers. High-pressure water can force grime into bearings, damaging seals and causing rust.
Instead, use a gentle spray or a bucket of soapy water with a soft brush to clean your mountain bike carefully. This way, you protect sensitive parts while still removing dirt.
Keeping these parts clean helps your bike run smoothly and extends its lifespan.
What Type of Lubricant Is Best for Wet Conditions?
You’ll want to use a wet lube designed specifically for damp or muddy conditions. Wet lubricants are thicker and stick to your chain better when it’s wet, preventing rust and reducing wear.
They resist being washed off by water or mud, unlike dry lubes. Just apply it sparingly after cleaning your chain, and wipe off any excess to avoid attracting dirt.
This keeps your drivetrain running smoothly in wet weather.
How Do I Prevent Rust During Winter Storage?
Think of rust as an uninvited guest crashing your bike’s winter party. To keep it away, make sure to dry your bike thoroughly after every ride, especially the chain and metal parts.
Before putting it away, apply a rust-preventive lubricant. Store your bike in a cool, dry place for the best protection.
Cover your bike with a breathable cloth to avoid moisture buildup. Check on it regularly to catch any issues early.
Follow these tips, and you’ll keep rust from turning your bike into a rusty relic by spring.
Should I Remove the Wheels Before Cleaning?
Yes, you should remove the wheels before cleaning your mountain bike. Taking them off makes it easier to reach tricky spots like the frame, brakes, and drivetrain.
It also helps prevent water from getting trapped in the hubs and bearings. Plus, you can clean the tires and rims thoroughly without risking damage.
Just make sure to dry and lubricate everything well before putting the wheels back on. This keeps your bike in great shape.
Conclusion
Just like a knight preparing for battle, your mountain bike deserves the same care before every ride.
By following these seven simple steps, you’ll keep your bike running smoothly and looking sharp, ready to conquer any trail.
Remember, a clean bike isn’t just about appearance—it’s about performance and longevity.
Treat your ride like a trusted steed, and it’ll carry you through countless adventures without fail.
Keeping your mountain bike clean is essential for optimal performance and durability.