How to Change a Mountain Bike Tire in 7 Easy Steps
Changing a mountain bike tire can feel intimidating, especially if you’re new to biking or in the middle of a ride. Many people struggle with this simple task, but don’t worry—you’re not alone.
With a few basic tools and some easy steps, you’ll be back on the trail in no time.
To change your mountain bike tire in 7 easy steps, first gather tools like tire levers, a new tube, and a pump.
Remove the wheel safely by opening the quick-release and shifting gears. Fully deflate the tire, then pry it off using tire levers.
Inspect the tire and tube for damage before installing the new tube and tire.
Reinstall the wheel, inflate the tire to proper pressure, and check for alignment.
Follow these steps, and you’ll quickly master the process while uncovering useful tips ahead.
Key Takeaways
- Gather tire levers, a new tube, a pump, and a multi-tool before you start changing your mountain bike tire.
- Next, remove the wheel by opening the quick-release lever and shifting to the smallest chainring. This makes the wheel easier to take off.
- Fully deflate the tire by pressing the valve stem. You want to release all the air before removing the tire from the rim.
- Use tire levers to pry off the tire. Then, take out the inner tube and check both for punctures or any damage.
- Once everything’s inspected, install the new tire and tube. Inflate gradually to the proper pressure.
- Reinstall the wheel securely onto the bike. Make sure everything is aligned correctly before riding again.
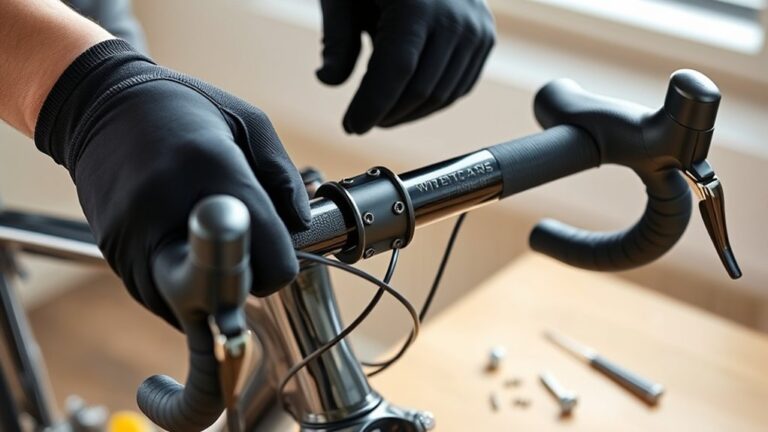
Gather Tools and Materials to Change a Mountain Bike Tire
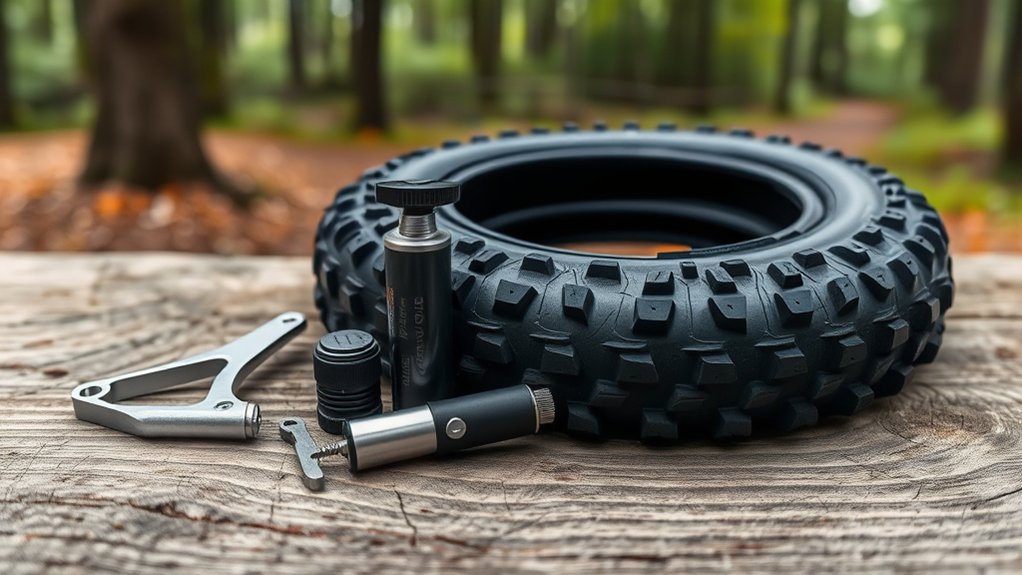
Before you start changing your mountain bike tire, gather all the necessary tools and materials. You’ll need tire levers to pry the tire off the rim without damaging it.
A new or patched inner tube is essential if your current one’s punctured. Don’t forget a pump or CO2 inflator to re-inflate the tire once you’re done.
Sometimes, a multi-tool can come in handy if you need to adjust components or remove the wheel later. Having a rag or gloves can keep your hands clean and help handle any dirt or grease.
Collecting everything beforehand guarantees you won’t get stuck halfway through. With your tools ready, you’ll be set for the next steps to get your mountain bike rolling again quickly and smoothly.
Remove Your Mountain Bike Wheel Safely
Before you remove your wheel, make sure your bike is securely supported so it doesn’t tip over.
Next, find the quick-release lever and open it to loosen the wheel.
This will allow you to safely take the wheel off without damaging any parts.
Secure Your Bike Properly
To remove your mountain bike wheel safely, start by positioning your bike on a stable surface where it won’t tip over. This ensures you have full control and prevents accidents while working.
Next, secure the bike so it stays steady. You can use a bike stand or lean it against a sturdy wall. Shift the gears to the smallest chainring to reduce tension on the drivetrain.
Engage the bike’s brakes or place a block to prevent the bike from rolling. These steps keep your bike balanced and protect both you and your bike components during wheel removal.
Taking a moment to secure your bike properly makes the entire tire-changing process smoother and safer.
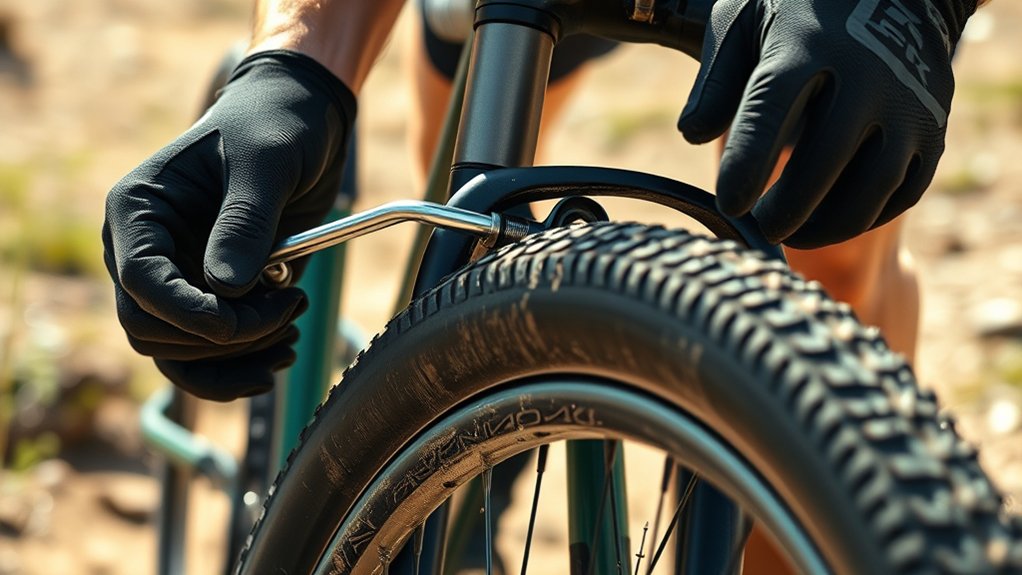
Release Wheel Quick-Release
Two simple steps release your wheel from the frame: loosening the quick-release lever and unscrewing the adjustment nut on the opposite side. Start by flipping open the quick-release lever; it should move easily. If it’s tight, hold the lever while turning the adjustment nut counterclockwise a little to loosen it.
Once the lever opens fully, you can unscrew the nut a few more turns to free the wheel. Be careful not to remove the nut completely unless necessary. With the lever open and the nut loosened, gently pull the wheel downward and away from the frame.
If your bike has disc brakes, slightly wiggle the wheel to clear the rotor from the caliper. Now your wheel is safely released and ready for tire removal.
Fully Deflate the Tire Before Removal
Start by pressing down on the valve stem to release all the air from your mountain bike tire. Fully deflating the tire makes it easier to remove and helps prevent damage to the rim or tube.
Make sure to hold the valve stem firmly to keep it open and speed up the air release. If the air is stubborn, use a valve core remover for Schrader valves.
Double-check that the tire feels completely flat before you proceed.
Pry Off the Old Tire Using Tire Levers
Start by placing the tire tool under the tire bead opposite the valve to get proper advantage.
Gently pry the bead off the rim, working your way around the tire without forcing it. Be careful not to pinch or damage the inner tube as you remove the tire.
Positioning Tire Levers Correctly
Using a pair of tire tools, carefully pry the tire bead away from the rim to remove the old tire. Positioning the tools correctly makes this easier and helps prevent damage to the rim or tube.
Start by inserting the first tool under the bead, making sure the curved end hooks securely beneath the tire. Then, place the second tool a few inches away to create a mechanical advantage.
Keep these tips in mind when positioning tire tools: insert them opposite the valve stem to avoid stressing the tube. Avoid sliding the tools around the rim, as this can pinch or damage the tube.
Use the tool handles to maintain steady pressure without forcing them too deep. Proper positioning sets you up for a smooth tire removal.
Levering Tire Bead Off
Grip the first tire lever firmly and gently pry the tire bead over the rim edge. Once you’ve lifted a section of the tire, hold the lever in place by hooking it under a spoke if possible.
Take a second lever and insert it a few inches away from the first, then pry the bead further off the rim. Work your way around the wheel, gradually levering the tire bead over the rim edge.
If the tire is stubborn, move the levers incrementally rather than forcing them to avoid damaging the rim or tire. Keep the pressure steady and controlled.
As you go, the tire bead will release more easily. Once one side is free from the rim, you can remove the old tire completely.
Avoiding Tube Damage
Although it might be tempting to pull the tire off quickly, you’ll want to pry it off carefully with tire levers to avoid pinching or puncturing the tube underneath. Start by inserting the first lever under the tire bead, then hook it onto a spoke to hold it in place. Use a second lever a few inches away to gradually lift the bead over the rim edge. Work your way around slowly, avoiding sudden force.
To prevent tube damage, keep these tips in mind:
- Use plastic tire levers instead of metal to reduce the risk of sharp edges.
- Avoid levering too close to the valve stem because the tube is more vulnerable there.
- Check the tire bead and rim for debris or sharp objects before removing the tube.
Taking your time guarantees a safer, smoother tire change.
Inspect the Mountain Bike Tire and Tube for Damage
Before you replace the tire, carefully check both the tire and tube for any signs of damage. Look over the tire’s tread for cuts, punctures, or embedded debris like glass or thorns that might cause another flat.
Inspect the sidewalls for cracks or bulges, which weaken the tire and can be dangerous. Then, remove the tube and inflate it slightly to spot holes or weak spots.
Check tire sidewalls for cracks or bulges, then lightly inflate the tube to find leaks or weak spots.
Listen for hissing sounds or submerge the tube in water to find bubbles indicating leaks. Also, inspect the valve stem for cracks or bends.
Catching these issues now saves you from repeated flats or blowouts later. If you spot any damage, it’s best to replace the affected part to guarantee your ride stays safe and smooth.
Install the New Tire and Tube on the Wheel Rim
Start by placing the new tire onto the wheel rim, making sure the tire’s direction matches the rotation marked on the sidewall. Next, lightly inflate the new tube just enough to give it shape, which helps prevent pinching. Then, carefully insert the tube’s valve through the rim hole.
As you position the tire and tube together, follow these tips for a smooth install:
- Work the tire bead evenly around the rim, starting opposite the valve.
- Use your hands instead of tools to avoid damaging the tube.
- Double-check that the tube isn’t twisted or caught under the tire bead.
Once the tire and tube are properly seated on the rim, you’re ready to inflate and check for proper seating and pressure.
Inflate the Tire and Check for Proper Seating and Pressure
Pump air into the tire gradually, keeping an eye on the bead to confirm it seats evenly around the rim. As you inflate, watch for any bulges or gaps between the tire and rim. If you notice uneven seating, stop and deflate slightly, then massage the tire to help the bead settle properly.
Continue pumping until the tire reaches the recommended pressure, usually marked on the tire sidewall. Use a reliable pump with a pressure gauge to verify accuracy. Once inflated, give the tire a spin and check for wobbling or irregularities.
Proper seating and pressure not only improve ride quality but also reduce the risk of flats or blowouts. Now your tire is ready for the trail.
Frequently Asked Questions
What Type of Mountain Bike Tire Is Best for Rocky Terrain?
For rocky terrain, you’ll want a tire with a tough, reinforced casing and aggressive tread patterns for maximum grip. Look for tires labeled as “enduro” or “all-mountain” since they’re designed to handle sharp rocks and rough surfaces.
Wider tires, around 2.3 to 2.5 inches, give you better stability and cushioning. Tubeless setups also help prevent flats by sealing punctures quickly, so you’ll ride smoother and more confidently on rocky trails.
How Often Should I Replace My Mountain Bike Tires?
You should replace your mountain bike tires every 1,000 to 3,000 miles, depending on how often and how hard you ride. If you notice significant tread wear, cuts, or frequent flats, it’s time for new tires.
Riding on rocky or rough terrain speeds up tire wear, so make sure to check them regularly. Don’t wait for a blowout—staying proactive keeps you safe and helps your bike perform better on the trails.
Can Tubeless Tires Be Repaired Without Removing the Wheel?
Think of tubeless tire repair like patching a small leak in a balloon without popping it. Yes, you can often fix tubeless tires without removing the wheel by using a tubeless tire plug kit.
Just locate the puncture, insert the plug through the hole, and seal it. This method saves time and hassle, letting you get back on the trail quickly without the full tire removal process.
What Tire Pressure Is Ideal for Different Mountain Biking Conditions?
You’ll want to adjust tire pressure based on terrain and riding style. For rocky, technical trails, lower pressure (18-25 psi) improves grip and comfort.
On smoother, hard-packed surfaces, higher pressure (30-40 psi) reduces rolling resistance. If you’re riding wet or loose dirt, drop the pressure a bit to boost traction.
Always avoid going too low to prevent pinch flats. Experiment to find what feels best for your bike and conditions.
How Do I Prevent Pinch Flats on My Mountain Bike?
Think of your tire as a shield guarding against rocky ambushes. Keep it tough by inflating to the right pressure—not too soft or too hard. You want enough air to absorb impacts without squishing the rim.
Check your tire’s sidewalls for wear and avoid hitting sharp edges at high speed. Using wider tires or tubeless setups can help you dodge those pesky pinch flats.
This keeps your ride smooth and fearless.
Conclusion
Changing your mountain bike tire is easier than you might think. Properly maintained tires can cut flat tire incidents by up to 70%.
By following these seven simple steps, you’ll keep your rides smooth and safe. Regular checks and replacements help improve performance and extend your bike’s lifespan.
So, gather your tools, stay confident, and get back on the trail with a fresh, reliable tire!