Tighten Mountain Bike Chain in 8 Easy Steps
Many mountain biking enthusiasts know the frustration of dealing with a loose or worn-out chain. It can make rides less smooth and even cause mishaps. Don’t worry—you’re not alone, and fixing it is easier than you might think.
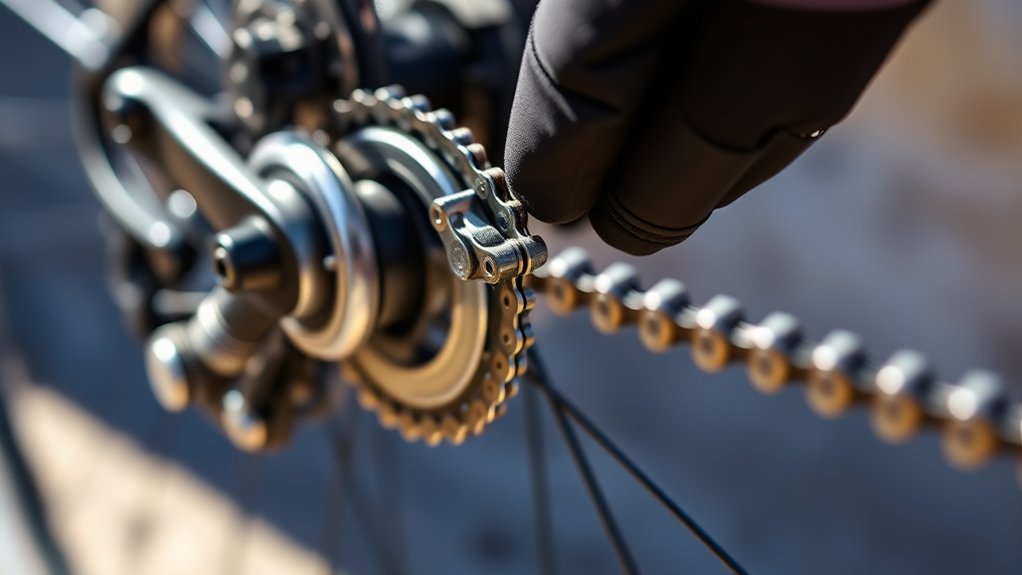
To tighten your mountain bike chain in 8 easy steps, first check if it’s loose or worn using a ruler or chain checker.
Loosen the rear wheel by opening the quick-release or axle nuts, then remove or reposition the wheel to create slack.
Adjust the tension so there’s about 1-2 inches of movement, ensuring proper alignment.
Reinstall the wheel securely and test ride to fine-tune the tension.
Keep learning how to perfect your chain setup for smooth rides. With a little practice, you’ll be back on the trails in no time.
Key Takeaways
- Shift to the smallest gear to make it easier to adjust the chain tension.
- Loosen the rear wheel axle or quick-release to create some slack in the chain.
- Gently pull the wheel backward a little to increase the chain tension to the right level.
- Make sure the wheel is aligned properly, then tighten the axle or quick-release securely.
- Reinstall everything and check that the chain has about 1-2 inches of slack.
- Finally, go for a test ride to see if the shifting feels smooth.
How to Tell If Your Mountain Bike Chain Is Loose or Worn
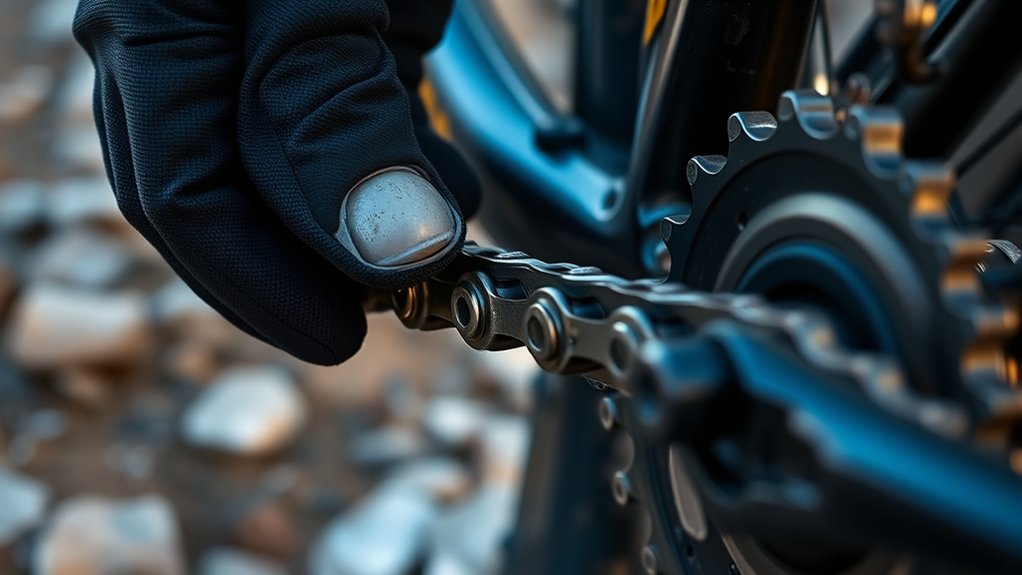
A loose or worn mountain bike chain can really mess up your ride, making your bike slip or shift badly. To see if your chain is loose, try lifting it off the gears. If it comes away easily or feels slack, it’s probably too loose.
Worn chains often look stretched out, with links that seem elongated or uneven. You might notice the chain skipping over gears or not staying in place when you shift. Another sign is if the chain makes noise or feels loose even when you’ve tightened it properly.
Regularly check your chain’s tension and how it looks. Doing so helps prevent issues when you’re out on the trail. If you spot any of these signs, it’s time to take action.
Fixing a loose or worn chain early means smoother rides and longer-lasting parts. Stay on top of your chain’s condition to keep your bike running smoothly.
Check Your Chain’s Wear With a Ruler or Chain Checker
To see if your chain needs replacing, you can measure its wear with a ruler or use a chain checker tool.
Using a ruler gives you an exact measurement, while a chain checker quickly shows if it’s stretched too far.
Both methods help you keep your bike shifting smoothly and avoid unnecessary wear on other parts.
Using a Ruler for Accuracy
You can quickly check your chain’s wear with a simple ruler. Measure the length of 12 consecutive links, including two outer plates. A new chain should be exactly 12 inches long.
If the same section measures over 12.25 inches, your chain is stretched and needs replacing. To get an accurate reading, line up the ruler with the inner pins of the links. Make sure the zero mark is flush against one pin and check the distance to the 12th link.
This method is a quick and straightforward way to see if your chain is wearing out. Regularly checking with a ruler helps catch chain stretch early, which can prevent poor shifting and extra wear on your drivetrain components.
Utilizing a Chain Checker Tool
While measuring with a ruler gives a good estimate, using a dedicated chain checker tool provides a more precise assessment of your chain’s wear. These tools are simple to use: you insert the tool’s tabs into the chain links, and it indicates whether your chain is still within safe limits or needs replacing.
A chain checker offers quick, accurate readings, saving you the guesswork. If the tool shows significant wear, often around 0.5% or more, it’s time to replace your chain to prevent gear slipping or damage to your cassette.
Using a chain checker regularly keeps your bike running smoothly and helps you avoid unnecessary repairs. Invest in this small tool for consistent, reliable maintenance and a better riding experience.
Loosen the Rear Wheel to Prepare for Chain Adjustment
Before adjusting the chain, it’s important to loosen the rear wheel first. Start by shifting your bike into the smallest gear to release tension on the chain.
Next, find the quick-release lever or axle bolts holding the rear wheel in place. If your bike has a quick-release, open the lever and unscrew slightly if needed.
For bikes with bolt axles, use a wrench to loosen the nuts on both sides. Once they’re loosened, gently pull the wheel backward or forward to create slack.
This extra space makes it easier to adjust the chain without resistance. Make sure the wheel stays aligned with the frame and sits properly in the dropouts.
Once the wheel is loosened, you’re ready to make precise chain adjustments.
Remove the Old Chain Safely and Easily
Removing the old chain is pretty straightforward, but doing it carefully helps avoid damaging your bike and makes installing the new chain easier. First, shift your bike to the smallest chainring and sprocket to relieve tension.
Next, use a chain tool or master link pliers to disconnect the chain. If your chain has a master link, just detach it and slide the chain apart.
For other chains, position the chain tool on a pin and turn it gently to push the pin out. Be careful not to damage any nearby parts.
Once the pin is out, carefully pull the chain away from the derailleur and cassette. Keep the old chain aside if you want to measure or compare it with the new one.
Proper removal sets the stage for a smooth installation of the new chain.
Set the Correct Chain Tension for Your Mountain Bike
Getting the chain tension right is key for smooth shifting and overall bike performance. If it’s too loose, the chain might slip or drop. If it’s too tight, it can cause unnecessary wear.
To find the right tension, check how much your chain moves. Ideally, it should have about 1 to 2 inches of slack. Use the table below to figure out the proper tension for your bike setup:
| Tension Level | Chain Movement | Effect |
|---|---|---|
| Too Loose | Over 2 inches | Slipping, dropped chain |
| Correct | 1-2 inches | Smooth shifting |
| Too Tight | Less than 1 inch | Increased wear, stiffness |
Adjust your derailleur or wheel position as needed. Proper tension helps your bike perform at its best without causing damage.
Reinstall and Tighten the Chain Properly
Once you’ve adjusted your chain to the correct tension, it’s time to reinstall and tighten it properly. First, put the chain back onto the chainring and rear sprocket, making sure it seats evenly.
If your bike has a master link, connect it securely. If not, reconnect the chain using the appropriate quick links or pins. As you tighten the quick links or secure the chain, check that it stays aligned on the sprockets and doesn’t twist.
Use your hands or a chain tool to gently apply pressure, making sure the chain feels snug but not overly tight. Spin the pedals slowly to confirm smooth movement. Tightening the chain correctly prevents slipping and excessive wear, keeping your ride smooth and safe.
Test Ride and Fine-Tune Your Chain Tension
Before heading out for a ride, it’s important to test your chain tension in real riding conditions. This way, you can make sure it’s not too tight or too loose, which can cause problems while you’re on the road.
Start pedaling gently on flat terrain, paying attention to how the chain feels and sounds. Listen for any slack or strange noises that might mean the tension isn’t right. Make small adjustments if needed to get the perfect fit.
Pedal gently on flat terrain, listen for noises, and adjust the chain for a smooth, proper fit.
Check that your gear shifting is smooth and that the chain doesn’t slip or skip. Feel for any tight spots or excessive slack along the chain. Watch how the chain moves over the gears to ensure everything runs smoothly.
Finally, make sure the chain moves freely without sticking. Doing these steps will help you have a safer, more efficient ride and catch any issues early on.
Troubleshoot Common Chain Tension Problems and Fixes
When your bike’s chain isn’t running smoothly, spotting common tension issues can save you time and frustration. One typical problem is a loose chain that slips or skips over the gears.
To fix this, check if the chain is too slack. If it is, tighten the rear derailleur or adjust the tension on the chainstay. On the other hand, a chain that’s too tight can cause stiff pedaling and faster wear on parts.
In this case, try loosening the rear axle slightly or adjusting the derailleur’s tension screw. Also, keep an eye out for damaged or stretched links, which might mean you need to replace the chain.
Regularly checking your chain’s tension and wear can help prevent these issues. Proper tension ensures smooth shifting, easier pedaling, and a longer lifespan for your bike.
Frequently Asked Questions
Can I Tighten My Mountain Bike Chain Without Removing the Rear Wheel?
Yes, you can tighten your mountain bike chain without removing the rear wheel. To do this, shift your bike into the smallest chainring and smallest sprocket.
Then, loosen the rear axle nuts slightly. Move the rear wheel backward to increase the chain tension, then re-tighten the axle nuts securely.
Check the tension by pressing the chain mid-way; it should have a slight give. This simple adjustment keeps your chain tight without wheel removal.
What Tools Are Necessary for Tightening a Mountain Bike Chain?
You’ll need a chain tool or a master link plier to tighten your mountain bike chain. A chain tool helps you break and reconnect the chain to adjust its length.
Master link pliers are useful for securing the master link tightly. You might also want a quick-link, chain lubricant, and maybe a chain checker to verify proper tension.
These tools make tightening your chain straightforward and effective.
How Often Should I Check My Mountain Bike Chain Tension?
You should check your mountain bike chain tension every few rides or at least once a week, especially if you ride often or on rough terrain. Regular inspections help prevent chain slippage and wear.
Look for slack or looseness in the chain. If it feels loose, tighten it right away.
Consistent checks make your rides smoother, help your chain last longer, and keep your bike running well.
Is It Better to Replace a Worn Chain or Just Tighten It?
It’s better to replace a worn chain rather than just tighten it. Tightening a stretched chain won’t fix the wear and can lead to poor shifting or chain slippage.
Over time, a worn chain damages your cassette and chainrings, which can lead to costly repairs. So, if your chain shows signs of significant wear, it’s best to replace it early.
Regular checks help catch wear before it becomes a bigger problem. Replacing the chain when needed keeps your bike running smoothly and extends its lifespan.
How Do I Know if My Chain Is Too Tight After Adjustment?
A stitch in time saves nine, so make sure your chain isn’t too tight. After adjusting, move the pedals back and forth; there should be slight slack, about 1-2 inches.
If the chain feels stiff or resists movement, it’s too tight. Too tight, and you risk damaging your bike or causing poor shifting.
Loosen or tighten accordingly until you find that perfect balance, ensuring smooth, safe rides.
Conclusion
Now that you’ve mastered these steps, your mountain bike’s chain will run smoother than ever. But don’t think the job’s done just yet—sometimes, small issues can hide beneath the surface.
A slight misalignment or hidden tension problem could catch you off guard during your next ride. It’s a good idea to stay vigilant and perform regular checks on your bike.
Keeping your gear in top shape is key. Remember, the real adventure begins when you’re confident your bike’s performance is flawless. Stay on top of maintenance, and you’ll be ready to surprise yourself at every turn.